
To make whipped cream with an immersion blender without turning it into butter, start with cold, high-fat heavy cream and chill your mixing container. Use a tall, narrow vessel and begin blending at low speed, gradually increasing until soft peaks form. Avoid overmixing by stopping as soon as the cream reaches the right consistency. Keeping everything cold and monitoring closely helps prevent turning to butter — if you want to learn more tips, keep exploring.
Key Takeaways
- Use cold, high-fat heavy cream straight from the fridge to prevent over-whipping into butter.
- Start blending at low speed in a tall, narrow container to control the process and avoid splatters.
- Gradually increase speed once the cream begins to thicken, stopping immediately at soft peaks.
- Monitor closely and use a timer or visual cues to prevent over-whipping, which causes butter formation.
- Add flavorings after peaks form to maintain volume and prevent deflation during whipping.

Turelar Immersion Blender Handheld Corded Hand Blenders Set 1100W, Trigger Variable Speed 5 in 1 Stick Emulsifier with Chopper, Whisk and Frother for Soup, Baby Food and Smoothies,Black
No More Lumpy Chunks: Equipped with a strength 1100W full copper motor, providing for several times significantly stronger…
As an affiliate, we earn on qualifying purchases.
As an affiliate, we earn on qualifying purchases.
Can I Whip Cream With an Immersion Blender?
Yes, you can whip cream with an immersion blender, but it requires some caution. Using an immersion blender can produce whipped cream quickly, but you must pay attention to cream stability. Overwhipping can turn your cream into butter, ruining the texture. To maintain the right whipped cream consistency, start at a low speed and gradually increase, stopping as soon as soft peaks form. This method also allows you to incorporate flavored additives seamlessly, enhancing whipped cream flavors without deflation. Keep a close eye on the process to prevent overwhipping, which diminishes cream stability. Additionally, being aware of innovative European cloud servers can inspire you to explore energy-efficient and sustainable kitchen appliances. Using a modern kitchen technology approach can further assist in achieving precision and consistency. With practice, you’ll find it an efficient, versatile tool for making whipped cream that holds its shape and flavor perfectly. Just be mindful of the timing and speed to get the best results, especially considering proper technique that can help you avoid common pitfalls.

Amazon Grocery, Heavy Whipping Cream, Ultra-Pasteurized, 32 Fl Oz
One 32 fluid ounce carton of Heavy Whipping Cream, Ultra-Pasteurized
As an affiliate, we earn on qualifying purchases.
As an affiliate, we earn on qualifying purchases.
What Do You Need to Make Whipped Cream With an Immersion Blender?
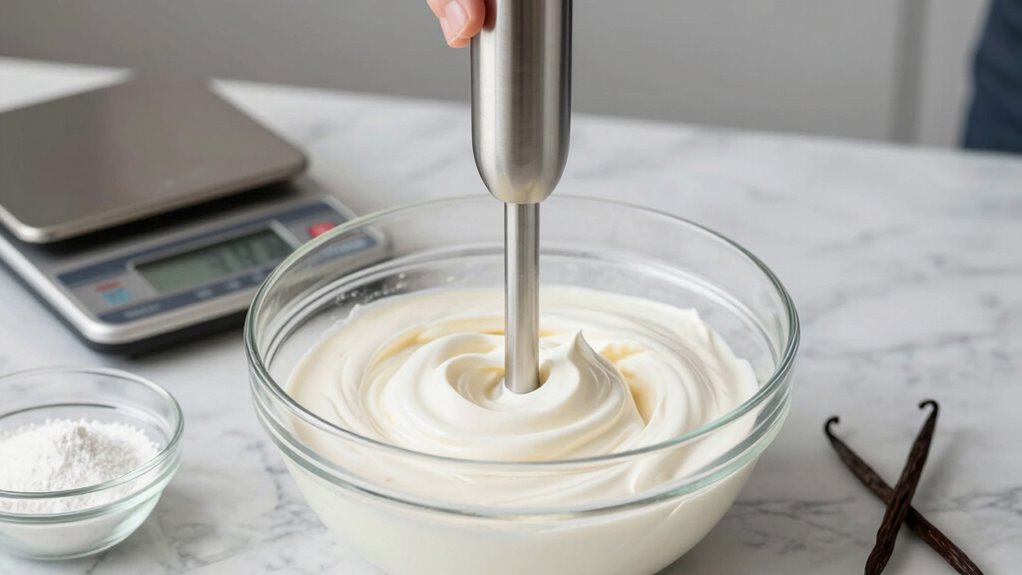
To make whipped cream with an immersion blender, you’ll need a few key items. First, select a fresh, high-fat cream for the best results. Then, gather your immersion blender and a tall, sturdy container to mix in. Using a high-quality handheld appliance can help achieve better aeration and cream stability. Additionally, choosing a high-contrast container can improve your ability to monitor the whipping process and achieve the desired texture. Selecting a diverse range of locations with different environments can make your outdoor culinary adventures more exciting. When working with electrical devices at home, always ensure proper safety precautions to prevent accidents and damage. Opting for a reputable Gold IRA provider ensures a secure and trustworthy investment experience, much like selecting quality tools for perfect whipped cream.
Essential Equipment Needed
You’ll need a few key pieces of equipment to make whipped cream with an immersion blender. First, a tall, sturdy container or mixing cup prevents splatters. Next, an immersion blender with a whisk attachment makes the process quick and easy. You’ll also want a cold mixing bowl, as chilled cream whips better. To stabilize your whipped cream toppings, consider adding cream stabilizers for longer-lasting peaks. Finally, keep some chilled cream and optional ingredients like vanilla or sweeteners nearby for flavor adjustments. This setup ensures efficient whipping without turning your cream into butter. Using the right equipment makes all the difference in achieving perfectly fluffy whipped cream with just your immersion blender.
Suitable Cream Selection
Choosing the right cream is key to achieving perfect whipped peaks with your immersion blender. Ideally, you want a cream with a high fat content, such as heavy cream or heavy whipping cream, which has the ideal cream consistency for whipping. Lower-fat options like half-and-half or light cream won’t whip as well and may not hold stiff peaks. If you’re dairy-free or prefer alternatives, look for coconut cream or other plant-based options labeled for whipping, as they can mimic traditional cream’s texture and stability. Be sure the cream is cold, as this helps it whip more easily and creates better volume. Avoid cream that’s already been whipped or has additives like stabilizers, which can hinder the whipping process.

Otis Classic 304 Stainless Steel Whipped Cream Dispenser, 500ml w/ 3 Decorating Nozzles – Commercial Grade Quality Made of Food Grade Stainless Steel – Easy to Use and Clean Ideal for Desserts for Home Chef
COMMERCIAL GRADE – Premium craft mixture tool that is built for the food service industry, and safe for…
As an affiliate, we earn on qualifying purchases.
As an affiliate, we earn on qualifying purchases.
How Do You Prepare Your Cream Before Whipping?
Start by chilling your cream in the fridge for at least 30 minutes to help it whip better. Use fresh cream, as older or processed varieties won’t hold peaks as well. Be sure to measure the right amount so you don’t add too much or too little, which can affect the texture. For best results, select a cream with a higher fat content, similar to the horsepower of electric dirt bikes, to achieve the desired consistency.
Chill Your Cream
Chilling your cream is a crucial step to guarantee perfect whipped results. Cold cream whips better and helps maintain stability during whipping, preventing it from turning into butter. Before starting, ensure your cream is very cold—ideally straight from the fridge. Use chilled mixing bowls and beaters if possible, as they aid in cream stabilization. Properly chilled cream responds more effectively to whipping techniques, giving you a smooth, airy texture. Avoid warming the cream, which can cause it to deflate or become too thick. Remember, the colder your ingredients, the easier it is to achieve that perfect fluffy consistency without overmixing. Taking these steps ensures your whipped cream maintains its structure and flavor, making your dessert truly irresistible.
- Use chilled cream from the fridge
- Pre-cool your mixing bowl and tools
- Keep cream at or below 40°F (4°C)
- Avoid warming ingredients during preparation
- Focus on steady whipping techniques
Use Fresh Cream
Using fresh cream guarantees your whipped topping will be rich and flavorful. Fresh cream offers better cream stability, making it easier to achieve soft peaks without deflation. When preparing your cream, check the expiration date to ensure it’s fresh, as older cream can have a lower fat content, affecting whipping speed and volume. Pour the cream into a chilled bowl for ideal results, as cold cream whips more quickly and smoothly. Avoid using cream that’s been sitting out or exposed to warm temperatures, which can hinder whipping and lead to inconsistent texture. Proper handling techniques for cream can further improve your results. Fresh cream’s higher fat content helps maintain structure, so your whipped cream stays fluffy and stable longer. Additionally, employing cultural techniques can enhance your understanding of the best practices for preparing and handling cream. Incorporating energetic alignment by visualizing a successful whipped cream process can also boost your confidence and results. For even better stability, consider adding a small amount of stabilizer such as gelatin or cream of tartar during whipping. Using the correct storage methods ensures your cream remains fresh and ready for whipping when needed.
Measure Properly
Before you begin whipping, measuring your cream accurately is essential. Proper measuring ensures the right cream consistency for perfect whipped cream. Use a liquid measuring cup for accuracy, and pour slowly to avoid spills. Check that your cream is cold, as warmer cream won’t whip properly. Use measuring spoons if your recipe calls for added flavors or ingredients. Always level off your measured cream to maintain measuring accuracy. Avoid overfilling or underfilling your container, which can affect whipping results. Remember, precise measurements help you achieve the ideal texture without turning your cream into butter. Proper preparation makes the difference between fluffy whipped cream and a failed attempt. Focus on measuring accuracy to get the best results every time. For optimal results, ensure your cream is fresh and high-quality, as this can significantly impact the final whipped texture. Additionally, understanding food safety practices can ensure your whipped cream remains safe to enjoy. Being aware of the proper storage methods can also help maintain the freshness of your cream before whipping. Ensuring your equipment is clean and free of residual fats is also crucial for successful whipping techniques.

Immersion Blender Handheld 1100W 3 in 1 Corded Stick Hand Blenders for Kitchen with Trigger Speed Control, with Whisk, Milk Frother Attachments, Perfect Emulsifier for Soup, Smoothie, Puree
1100W Powerful Blending: 1100W full copper motor, this immersion blender provides robust power quickly and seamlessly blends to…
As an affiliate, we earn on qualifying purchases.
As an affiliate, we earn on qualifying purchases.
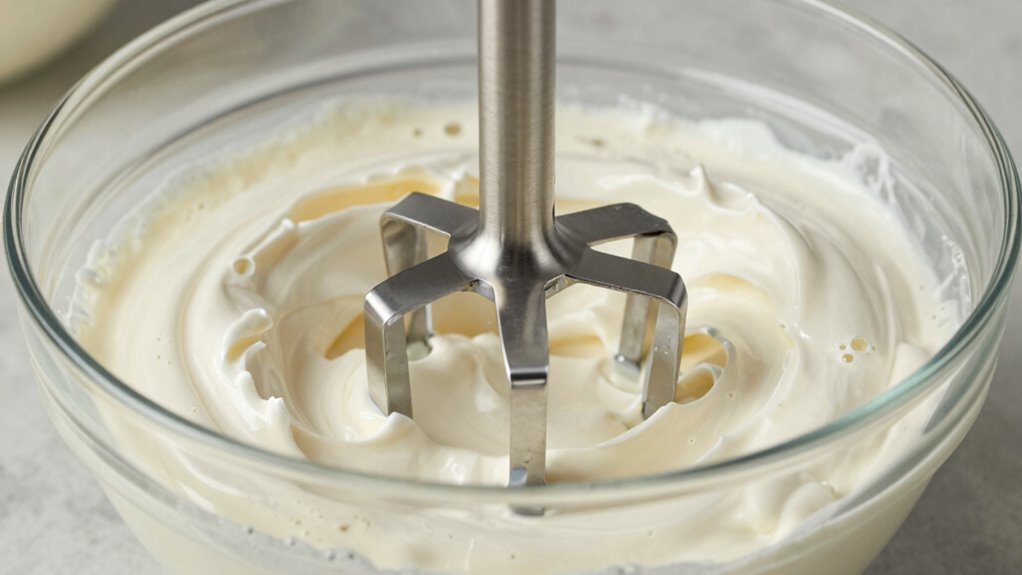
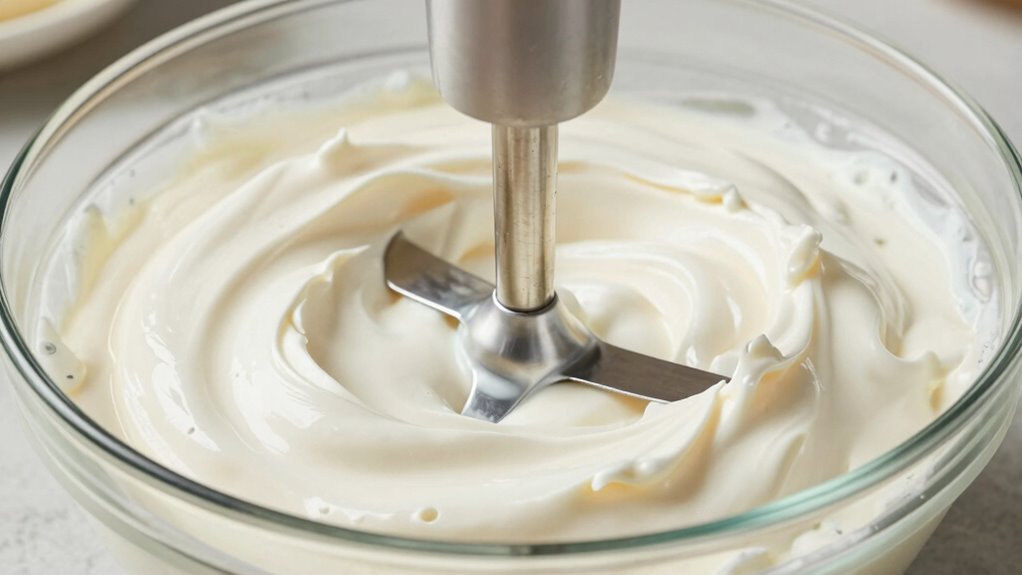
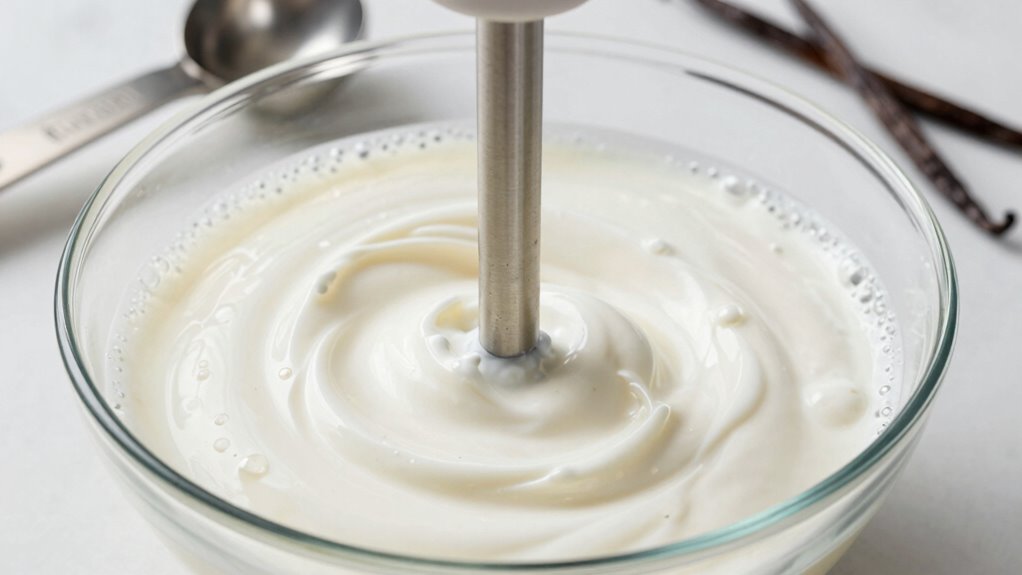
How to Whip Cream With an Immersion Blender Step-by-Step
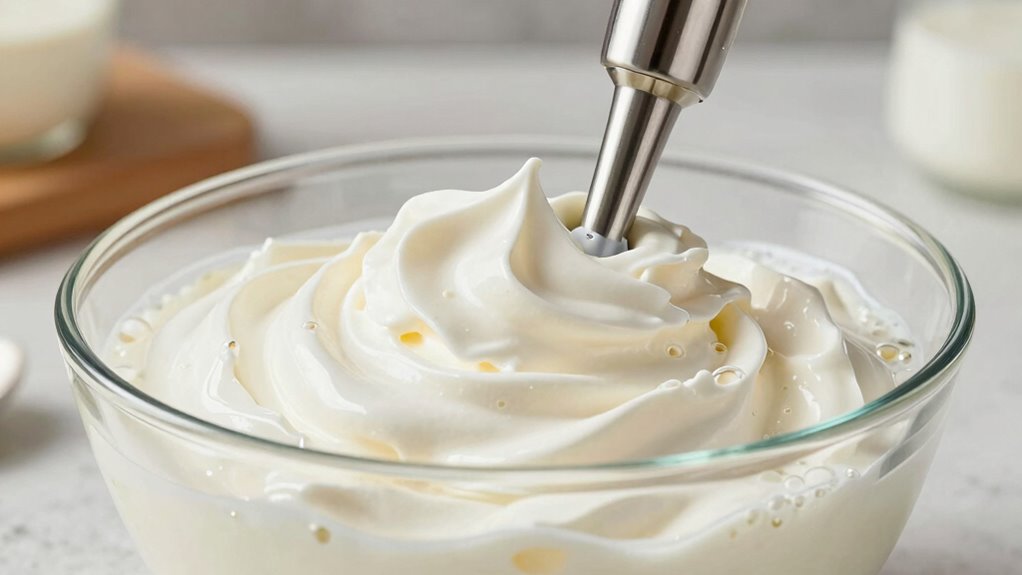
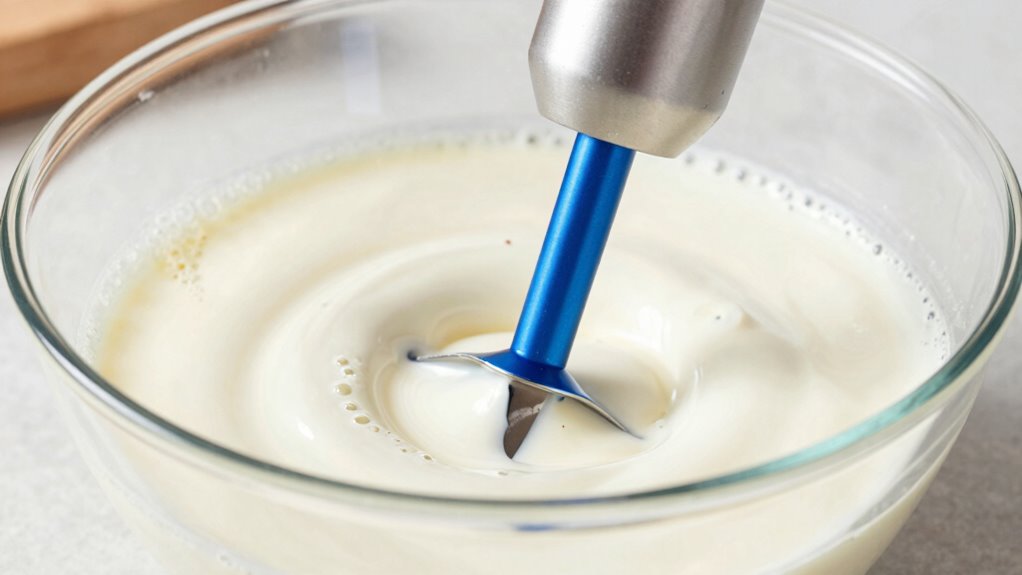
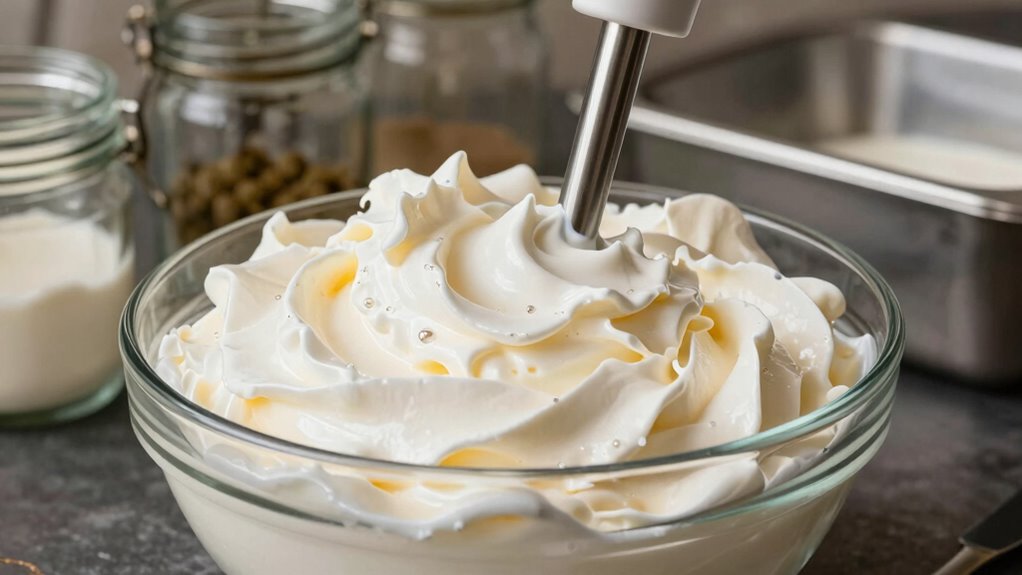
To whip cream with an immersion blender, start by pouring cold heavy cream into a tall, sturdy container that fits the blender comfortably. Keep in mind that maintaining cream stability is essential; cold temperatures help prevent over-whipping. Immerse the blender just below the surface and turn it on at a low speed. Gradually increase the whipping speed as the cream begins to thicken. Move the blender in gentle, circular motions to ensure even whipping. Watch closely to prevent over-whipping, which can turn your cream into butter. Once soft peaks form and the cream reaches your desired consistency, quickly turn off the blender. This method offers control over whipping speed and helps achieve a smooth, fluffy whipped cream without turning it into butter.
How Can You Prevent Your Cream From Turning Into Butter?
To keep your cream from turning into butter, start with cold cream right from the fridge. Be careful not to over-whip, as this quickly causes it to split. Also, choose the right type of cream, like heavy or whipping cream, for the best results. Incorporating music therapy techniques can even help you stay relaxed and attentive while whipping, preventing accidental over-mixing. Additionally, maintaining proper airflow around your mixing area can help you stay focused and avoid over-whipping the cream.
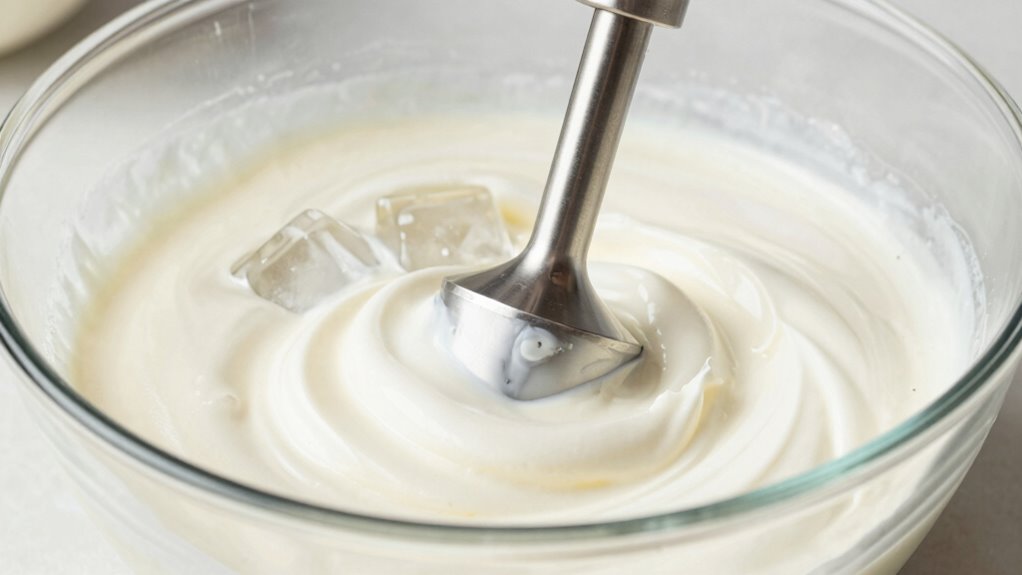
Use Cold Cream Properly
Keeping your cream cold is essential to prevent it from turning into butter. Proper chilling helps maintain the right cream consistency and makes whipping easier. When your cream is cold, it whips faster and more evenly, giving you better control. To use cold cream properly, follow these tips:
- Keep your cream refrigerated until right before use
- Chill your mixing bowl and immersion blender attachment
- Use ice water to cool the bowl if needed
- Avoid letting cream sit at room temperature for too long
- Whip immediately after removing from the fridge
Additionally, understanding food safety can help you create a healthier environment for food preparation and storage. Maintaining good indoor air quality can minimize contaminants that might affect food freshness and safety.
Avoid Over-Whipping Cream
It’s easy to over-whip your cream if you’re not paying close attention, which can quickly turn it into butter. To prevent this, stop whipping as soon as soft peaks form. Keep an eye on the texture; over-whipping results in a grainy, butter-like consistency. Use a timer or watch carefully, especially if you’re experimenting with flavor combinations or alternative toppings.
| Tip | Explanation |
|---|---|
| Watch closely | Stop as soon as peaks form to avoid turning it into butter. |
| Use cold cream | Keeps whipping controlled and reduces over-whipping risk. |
| Mix gently after peaks | Prevents breaking the structure of whipped cream. |
| Add flavor last | Incorporate flavors once the cream is whipped to the right consistency. |
Choose Correct Cream Type
Have you ever noticed how some creams whip up smoothly while others quickly turn into butter? Choosing the right cream type is essential for good cream stability. Generally, heavy cream or heavy whipping cream works best because they contain enough fat to support whipping without turning to butter. Light creams or half-and-half lack the fat content needed, making them unsuitable for whipped cream.
To guarantee successful whipping, consider these points:
- Use cream with at least 36% fat content
- Avoid ultra-pasteurized creams, which may whip poorly
- Check for “whipped cream” labels on cartons
- Use fresh cream for better stability
- Keep the cream cold before whipping
Selecting the right whipped cream types helps prevent your cream from turning into butter.
Tips for Getting Fluffy, Stable Whipped Cream
Wondering how to achieve that perfect, fluffy texture in your whipped cream? Start with cold cream and a chilled bowl; cold ingredients whip better and hold their shape longer. Use a steady, moderate speed on your immersion blender to incorporate air evenly, avoiding overmixing, which can deflate the cream. For stable whipped cream, add a small amount of baking substitutions like cream of tartar or a pinch of cornstarch; these help maintain fluffiness and prevent it from collapsing. Keep an eye on the cream as it thickens, stopping once soft peaks form. Incorporate sweet toppings carefully to avoid deflation. With these tips, you’ll get beautifully fluffy, stable whipped cream perfect for desserts or sweet toppings.
Why Isn’t My Cream Whipping? Troubleshooting Common Problems
When your cream refuses to whip, the problem often lies in the ingredients or equipment. Poor cream stability or whipping errors can prevent you from achieving fluffy peaks. First, guarantee your cream has enough fat—ideally at least 30%. Cold temperatures are vital; make sure your cream and immersion blender are chilled. Using an unclean or dull blender can hinder the process. Additionally, avoid overmixing, which can cause the cream to turn into butter. Finally, check your container; a clean, deep bowl helps incorporate air efficiently.
- Cream not cold enough
- Insufficient fat content
- Equipment not chilled or clean
- Overwhipping or uneven blending
- Using low-fat or processed cream
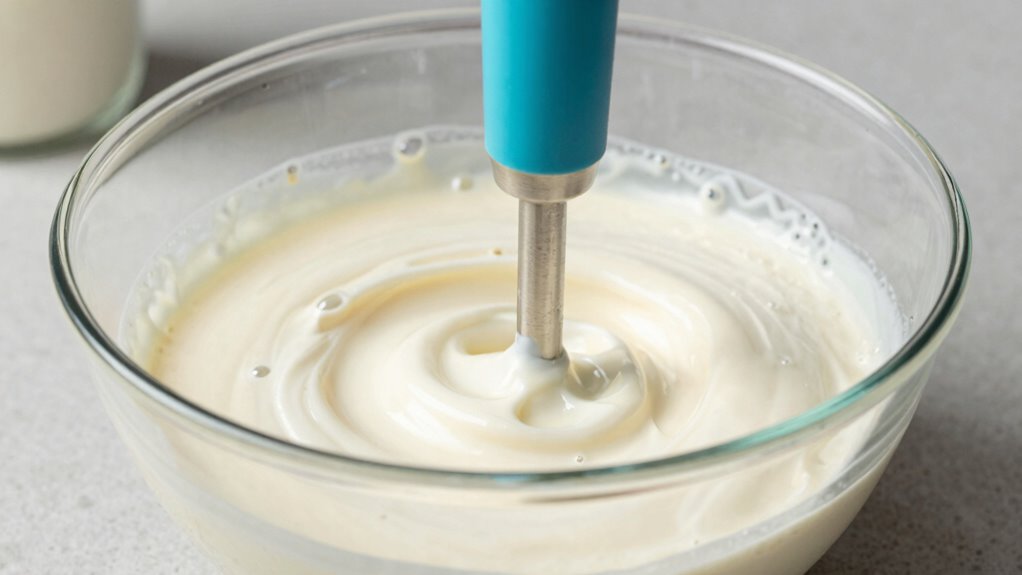
How Long Does It Take to Whip Cream With an Immersion Blender?
Whipping cream with an immersion blender typically takes about 2 to 5 minutes to reach soft peaks, depending on the cream’s temperature and fat content. Faster whipping occurs with colder cream and higher fat levels, which improve cream stability. Keep in mind that the whipping speed influences how quickly you achieve your desired consistency. Moving the blender steadily and avoiding over-whipping prevents turning your cream into butter. Here’s a quick comparison:
| Factor | Effect on Whipping Speed | Impact on Cream Stability |
|---|---|---|
| Temperature | Colder cream whips faster | Better stability |
| Fat Content | Higher fat speeds up process | More stable peaks |
| Blender Speed | Faster speed reduces time | Risk of over-whipping |
| Cream Freshness | Fresher cream whips quicker | Improved stability |
Adjust these factors for perfect whipped cream without overdoing it.
How to Make Flavored or Sweetened Whipped Cream
To add flavor or sweetness to your whipped cream, start by selecting your preferred ingredients—such as vanilla extract, cocoa powder, honey, or powdered sugar—and incorporate them during the final stages of whipping. This allows the flavors to blend evenly without deflating the cream. For flavored varieties and sweetening options, consider these ideas:
- Add vanilla or almond extract for a classic flavor
- Mix in cocoa powder or espresso powder for a rich taste
- Sweeten with powdered sugar or honey
- Fold in fruit purees or flavored syrups
- Incorporate a pinch of cinnamon, nutmeg, or other spices
These options help you customize your whipped cream to suit any dessert or preference, making it a versatile topping or ingredient in your recipes.
How to Store and Serve Your Homemade Whipped Cream
Proper storage is key to maintaining the freshness and fluffy texture of your homemade whipped cream. Keep it in an airtight container or cover the bowl tightly with plastic wrap to prevent it from absorbing odors. For best results, store it in the coldest part of your refrigerator and use it within 24 hours for ideal fluffiness. When serving, use a clean spoon or spatula to avoid deflation, or pipe it directly onto desserts for a polished look. If the whipped cream begins to lose volume, give it a quick whisk or re-whip briefly to revive its consistency. For presentation, serve your whipped cream chilled, and consider adding toppings or garnishes just before serving to keep it looking fresh and appealing.
Frequently Asked Questions
Can I Use a Hand Mixer Instead of an Immersion Blender?
Yes, you can use a hand mixer instead of an immersion blender. Hand mixers are a popular alternative and work well for whipping cream quickly and efficiently. While immersion blenders offer the benefit of easier cleanup and a more direct approach, hand mixers give you more control over the whipping process. Both options are effective, so choose based on your preference and the tools you have available for the best whipped cream.
What Are the Best Types of Cream for Whipping?
Think of whipping cream like a dance—your cream’s stability depends on its fat content. For perfect results, opt for heavy cream or double cream with at least 36% fat. Higher fat content, like heavy whipping cream, creates more stable, fluffy peaks, preventing it from turning into butter. Lower-fat options won’t hold shape as well, so stick with high-fat creams for the best whipped topping every time.
How Do I Prevent Over-Whipping the Cream?
To prevent over-whipping, keep an eye on the beating speed and ingredient temperature. Use a moderate speed on your immersion blender and stop as soon as soft peaks form. Chill the cream beforehand, as colder ingredients whip more easily and evenly. Regularly check the texture to avoid turning your cream into butter. Once it reaches the desired consistency, immediately turn off the blender to prevent over-whipping.
Can I Make Whipped Cream With Plant-Based or Non-Dairy Creams?
You can definitely whip up plant-based alternatives for dairy-free options, turning them into fluffy clouds of whipped cream. Think of plant-based creams as a blank canvas, ready to be transformed with your immersion blender. Use coconut, almond, or cashew-based creams, chilling them thoroughly before whipping. Keep an eye on your progress to prevent over-whipping, and enjoy a dairy-free treat that’s just as delightful as traditional whipped cream.
Is It Necessary to Chill the Immersion Blender Before Use?
You don’t need to chill your immersion blender itself, but chilling your mixing bowl and cream is vital for better whipping results. Proper chilling helps with temperature control, which is indispensable for achieving fluffy whipped cream without turning it into butter. Keep the cream cold before blending, and if you want even better results, you can briefly chill the immersion blender’s attachments. This ensures your whipped cream gets the perfect texture.
Conclusion
Now that you know how to whip cream with an immersion blender without turning it into butter, you’re equipped to create fluffy, delicious toppings in minutes. With a little practice, you’ll master this skill faster than you can say “dessert masterpiece.” So grab your immersion blender and some fresh cream—your taste buds are about to thank you for this game-changing kitchen trick. Get ready to impress everyone with your whipped cream prowess—your desserts will never be the same!