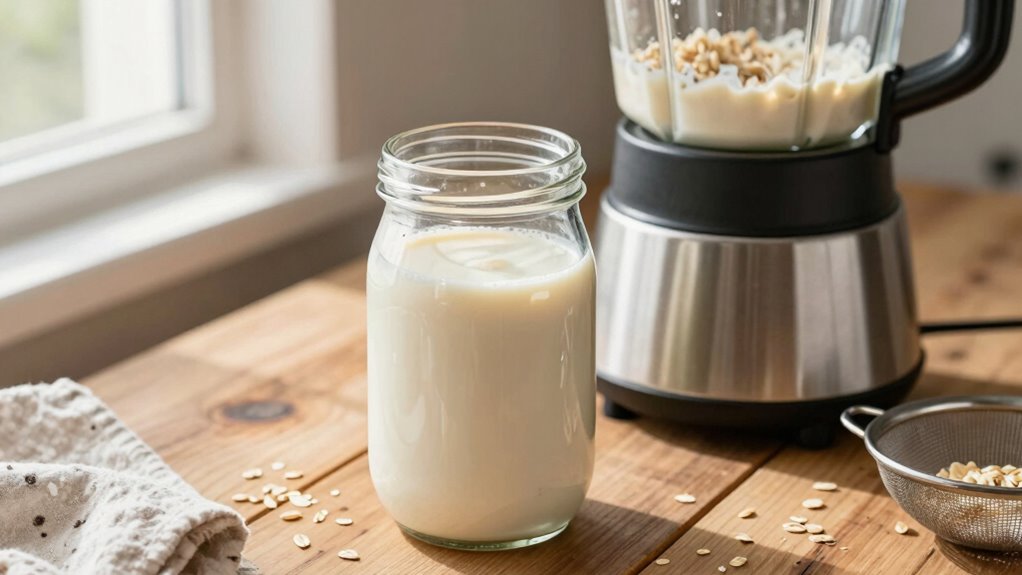

To make oat milk without slime, you should follow the blend-time rule carefully. Blend your soaked oats for 30-45 seconds at high speed—stop once the mixture is smooth and creamy. Avoid over-blending, as this releases excess starch and causes sliminess. Rinsing oats thoroughly before blending and straining through a fine bag also help. Mastering these steps guarantees silky, non-slimy oat milk, and more tips are just a glance away.
Key Takeaways
- Blend oats for 30-45 seconds using high-speed, avoiding over-blending to prevent excess starch release and sliminess.
- Use the blend-time rule: stop blending once the mixture is smooth and creamy, not after prolonged blending.
- Properly soak oats for at least 8 hours and rinse thoroughly to reduce surface starches and slimy texture.
- Avoid over-processing by pulsing and straining the mixture through a fine nut milk bag for a silky result.
- Adjust blending time based on oats’ texture and ensure proper storage to maintain fresh, non-slimy oat milk.

Cotton Farm Nut Milk Bag & Cheese Cloth Bag (Ultra Dense), XL 14 × 14 Inch, 100% Unbleached Cotton Cheesecloth for Precise Food Straining, Washable & Reusable
𝐒𝐦𝐨𝐨𝐭𝐡, 𝐂𝐥𝐞𝐚𝐧 𝐍𝐮𝐭 𝐌𝐢𝐥𝐤 – 𝐍𝐨 𝐏𝐮𝐥𝐩 Fine, dense cotton weave strains nut milk smoothly while keeping pulp…
As an affiliate, we earn on qualifying purchases.
As an affiliate, we earn on qualifying purchases.
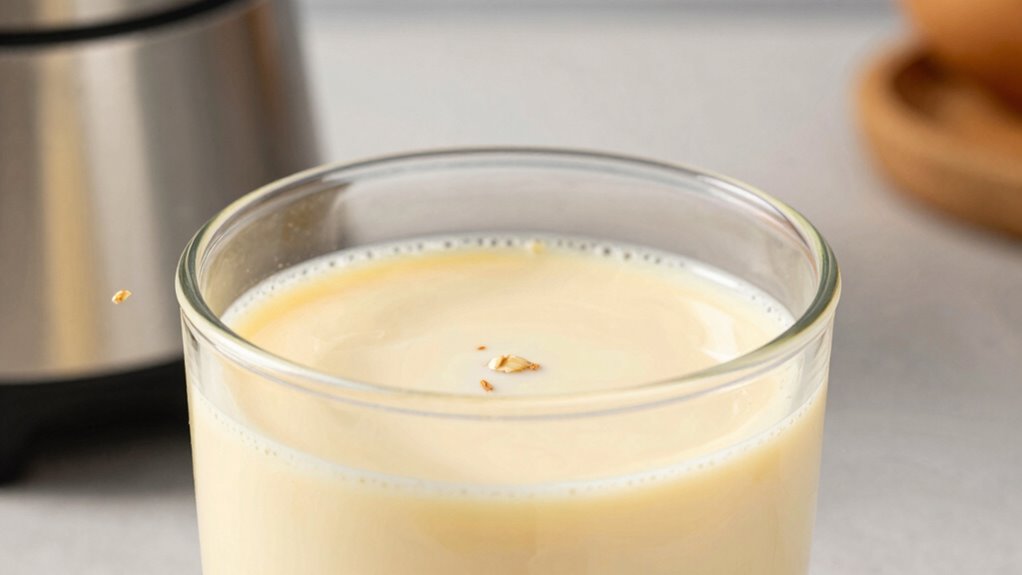
Why Does Oat Milk Get Slimy? Understanding the Common Problem
Oat milk can sometimes turn slimy, which often puzzles those making it at home. The main reason is often related to oat quality—using oats that are too starchy or old can increase sliminess. Additionally, poor storage tips can cause the milk to develop an undesirable texture. If you keep your oat milk at room temperature for too long or don’t store it in an airtight container in the fridge, bacteria and enzymes can cause it to thicken and become slimy. To prevent this, choose fresh, high-quality oats, and always store your oat milk properly. Using good oats and following proper storage tips helps maintain a smooth, creamy consistency without the slimy texture. Proper projector calibration can also improve the visual quality of your home cinema setup, ensuring vibrant, accurate colors and optimal contrast.

AESTHETERN Nut Milk Maker Machine, Soy Milk & Oat Milk Maker with 8 Presets, High-Speed Blender, Auto-Clean, Delay Start, 33oz Almond Milk Maker for Plant-Based & Dairy-Free Beverages, Green
【8-in-1 Smart Nut Milk Maker】Make soy milk, almond milk, oat milk, nut milk, juice, smoothies, or even boil…
As an affiliate, we earn on qualifying purchases.
As an affiliate, we earn on qualifying purchases.
How the Blend-Time Rule Keeps Your Oat Milk Smooth
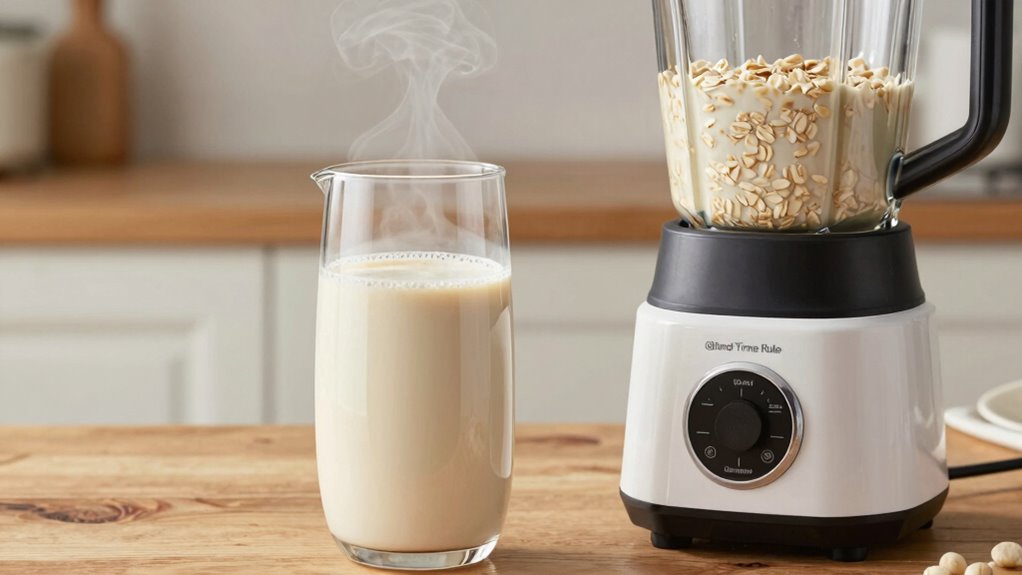
By following the blend-time rule, you guarantee your oat milk stays creamy and smooth. Too long or too short blending can cause it to become slimy or gritty. Keeping the right blend time helps you achieve the perfect texture every time. Additionally, understanding the essential oils that support oral and respiratory health can enhance overall well-being during your daily routine. Proper blending techniques are essential for consistent results and avoiding common issues like sliminess, ensuring your oat milk remains enjoyable and nutritious. Recognizing the importance of passive voice detection can further improve your writing clarity and effectiveness. Moreover, incorporating piercing care and hygiene practices into your routine can help prevent irritation and maintain your health during the process. Lastly, mastering sustainable practices in your kitchen can contribute to more eco-friendly food preparation.
Creamy Texture Preservation
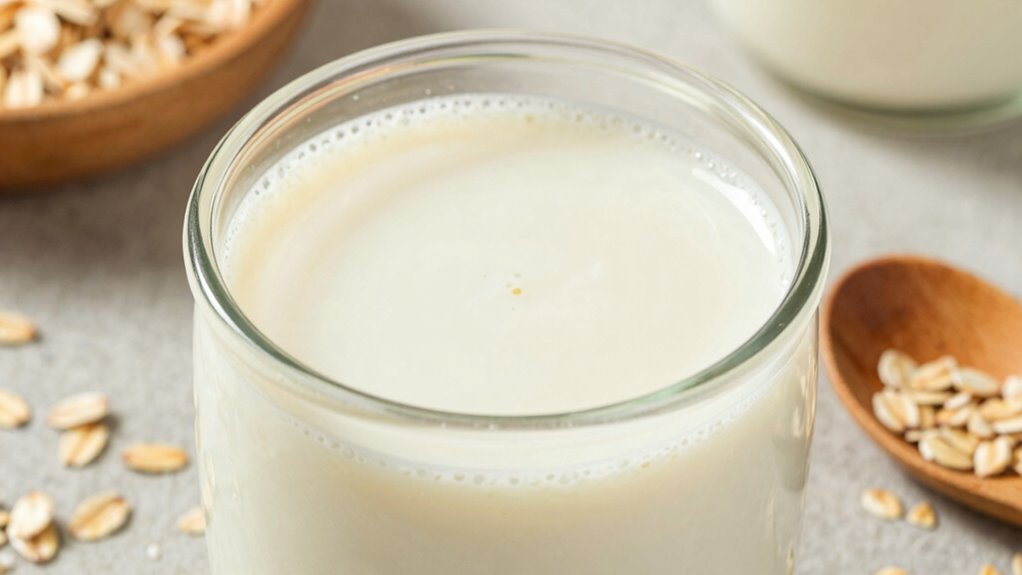
Maintaining a creamy texture in your oat milk largely depends on following the blend-time rule. When you blend for the right duration, you extract the perfect amount of starches, ensuring smoothness without sliminess. To keep your oat milk rich and velvety, experiment with flavor combinations like vanilla or a touch of cinnamon, which enhance creaminess naturally. Proper storage techniques also play a role; keep your milk refrigerated in airtight containers, which helps preserve its smooth texture longer. Avoid over-blending, which can make the milk slimy, or under-blending, which leaves it gritty. Sticking to the blend-time rule ensures your oat milk remains luxuriously creamy, flavorful, and fresh from first blend to final sip. Incorporating a mindful approach to sustainable practices can also contribute to environmentally friendly oat milk production while maintaining quality. Additionally, understanding natural thickeners can help you achieve an even creamier consistency without additives.
Preventing Slime Formation
Since over-blending can turn your oat milk slimy, it’s crucial to stick to the recommended blend-time rule. Proper oat processing ensures you break down the grains without releasing excessive starch, which can cause slime. By blending just enough, you prevent the formation of slimy textures, keeping your milk smooth. Avoid blending for too long, as overdoing it releases more starch and creates a gummy consistency. Additionally, adhering to the ideal blend time preserves the natural flavor enhancement of your oat milk, making it tastier without unwanted sliminess. Using the right blend duration helps you achieve a consistent, silky texture while maintaining the nutritional integrity of the oats. Follow the blend-time rule precisely for a clean, creamy oat milk every time.
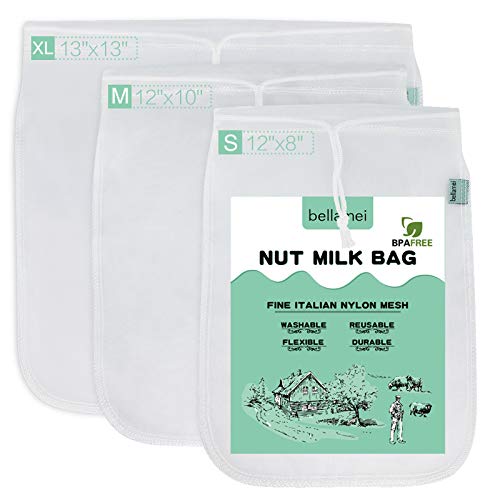
Bellamei Nut Milk Bag Reusable 3 Pack Food Strainer Nut Bags for Straining Almond/Soy Milk Greek Yogurt Professional for Cold Brew Coffee Tea Beer Celery Juice Fine Nylon Mesh(8"x12"/10"x12"/13"x13")
Kind Reminder: We specializes in producing this high quality and super fine nut milk bag, please carefully identify…
As an affiliate, we earn on qualifying purchases.
As an affiliate, we earn on qualifying purchases.
Preparing Oats for Perfect Blending Without Sliminess

To get smooth, sliminess-free oat milk, you need to prepare your oats correctly. Start by soaking them thoroughly to soften and reduce sliminess, then rinse well to wash away excess starch. Proper preparation guarantees your blend is silky and delicious every time.
Soaking Oats Properly
Soaking oats properly is essential for achieving a smooth, creamy oat milk without any sliminess. Proper oat soaking reduces phytic acid, improves digestibility, and enhances flavor. To get the best results, use filtered water and let the oats soak for at least 8 hours or overnight. This process helps break down enzymes that cause sliminess and boosts flavor enhancement. Additionally, understanding Rhythm Failure techniques can help you achieve a more consistent texture in your homemade oat milk. Consider these tips:
- Use enough water to fully submerge the oats
- Keep soaking at room temperature or slightly cooler
- Rinse oats thoroughly after soaking to remove excess starch
- Avoid over-soaking, which can lead to sourness and sliminess
- Employ timing adjustments to optimize soaking duration based on your environment
Following these steps ensures your oats are ready for blending into silky, delicious oat milk.
Rinsing for Smoothness
Rinsing oats thoroughly after soaking is essential for achieving smooth, creamy oat milk without sliminess. Proper rinsing removes surface starches that can thicken the milk and disrupt texture consistency. Use a fine mesh strainer and rinse the oats under cold water, swirling gently to wash away excess starch. This step ensures your oat milk remains silky and prevents a grainy or slimy texture. Additionally, rinsing helps enhance flavor by eliminating any residual dirt or bitterness from the oats. When you rinse thoroughly, you set a solid foundation for blending, resulting in a smoother, more enjoyable drink. Taking this extra moment ensures your oat milk will have the perfect creamy consistency and fresh flavor, making your homemade oat milk truly satisfying. Consider adjusting your blend time based on the oats’ texture for even better results.

Syntic Square Liter Glass Milk Bottles with Airtight Lid – 100% Leak-Proof Heavy Duty Screw Cap, 32 Oz Glass Juice Bottles w Scale Mark, Reusable Jugs Pitcher for Homemade Juice(Extra 1 Lid and Pen)
Solid and Durable, Keep Milk Colder: Glass water bottles are more durable and make the milk colder compared…
As an affiliate, we earn on qualifying purchases.
As an affiliate, we earn on qualifying purchases.
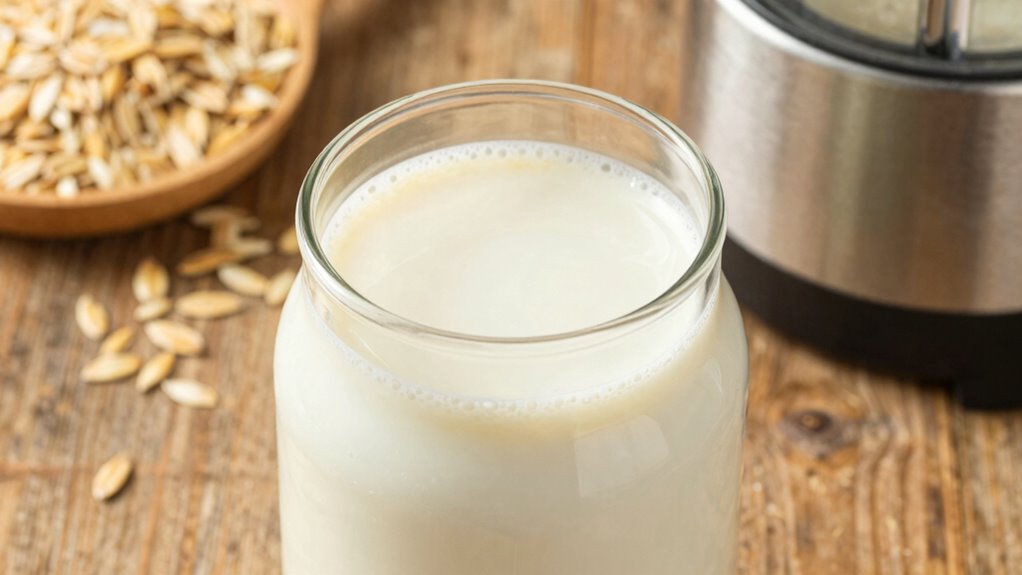
The Exact Blend-Time Technique to Make Non-Slimy Oat Milk
Achieving smooth, non-slimy oat milk hinges on blending it just long enough to release the right amount of starch without overdoing it. The key is mastering the blend-time to optimize oat texture and prevent sliminess. Typically, blend for about 30-45 seconds, stopping when the mixture looks evenly combined but not overly frothy. Proper culinary techniques ensure consistent results and help you understand how ingredient properties affect the final product. Consider these tips: – Use a high-speed blender to ensure even blending and better control. – Pulsing in short bursts helps prevent over-processing. – Pay attention to texture; stop blending once it looks smooth and creamy. – Avoid blending beyond 45 seconds, as longer times release excess starch, leading to sliminess. This precise blend-time balances oat texture and preserves the milk’s smoothness, and understanding starch release is crucial for perfect results.
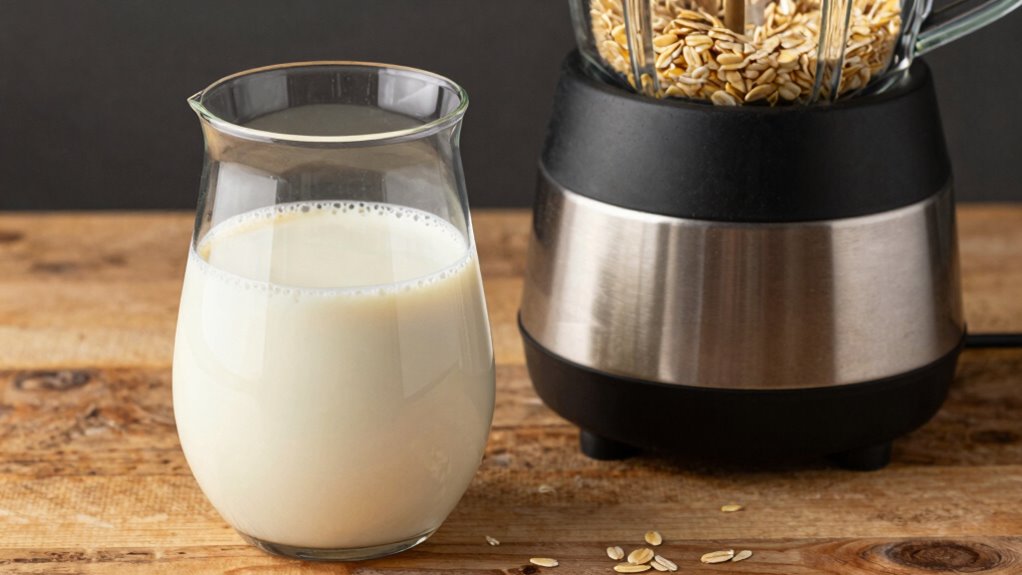
Tips for Creamy, Non-Slimy Homemade Oat Milk
For creamy, non-slimy homemade oat milk, controlling your blending process is essential. Use a high-speed blender and blend just enough to break down the oats without overdoing it, typically around 30-45 seconds. Rinsing the oats thoroughly before blending reduces excess sliminess and preserves the nutritional benefits, like fiber and vitamins. To enhance flavor, consider adding a pinch of salt, a splash of vanilla, or a touch of sweetener during blending. Avoid over-blending, which can release too much slimy starch and compromise texture. Proper blending techniques are key to achieving the desired consistency. Straining the mixture through a fine nut milk bag or cheesecloth ensures a smooth, creamy consistency. These tips help you achieve delicious oat milk that’s both nutritious and perfectly flavorful. Incorporating quality ingredients can further improve the final product’s taste and texture.
Troubleshooting Common Oat Milk Issues
Even with careful blending and straining, some common issues can still arise when making oat milk at home. If your milk tastes bland or has an off-flavor, try adjusting your flavor options by adding vanilla or a pinch of salt. If the texture is too thin or watery, consider soaking oats longer or using less water during blending. For a slimy or gummy consistency, avoid over-blending and ensure thorough straining. Proper storage tips include keeping your oat milk refrigerated in an airtight container and consuming it within 4-5 days to prevent spoilage. To improve flavor options, experiment with natural sweeteners or flavorings. Regularly cleaning your equipment helps prevent unwanted flavors and guarantees your oat milk stays fresh and tasty. Paying attention to filtration techniques can also help improve the overall quality of your homemade oat milk. Additionally, understanding net worth and other personal finance insights can help you budget better for kitchen supplies and ingredients. Being aware of cultural beliefs surrounding food preparation can enhance your confidence in experimenting with different recipes and techniques. Furthermore, exploring cost-effective strategies can assist you in making your homemade oat milk more affordable. Incorporating proper equipment maintenance is also essential to ensure consistent results and extend the lifespan of your kitchen tools.
Creative Variations Once You Master the Blend-Time Rule

Once you’ve perfected the blend-time rule for making smooth oat milk, you can start experimenting with creative flavor variations to personalize your drinks. Adding ingredients like vanilla, cocoa, or cinnamon can enhance flavor and boost nutritional benefits. These variations not only make your oat milk more exciting but also cater to different tastes and dietary needs. Here’s a quick guide to some popular options:
| Flavor Type | Ingredients | Benefits |
|---|---|---|
| Chocolate | Cocoa powder, sweetener | Rich flavor, antioxidants |
| Spiced | Cinnamon, nutmeg | Anti-inflammatory properties |
| Vanilla | Vanilla extract | Natural sweetness, calming |
Feel free to combine these or create your own unique blends for nutritious, flavorful oat milk. Additionally, experimenting with flavor profiles can help tailor your oat milk to suit specific dietary preferences or culinary uses. Incorporating artisanal techniques can elevate your homemade oat milk to a new level of quality and uniqueness. You might also explore techniques for balancing flavors, which can help create well-rounded and satisfying drinks.
Why Using the Blend-Time Rule Consistently Matters

Mastering the blend-time rule is key to making smooth, high-quality oat milk, but sticking to it consistently guarantees you get the best results every time. When you follow the rule, you guarantee the oat quality remains ideal, preventing slimy textures. Consistency also preserves the nutritional benefits, as proper blending releases more nutrients. Ignoring the rule can lead to uneven texture and diminished flavor. By maintaining a steady blend time, you maximize creaminess and nutrient extraction, making each batch healthier and tastier.
- Guarantees uniform texture and consistency
- Preserves nutritional benefits by optimizing nutrient release
- Prevents sliminess caused by over-blending
- Enhances overall flavor and creaminess
Frequently Asked Questions
Can I Use Different Types of Oats to Prevent Slime?
Yes, using different oat varieties can help prevent slime in your oat milk. Opt for steel-cut oats or less processed oats, as they tend to produce a creamier texture with less sliminess. The oat processing method affects the starch content, which influences sliminess. Experimenting with various oat types allows you to find the best balance, resulting in smooth, delicious oat milk without that unwanted sticky texture.
How Does Soaking Oats Affect the Blending Process?
Soaking oats for 15–30 minutes in warm water helps soften them, making blending easier and smoother. Warmer water speeds up soaking, reducing blending time and preventing slime, while cold water takes longer and may lead to a slimier texture. Be sure not to soak too long, as over-soaking can break down the oats excessively, resulting in a slimy mixture. Adjust soaking duration and water temperature for the best oat milk consistency.
Is Skim or Whole Milk Better for Making Oat Milk?
Think of milk choices as the canvas for your oat milk masterpiece. Whole milk, with its richer protein content, adds a creamy depth, while skim milk offers a lighter touch. When choosing oat varieties, opt for heartier oats to enhance texture. For a balanced blend, whole milk better complements the oats, creating a smoother, more luxurious drink. Skim can work, but it might lack the richness you desire.
What Tools Are Best for Achieving Smooth Oat Milk?
You’ll want a high-speed blender like a Vitamix or Blendtec to achieve smooth oat milk while maximizing nutrient retention. These eco-friendly options blend quickly and evenly, preventing slime and ensuring a silky texture. Use a nut milk bag or fine mesh strainer for the best results, and avoid over-blending to preserve nutrients. With these tools, you get fresh, smooth oat milk that’s both nutritious and environmentally conscious.
Can I Add Flavors Without Increasing Sliminess?
Imagine your oat milk as a canvas, waiting for vibrant flavor infusions without a slime shadow. You can add natural flavorings like vanilla, cinnamon, or cocoa without increasing sliminess by choosing the right oat variety, such as rolled or quick oats, which help maintain smoothness. Blend gently, and strain thoroughly. This way, your milk stays silky while bursting with flavor, turning each sip into a harmonious dance of taste and texture.
Conclusion
Think of making perfect oat milk like tending a delicate garden. When you follow the blend-time rule, you’re nurturing each strand of oat and water, avoiding the weeds of slime. Consistency is your watering can, helping your garden flourish with smooth, creamy milk. With patience and the right timing, you’ll harvest a beautiful, slime-free batch every time. Keep tending your garden of oats, and enjoy the sweet reward of flawless homemade oat milk.