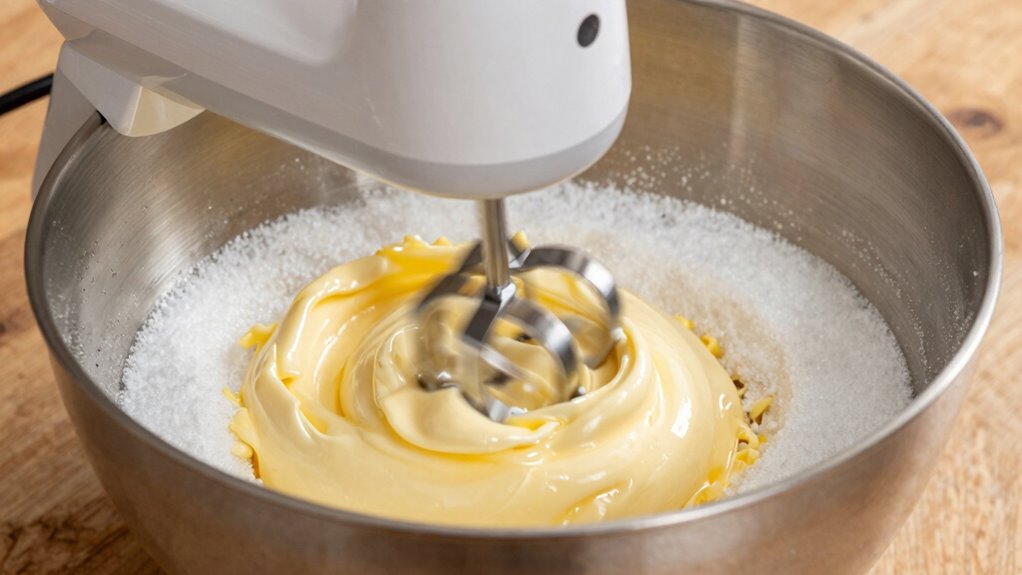

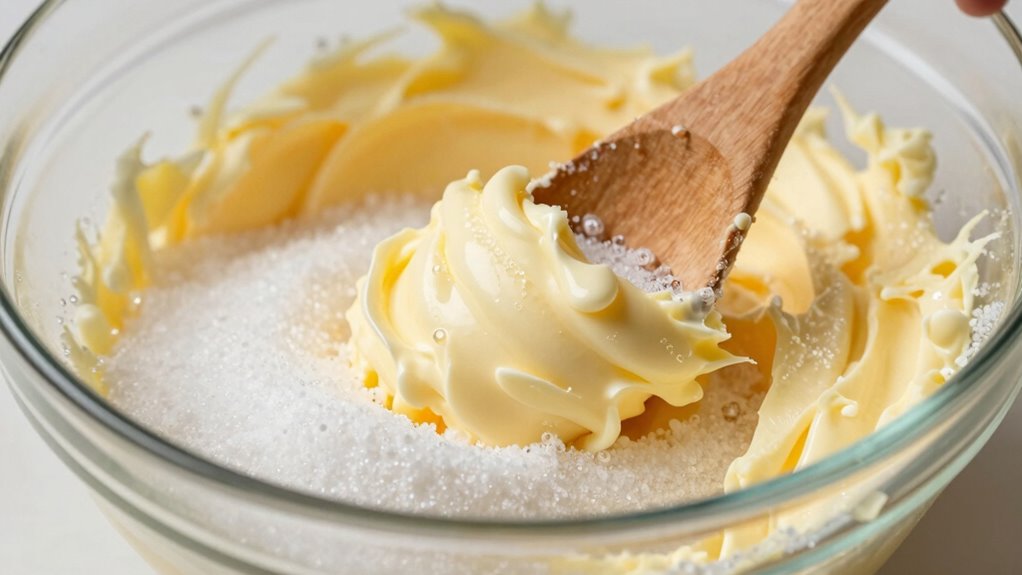
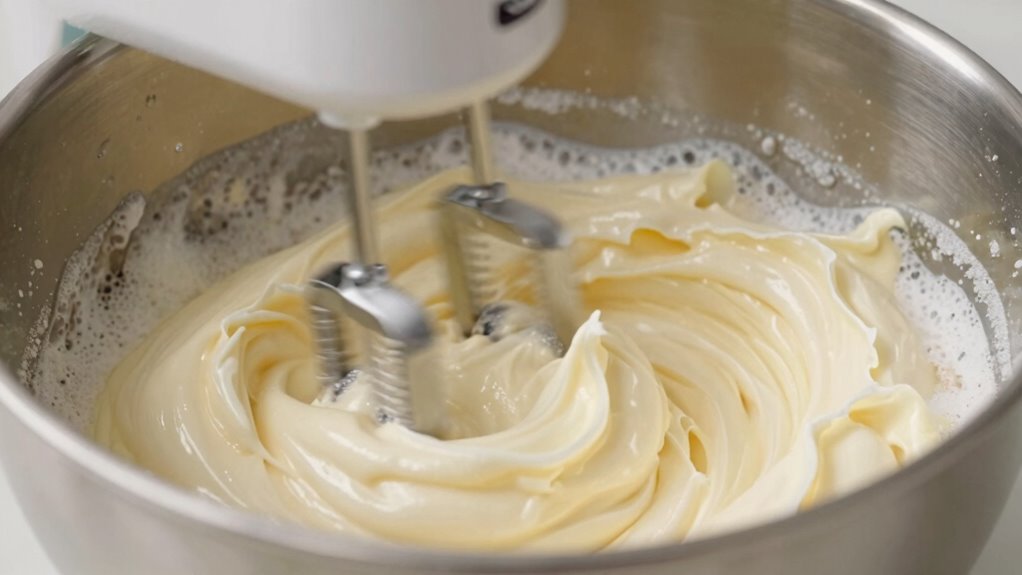
To cream butter and sugar properly for taller cakes, make sure the butter is softened to room temperature, and use superfine or caster sugar. Beat them together at medium speed until the mixture is pale, fluffy, and has doubled in size, about 3-5 minutes. Scrape down the bowl regularly to keep everything well combined. Avoid overmixing once it reaches the right consistency, and you’ll be on your way to more lofted, tender cakes—learn how to master this technique step by step.
Key Takeaways
- Use softened, room temperature butter to ensure smooth mixing and optimal air incorporation.
- Cream butter and superfine sugar at medium speed until light, fluffy, and doubled in size.
- Gradually add sugar while mixing to promote even aeration and prevent deflation of air bubbles.
- Scrape down the sides of the bowl regularly for consistent blending and air distribution.
- Avoid overmixing after reaching the desired creamed consistency to maintain trapped air and maximize cake rise.

Judee's Gluten Free Butter Powder – Versatile Cooking & Baking Butter Powder – Gluten-Free & Keto-Friendly Formula – 11.25 Ounce, Pack of 1
Premium Powdered Delight: Judee's Butter Powder offers a versatile, convenient substitute for fresh butter, ideal for gluten-free and…
As an affiliate, we earn on qualifying purchases.
As an affiliate, we earn on qualifying purchases.
Why Creaming Butter and Sugar Is Critical for a Perfect Cake
Creaming butter and sugar is a crucial step because it creates the foundation for a light and airy cake. When you beat them together, the butter’s rich flavor infuses the batter, enhancing the overall butter flavor in your cake. As you mix, sugar begins to crystallize, trapping air bubbles that help the batter expand during baking. This process ensures your cake will be tender and have a fine crumb. Proper creaming also prevents dense textures by evenly distributing fat and sugar. If you skip or rush this step, your cake may turn out flat or heavy. Taking your time to cream the butter and sugar thoroughly results in a better rise and a more flavorful, delicate crumb. Additionally, understanding the importance of Free Floating in the baking process can help you optimize ingredient distribution and achieve consistent results. This simple step is essential for professional-quality cakes.

India Tree Superfine Caster Sugar, 1.75 lb | NonGMO, Gluten-Free Premium Baking & Dessert Cane Sugar
Ultra-fine & fast-dissolving: achieve perfectly smooth batters, delicate meringues, and silky sauces with our ultra-fine caster sugar that…
As an affiliate, we earn on qualifying purchases.
As an affiliate, we earn on qualifying purchases.
The Science Behind Creaming and Cake Rise
When you cream butter and sugar, you’re trapping tiny air bubbles that help your cake rise. The fat in the butter also supports the structure, making the cake tender and moist. Understanding how these elements work together explains why proper creaming is essential for a light, fluffy cake. Additionally, the texture of the batter influences how well the cake will rise during baking. Proper creaming creates an even distribution of air, which is crucial for consistent rising and a uniform crumb. Using the right techniques and tools can further enhance the effectiveness of the creaming process. Mastering the creaming method ensures optimal incorporation of air and fat for the best baking results, and paying attention to ingredient temperature can significantly improve the process.
Incorporation of Air Bubbles
Have you ever wondered how creaming butter and sugar helps your cake rise? It all comes down to air bubble formation. When you whisk, you’re trapping tiny air pockets within the mixture. Proper whisking techniques are essential; using a consistent, vigorous motion creates more uniform air bubbles that expand during baking. These bubbles act as leavening agents, giving your cake its lift and light texture. The key is to beat the butter and sugar just enough to incorporate air without overmixing, which can deflate the bubbles. As you continue whisking, the mixture becomes pale and fluffy, indicating ideal air incorporation. Incorporating proper creaming techniques like using a stand mixer can help maintain consistent mixing speeds for optimal results. Maintaining the correct mixing speed prevents breaking down the air bubbles, ensuring a light and tender crumb. This process ensures your cake will rise higher and have a tender crumb, thanks to the well-distributed air bubbles. Additionally, understanding the science behind creaming can help you refine your method for even better results. Using the right techniques can make all the difference in achieving a perfectly risen cake.
Fat’s Role in Structure
Fats play a essential role in creating the structure of a cake by coating flour particles and inhibiting gluten formation. When you cream butter with sugar, the fat coats the flour, preventing excessive gluten development that could make your cake dense. Additionally, the process of butter melting releases fats that help trap air bubbles, contributing to rise. Sugar granularity influences how evenly fats distribute, affecting the creaming process. If sugar is too coarse, it won’t incorporate well, leading to less structure. Conversely, finer sugar dissolves more readily, aiding in a smoother, more stable structure.
| Aspect | Effect |
|---|---|
| Butter melting | Releases fats that trap air for lift |
| Sugar granularity | Affects creaming efficiency and structure |
| Fat coating | Inhibits gluten, keeps cake tender |

Hamilton Beach 6-Speed Electric Hand Mixer with Whisk, Traditional Beaters, Snap-On Storage Case, 250 Watts, White
NO MORE LOST BEATERS: The snap-on storage case that comes with the Hamilton Beach hand mixer neatly holds…
As an affiliate, we earn on qualifying purchases.
As an affiliate, we earn on qualifying purchases.
How to Choose the Best Butter and Sugar for Creaming
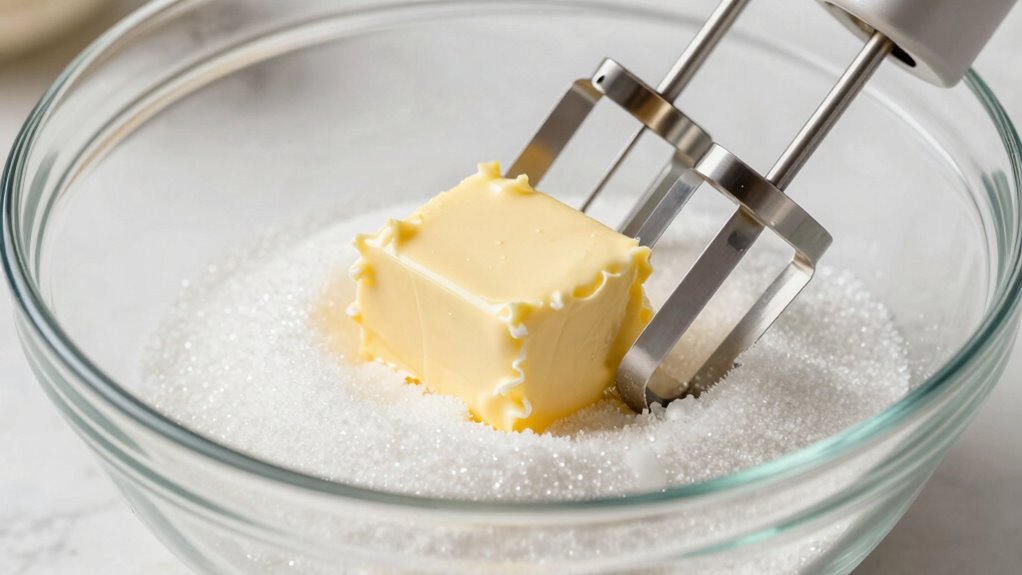
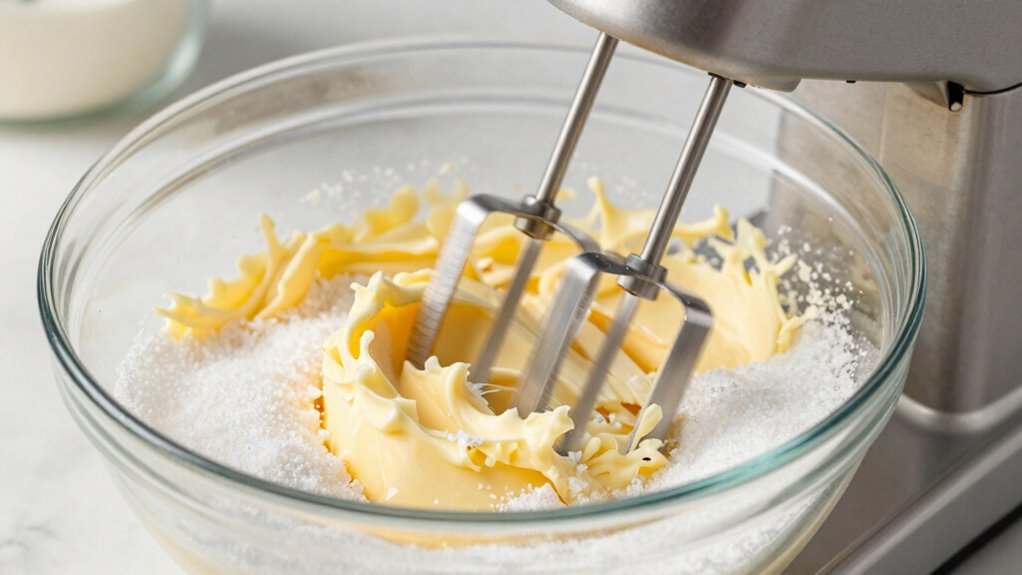
Choosing the right butter and sugar is essential for achieving perfect creaming. Start with high-quality butter, ideally unsalted and fresh, as butter quality impacts how smoothly it blends with sugar. Look for butter with a good fat content—around 80%—to ensure it creams easily and creates a light, airy texture. When selecting sugar, focus on sugar granularity; superfine or baker’s sugar dissolves more quickly and creates a smoother mixture than coarse granulated sugar. Using the right sugar helps you achieve a consistent, fluffy texture. Avoid low-quality or overly processed ingredients, as they can hinder proper creaming. By selecting the best butter and sugar, you set a solid foundation for your batter, helping your cakes rise higher and turn out more tender.

SURDOCA Dough Scraper Bench Scraper – 3P 4.7×3.7" Plastic Flexible Bowl Scraper, Sharp Edge & Angles Cake Scraper. Non-Slip Bakeware Decorating Tools Sculpting & Modeling Tools – Green+White+Green
👩🍳👩🍳👩🍳PERFECT WORK WITH VARIOUS KNEADING BOWLS — Instead of traditional rigid PP plastic, These flexible dough scrapers are…
As an affiliate, we earn on qualifying purchases.
As an affiliate, we earn on qualifying purchases.
Preparing Your Ingredients for Creaming
Before you begin creaming, make sure your ingredients are at the right temperature. Properly measuring ingredients guarantees consistency and helps achieve the right texture. Use dry measuring cups for flour and sugar, and liquid measuring cups for liquids, to get accurate amounts. Freshness matters too; fresh ingredients combine better and produce better results. Check that your butter is soft but not melted, as this helps it blend smoothly with sugar. If your sugar has clumped, break it apart with a fork or whisk before mixing. Keep ingredients organized and ready, so you don’t have to rush once you start. Preparing your ingredients carefully sets a solid foundation for successful creaming, which ultimately leads to a lighter, higher-rising cake.
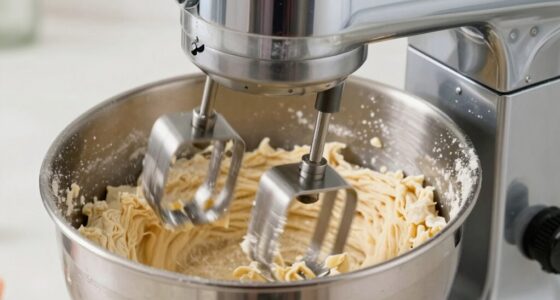
Step-by-Step: How to Cream Butter and Sugar Properly
Start by ensuring your butter and sugar are at room temperature so they mix smoothly. Use medium speed and beat the ingredients until the mixture becomes light and fluffy. This process is key to achieving the perfect texture for your baked goods. Incorporating traditional holistic health practices can also help create a balanced approach to your baking routine, promoting overall well-being. Additionally, paying attention to kitchen safety during your baking can prevent accidents and ensure a smooth process. Utilizing smart appliances with precise temperature controls can further enhance your creaming technique for consistently better results. Paying attention to load calculations and safe installation practices in your kitchen tools can help optimize your baking setup for better consistency and safety. Incorporating wellness technology such as precise temperature controls can help maintain optimal conditions for your ingredients, leading to superior baking outcomes.
Use Room Temperature Ingredients
Using room temperature ingredients is essential for achieving the best possible creaming results. When butter and sugar are at the right temperature, they blend smoothly, creating a lighter, fluffier mixture that traps air effectively. Proper temperature control guarantees the ingredients combine fully, improving the overall texture of your batter. Cold ingredients don’t incorporate as well, leading to uneven mixing and less rise in your baked goods. Always take your butter out about 30 minutes before starting, or gently warm it if needed, to reach that ideal soft, pliable state. This step also allows you to select higher-quality ingredients, which will produce a better final product. Keeping ingredients at the correct temperature is a simple but critical step to ensure your cakes turn out perfectly light and airy. Additionally, understanding seasonal checklists can help you maintain your baking supplies and ingredients at optimal conditions year-round. Proper ingredient temperature is also crucial for achieving the desired batter consistency, which directly influences how well your cake rises during baking.
Mix at Medium Speed
To cream butter and sugar properly, set your mixer to a medium speed. This ensures the sugar granules are evenly incorporated into the butter, helping develop a richer butter flavor. Mixing at medium speed allows you to control the process, preventing the mixture from becoming too airy or too stiff. As the sugar granules cut into the butter, they release moisture and flavor, creating a smoother, more cohesive base. Keep the mixer running steadily to avoid overmixing, which can affect the final texture. The goal is to achieve a creamy, pale mixture that’s well-blended without losing the butter’s richness. Controlling the mixing process helps prevent overmixing and preserves the desired texture of your batter. Proper technique during creaming ensures your cake rises higher and has a better crumb.
Achieve Light, Fluffy Texture
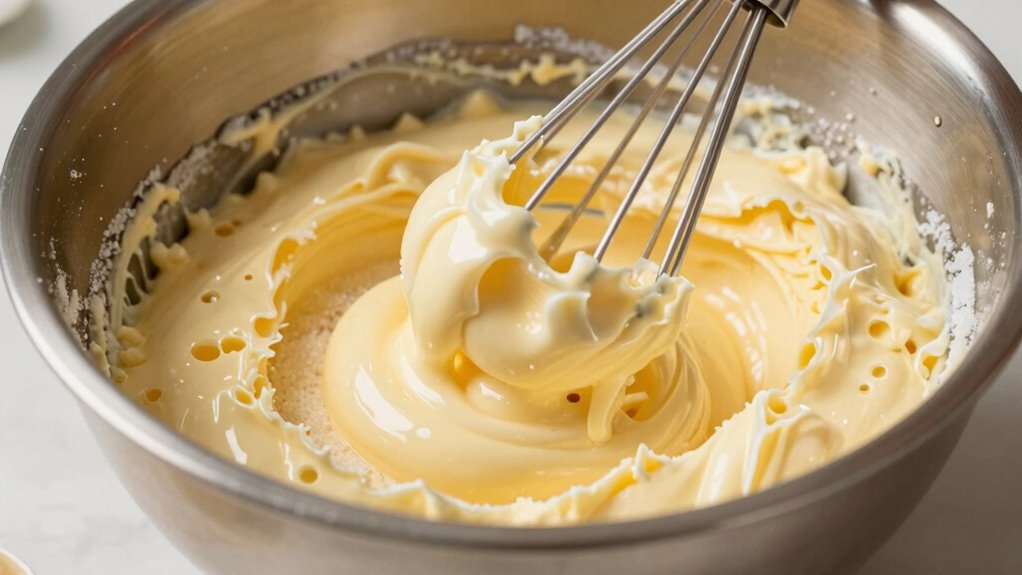
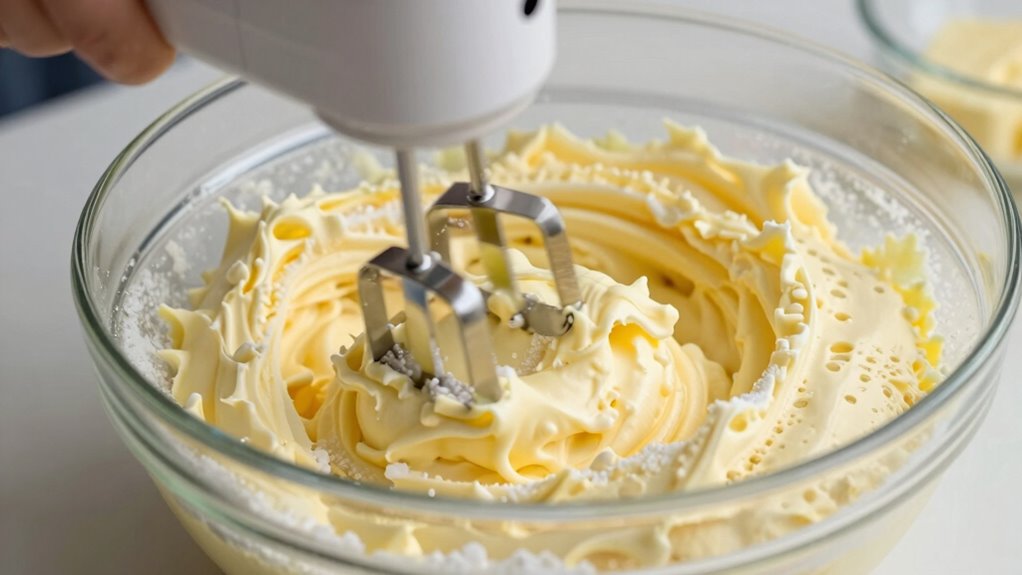
Achieving a light, fluffy texture when creaming butter and sugar relies on proper technique and patience. Start with butter at room temperature—soft enough to incorporate easily but not melting—this helps create a smooth mixture. Use sugar with fine granularity; superfine or caster sugar dissolves more quickly, aiding in aeration. Beat the butter and sugar together on medium speed, and don’t rush the process. Continue until the mixture is pale, airy, and has doubled in size, which indicates proper aeration. Properly creamed butter and sugar trap air, helping your cake rise and become fluffy. Incorporating smart kitchen appliances like stand mixers with paddle attachments can ensure consistent results. Be thorough but gentle, ensuring you don’t overmix once you’ve achieved the right texture. Patience and attention to detail are key to perfect results. Understanding aeration ensures your mixture is light enough to produce a fluffy cake.
Tips for Achieving the Perfect Creamy Texture
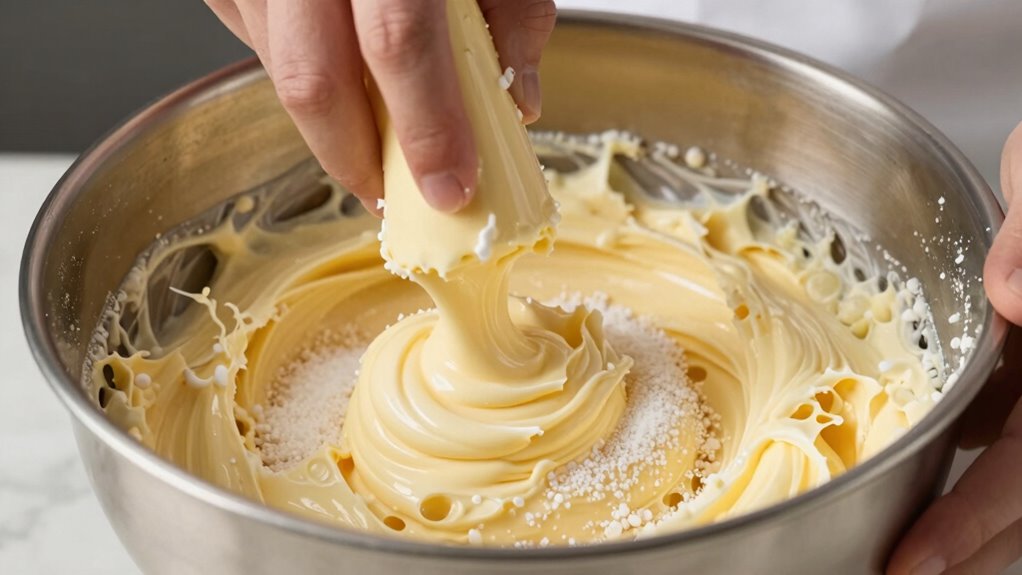
Getting the perfect creamy texture when creaming butter and sugar often comes down to a few simple techniques. Start with room temperature butter, which helps it blend smoothly and releases its full butter flavor. Use a light-colored mixing bowl to better see the mixture’s consistency. When adding sugar granules, do so gradually, allowing each addition to incorporate fully before adding more. This ensures the sugar dissolves properly, contributing to a silky, uniform mixture. Beat the butter and sugar on medium speed, which creates enough friction to aerate the mixture without overworking it. Keep your tools clean and dry, and don’t rush the process. Achieving a creamy texture depends on patience and attention to detail, resulting in a better rise in your baked goods.
Common Mistakes When Creaming and How to Avoid Them
One common mistake when creaming butter and sugar is rushing the process or using ingredients that aren’t prepared correctly. This can lead to issues like overmixing the batter or ruining the texture. Using cold ingredients slows down the creaming process, preventing proper incorporation and resulting in a dense cake. Overmixing after reaching the desired texture can develop gluten, making your batter tough rather than tender. To avoid these pitfalls, ensure your butter is softened and ingredients are at room temperature.
| Mistake | Cause | Solution |
|---|---|---|
| Overmixing batter | Prolonged mixing | Stop once it’s light and fluffy |
| Using cold ingredients | Poor softening | Use room temperature ingredients |
| Rushing the creaming process | Impatience | Allow adequate creaming time |
| Not preparing ingredients properly | Cold or unevenly mixed | Soften butter and measure ingredients carefully |
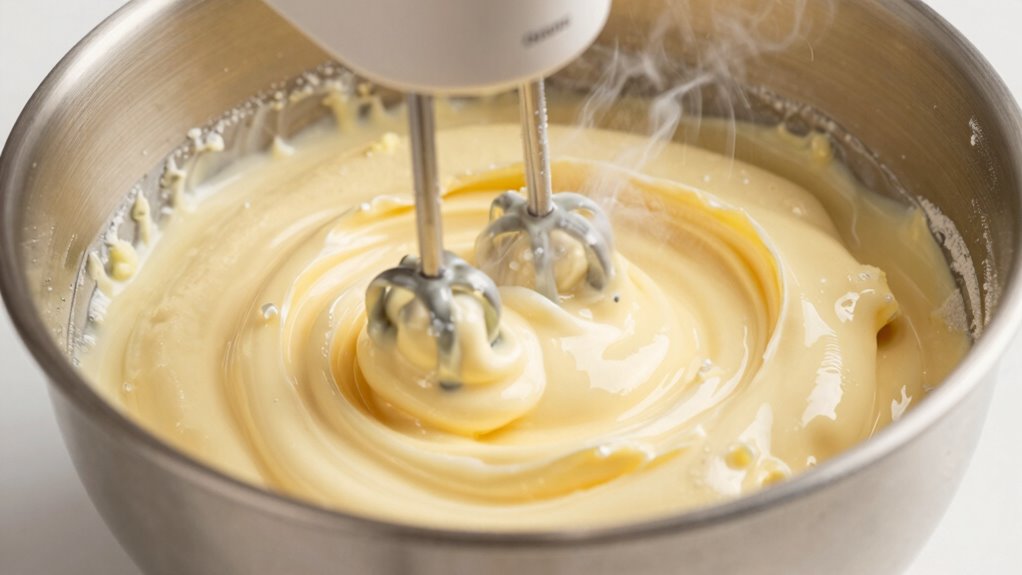
How Long Should You Cream Butter and Sugar?
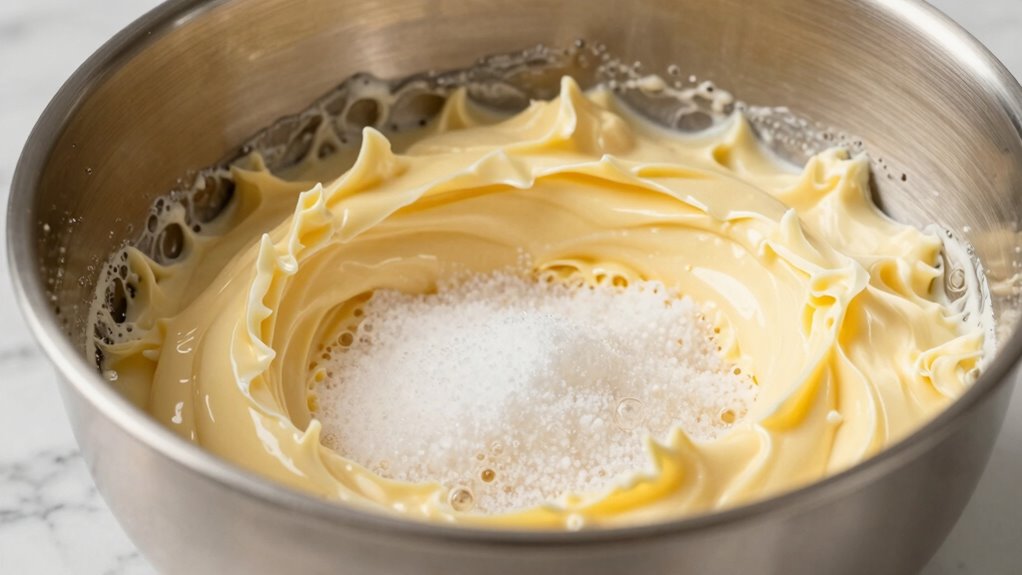
The ideal creaming time depends on the method and ingredients, but generally, you should beat the butter and sugar together for about 3 to 5 minutes. During this time, the butter’s flavor becomes richer, and the sugar dissolves to create a smoother, more uniform sugar texture. Beating too short won’t develop enough air, resulting in a denser cake, while overdoing it can make the mixture greasy or overly soft. Aim for a light, fluffy appearance and a pale color, indicating that the butter and sugar are well combined. This process guarantees the sugar is properly incorporated, enhancing both flavor and texture. Proper creaming sets the foundation for a light, airy cake that rises high and tastes delicious.
Troubleshooting: Why Your Cake Isn’t Rising and How to Fix It
If your cake isn’t rising properly, several common issues might be to blame, but the most frequent cause is improper leavening or mixing techniques. Overmixing batter can deflate the rise by developing too much gluten, while incorrect ingredient substitutions may weaken the structure. To fix this, pay attention to your process:
- Avoid overmixing after adding flour or leaveners
- Use the correct leavening agents and amounts
- Don’t replace baking powder with baking soda unless necessary
- Ensure eggs and liquids are at room temperature for better aeration
- Double-check ingredient measurements and quality
Extra Techniques for Fluffier, Taller Cakes
To get your cakes extra fluffy and tall, start with room temperature ingredients—they blend more smoothly and trap air better. As you cream the butter and sugar, make sure to incorporate air efficiently by beating until the mixture is light and fluffy. These small steps can make a big difference in achieving the perfect rise.
Use Room Temperature Ingredients
Using room temperature ingredients is crucial for achieving a light, airy texture in your cakes. When ingredients are at room temperature, they blend more evenly, creating a smoother batter that traps air effectively. This results in better rise and fluffiness. To guarantee ingredient quality and consistency, keep these tips in mind:
- Remove butter and eggs from the fridge at least 30 minutes before baking
- Use fresh, high-quality ingredients for ideal results
- Let cold ingredients sit until they reach room temperature
- Avoid microwaving ingredients directly, which can cause uneven warming
- Incorporate ingredients gradually for a uniform mixture
Incorporate Air Efficiently
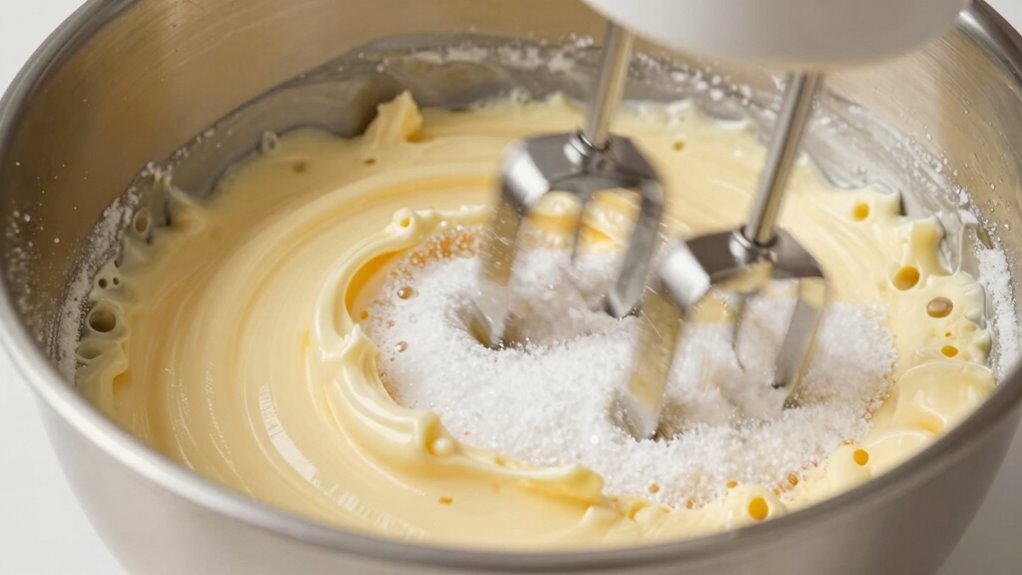
Incorporating air effectively is key to achieving a light, fluffy, and tall cake. To do this, focus on your butter technique by ensuring the butter is soft but not greasy. As you beat the butter and sugar together, use fine sugar granularity, which helps create tiny air pockets. Gradually add the sugar while beating, allowing it to dissolve and trap air efficiently. Mix at medium speed for several minutes, scraping down the sides often to maintain consistency. This process introduces tiny air bubbles that expand during baking, giving your cake its lift. Avoid rushing or overmixing, which can deflate the air. Mastering these steps ensures your cake will rise higher with a tender crumb.
Frequently Asked Questions
Can I Use Margarine Instead of Butter for Creaming?
Yes, you can use margarine instead of butter for creaming, but keep in mind that margarine alternatives may affect the texture and flavor of your cake. When creaming with margarine, choose a soft, room-temperature version for best results. Margarine tends to be softer than butter, so you might need to adjust your mixing time slightly. Overall, creaming with butter typically yields a richer, fluffier cake, but margarine is a suitable substitute.
Does the Temperature of the Butter Affect Creaming Quality?
Yes, butter temperature greatly affects creaming consistency. If your butter is too cold, it won’t blend smoothly, resulting in a lumpy mixture. Too warm, and it becomes greasy, making it hard to achieve light, fluffy texture. For ideal creaming, use softened butter at room temperature, around 65-70°F. This ensures you get a smooth, airy mixture that helps your cake rise higher and stay tender.
How Does Over-Creaming Impact My Cake’s Texture?
Imagine your batter turning into a marshmallow fluff monster—over-creaming adds too much air, making your cake dense and crumb structure uneven. Instead of a light, fluffy crumb, you get a heavy, brick-like texture that defies all expectations. Over-creaming can ruin your cake’s ideal density, leaving it chewy or coarse. Keep it just right, and your cake’s crumb will be tender, airy, and perfectly structured—no monster required.
Is It Necessary to Sift Sugar Before Creaming?
You don’t need to sift sugar before the creaming process, but doing so can help create a smoother, more integrated batter. Sifting removes lumps and aerates the sugar, making it easier to blend evenly with butter. If your sugar is clumpy, sifting guarantees consistent sweetness and texture. Overall, it’s a helpful step, especially for delicate cakes, to achieve a fine crumb and better rise.
Can I Cream Butter and Sugar in a Stand Mixer or Hand Whisk?
Imagine a symphony of mixing techniques coming together seamlessly. Yes, you can cream butter and sugar in a stand mixer or hand whisk, as both are effective equipment choices. A stand mixer offers consistent power, making it easier to achieve a light, fluffy texture quickly. A hand whisk works well too, but requires more effort. Whichever you choose, guarantee your ingredients are at room temperature for ideal results.
Conclusion
Mastering the art of creaming butter and sugar isn’t just a step—it’s the heartbeat of a tall, fluffy cake. When you get it right, you reveal the secret to baking perfection, turning simple ingredients into a masterpiece that rises with pride. So, embrace each stir with confidence; your future self will thank you for every rise and airy crumb. After all, isn’t every great cake worth a little love and a perfect start?