
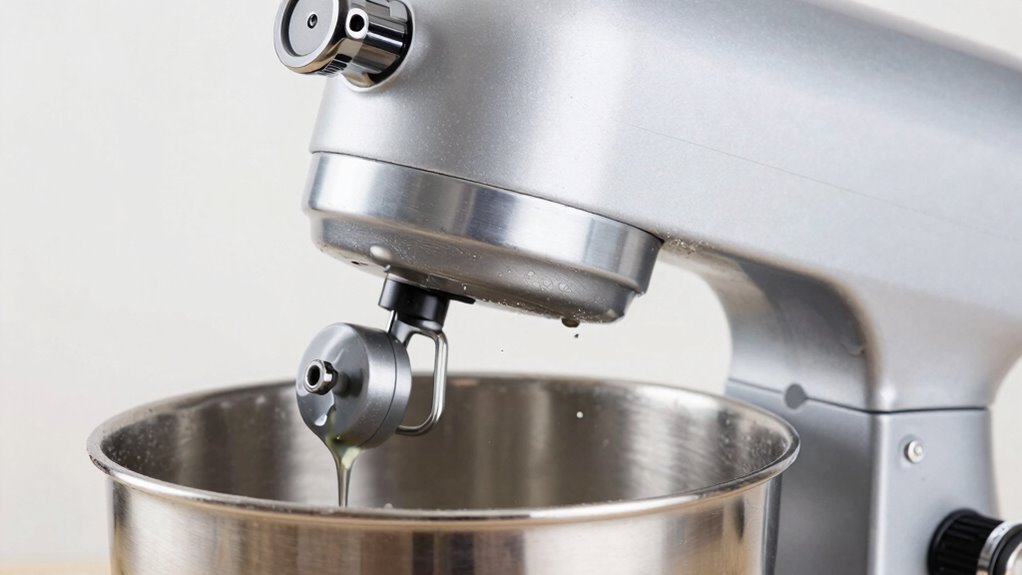
To find the grease spot most people miss under your stand mixer’s head, unplug the machine first for safety. Carefully tilt or lift the head as directed by your model’s instructions, then locate the tiny sealed grease area. Use a soft cloth or toothbrush with mild cleaner to gently wipe away old or excess grease, ensuring everything’s dry before reassembling. Continuing further will help you master the best tips to keep your mixer running smoothly and avoid issues.
Key Takeaways
- Always unplug the mixer before inspecting or cleaning the grease area under the head.
- Tilt or lift the mixer head carefully to access the hidden grease spot safely.
- Use a soft cloth or toothbrush with mild degreasing solution to clean the sealed grease area.
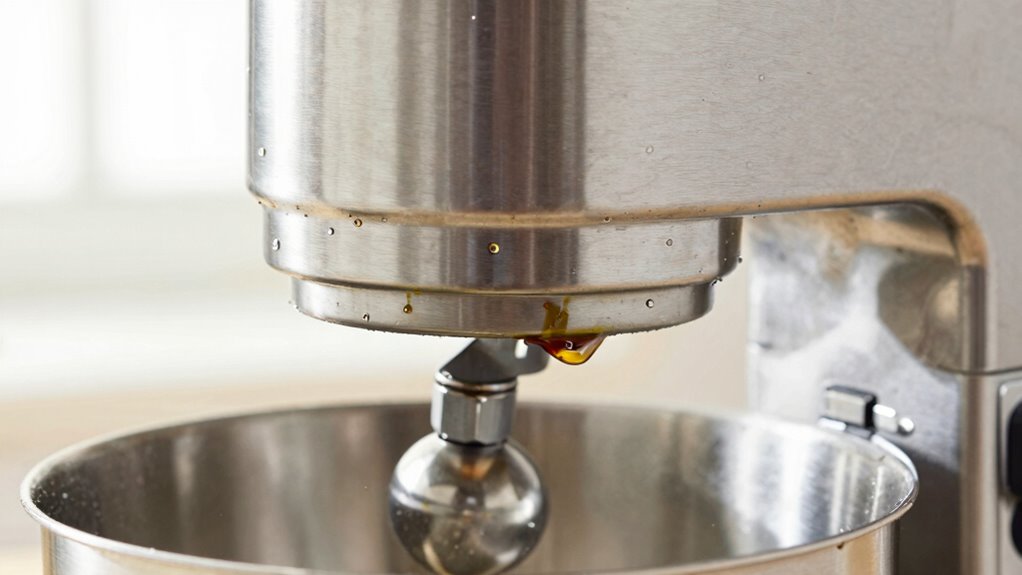
- Check for signs of dried, excess, or leaking grease to prevent buildup and damage.
- Regularly wipe the grease spot after use and tighten components to prevent future leaks.

4 Oz Food Grade Grease for Kitchen Aid Stand Mixer – by Huthbrother, Universally for Kitchen Stand Mixer, Mixer Gear Attachments, Include Gasket 9709511 4162324 with Spatula, NSF-H1 Accredited.
Fits Various Brands: Our food-grade grease is compatible with various brands to aid you mixer running smoothly at…
As an affiliate, we earn on qualifying purchases.
As an affiliate, we earn on qualifying purchases.
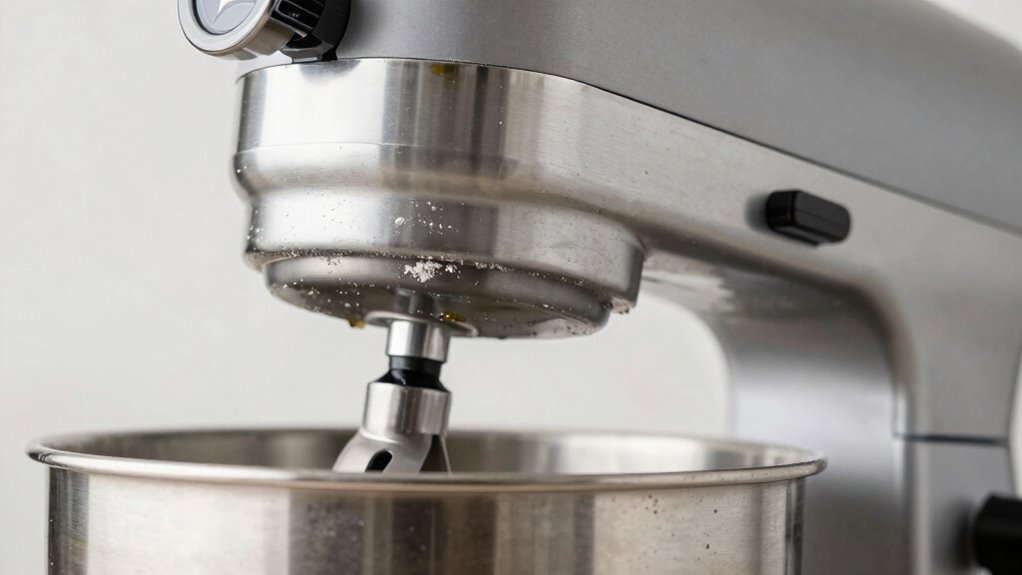
How to Access and Inspect the Grease Spot Under Your Mixer Head
Have you ever wondered how to check the grease spot under your mixer head? Proper mixer maintenance includes regular grease inspection to keep your appliance running smoothly. To do this, start by unplugging your mixer for safety. Carefully tilt or lift the head to access the underside, depending on your model. Look for a designated grease spot—often a small, sealed area meant for lubrication. Check for any signs of dried or excess grease, which could indicate a need for maintenance. Keep an eye out for leaks or buildup around the grease area. Performing this inspection regularly helps prevent future issues and extends your mixer’s lifespan. Understanding how everyday kitchen tools work can help you identify problems early and ensure your mixer remains safe and effective. Additionally, familiarizing yourself with maintenance routines specific to your mixer model can further improve its longevity and performance. Regularly inspecting the safety features and ensuring proper operation can also prevent potential safety hazards and maintain optimal performance. Being aware of the manufacturer’s guidelines can provide specific instructions tailored to your mixer type.

Grease Kit Compatible with KitchenAid Stand Mixer, 4 Oz Food Grade Grease & 4-in-1 Screwdriver Set with Spatula, Mixer Repair & Maintenance Kit, Reduces Gear Wear & Noise
Set includes – 4 Oz food grade grease, flathead screwdrivers, phillips screwdriver, inner square screwdriver, Torx screwdriver,Small Scraper….
As an affiliate, we earn on qualifying purchases.
As an affiliate, we earn on qualifying purchases.

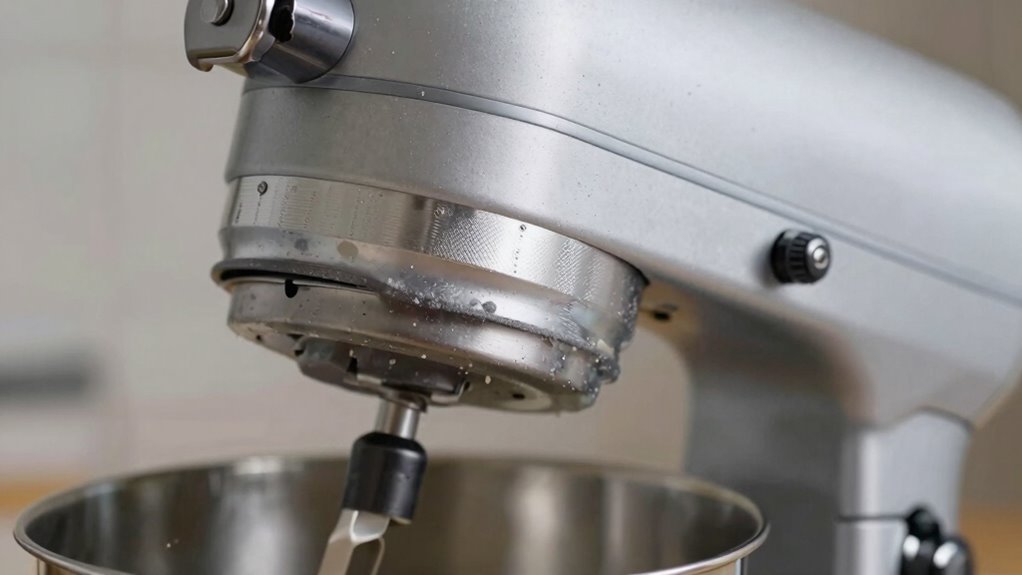
To clean the hidden grease area safely, start by unplugging your mixer to prevent any accidental activation. This step guarantees safe mixer maintenance and grease removal. Next, follow these steps:
Always unplug your mixer before cleaning to ensure safe and effective grease removal.
- Remove the mixer head or cover as per your model’s instructions.
- Use a soft cloth or toothbrush dipped in a mild degreasing solution to gently scrub the grease spot. Proper cleaning techniques help ensure you don’t damage sensitive components or misalign parts during maintenance.
- Wipe away loosened grease with a clean, damp cloth.
- Dry thoroughly before reassembling the parts. Regular cleaning not only prevents buildup but also extends your mixer’s lifespan. Always handle internal parts carefully to avoid misalignment or damage during grease removal. Incorporating preventive maintenance into your routine can further improve your mixer’s performance and longevity.

4 oz Food Grade Grease for kitchenaid Stand Mixer, Universally – Compatible with Kitchen Stand Mixer – Maintain The Performance of Your Machine and Extend Service Life, with 9709511 4162324 Gasket
Compatibility: Universally Compatible Grease for Kitchen Stand Mixers, Ensuring a Perfect fit and optimal Performance. Helps maintain the…
As an affiliate, we earn on qualifying purchases.
As an affiliate, we earn on qualifying purchases.
Tips to Prevent Grease Buildup on Your Stand Mixer
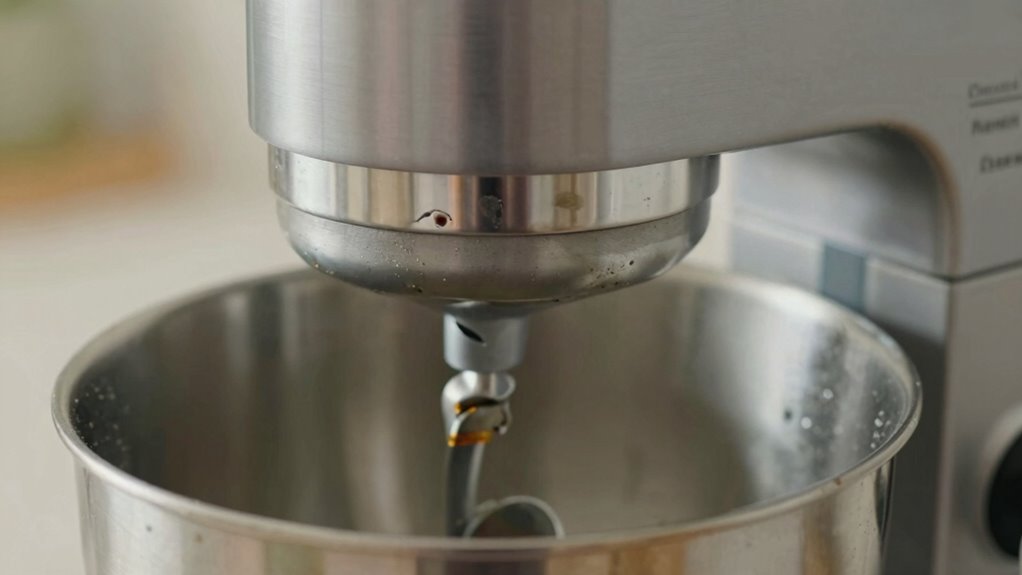
Regularly cleaning the grease area helps prevent buildup and keeps your mixer running smoothly. Incorporate simple maintenance tips like wiping down the grease spots after each use to avoid excess accumulation. Store your mixer in a cool, dry place to reduce dust and grime that can settle into grease components. Consider using storage solutions such as cover shields or dust covers to protect your mixer when not in use. Check and tighten screws or bolts periodically to prevent leaks that can cause grease to spread. Avoid overusing oil or grease—apply only what’s necessary. Keeping the area clean and dry slows down grease buildup and reduces the need for intensive cleaning later. Additionally, implementing proper cleaning techniques can further minimize residual grease and dirt in hard-to-reach areas. Regular maintenance aligns with kidney health maintenance principles by preventing blockages and ensuring proper function, which can extend the lifespan of your appliance. Establishing a consistent cleaning routine helps prevent grease from accumulating unnoticed. Proper cleaning techniques can further minimize residual grease and dirt in hard-to-reach areas. Consistent maintenance ensures your stand mixer stays efficient and prolongs its lifespan.
4 Oz Food Grade Grease for Kitchen Aid Stand Mixer – by Huthbrother, Universally for Kitchen Stand Mixer, Mixer Gear Attachments, Include Gasket 9709511 4162324 with Spatula, NSF-H1 Accredited.
Fits Various Brands: Our food-grade grease is compatible with various brands to aid you mixer running smoothly at…
As an affiliate, we earn on qualifying purchases.
As an affiliate, we earn on qualifying purchases.
Common Problems When Cleaning and How to Fix Them
Cleaning your stand mixer can sometimes lead to unexpected issues, such as stubborn grease residue or parts that don’t dry properly. These problems often stem from common mistakes.
- Grease leakage occurs if you don’t clean thoroughly, leaving old grease that can seep out during use. Ensuring you follow the proper cleaning procedures can help prevent this problem.
- Improper lubrication can happen if you over-clean or use harsh chemicals, causing parts to stick or wear faster. Using the correct lubrication methods is essential for maintaining smooth operation.
- Residual moisture might remain if you don’t dry parts properly, leading to rust or mold. Using appropriate drying techniques is essential to prevent these issues and protect sensitive components.
- Using the wrong cleaning tools, like abrasive sponges, can damage seals and cause leaks. Selecting gentle, manufacturer-recommended tools can help preserve your mixer’s integrity.
- Understanding the proper maintenance procedures can help prevent these problems and extend the life of your mixer. Regularly inspecting for signs of wear and following the manufacturer’s guidelines will keep your appliance in top condition.
Additionally, incorporating preventative measures such as regular inspections can help catch issues early and maintain optimal performance. To fix these issues, ensure you clean with gentle methods, dry all components thoroughly, and apply proper lubrication following the manufacturer’s instructions. This keeps your mixer running smoothly.
When and Why to Seek Professional Help for Your Mixer
While routine maintenance can keep your stand mixer functioning well, there are times when attempting repairs or troubleshooting on your own can do more harm than good. If you notice persistent issues, strange noises, or if your DIY repairs don’t resolve the problem, it’s time to seek professional help. Tampering with internal components can void your appliance warranties and lead to costly damage. Also, if your mixer is still under warranty, avoid opening or fixing it yourself, as this could void coverage. Professional technicians have the expertise and proper tools to diagnose and repair complex problems safely. Recognizing internal component issues and understanding repair safety are essential for preventing further damage and ensuring proper handling. Knowing when to call in the pros helps protect your investment and ensures your mixer stays in top condition. Additionally, being aware of potential signs of internal damage can help you decide when professional intervention is necessary. Sometimes, routine inspections can help identify hidden problems before they become major repairs.
Frequently Asked Questions
How Often Should I Check for Hidden Grease Spots?
You should check for hidden grease leaks during your maintenance schedule, ideally once a month. Regular inspections help catch any grease leaks early, preventing buildup under the head. By staying proactive, you make certain your stand mixer operates smoothly and lasts longer. Don’t forget to carefully examine the area beneath the head for signs of grease spots or leaks, so you can address issues promptly and keep your appliance clean.
What Tools Are Safest for Cleaning Inside the Mixer?
Did you know that using the wrong tools can damage your mixer’s internal parts? To clean safely, you should use a soft cloth and mild dish soap, avoiding metal brushes or abrasive scrubbers. These tools are gentle and won’t scratch or harm sensitive components. Always unplug your mixer first, then carefully wipe areas, especially around the motor and internal mechanisms, to keep your appliance in top shape.
Can Improper Cleaning Damage the Mixer’s Motor?
Yes, improper cleaning can damage your mixer’s motor. If you get water or cleaning solutions near the motor, it can cause electrical hazards or lead to motor overheating. Avoid spraying liquids directly onto the motor or immersing parts in water. Instead, use a damp cloth and gentle cleaning tools to prevent moisture buildup, ensuring your mixer stays safe and functional for years to come.
Are There Specific Cleaners Recommended for Grease Removal?
Imagine you’re cleaning your mixer and notice stubborn grease buildup. For grease removal, a gentle degreaser like a mixture of dish soap and warm water works well. When selecting cleaner recommendations, avoid harsh chemicals that can damage parts. Instead, use a soft cloth with a mild cleaner specifically designed for kitchen appliances. This approach guarantees effective grease removal without risking damage, keeping your mixer running smoothly.
How Do I Identify Early Signs of Grease Buildup?
You can identify early signs of grease buildup through grease detection, such as noticing a slight oily film or a faint smell around your mixer’s head. Pay attention to any unusual noise or sluggish movement, which serve as early warnings. Regularly inspect the area beneath the head for any signs of accumulated grease or residue. Catching these early warning signs helps prevent more serious buildup and keeps your mixer running smoothly.
Conclusion
Regularly inspecting and cleaning the hidden grease spot under your mixer head keeps your appliance running smoothly, much like tending to the roots of a flourishing plant. By staying attentive and gentle, you prevent stubborn buildup from taking hold, ensuring your mixer remains a reliable workhorse. Think of it as nurturing your favorite garden—consistent care keeps everything vibrant and thriving, so you can enjoy seamless baking adventures for years to come.