If your hand mixer is rattling, start by checking that all attachments are tightly secured and look for signs of wear or damage. Inspect the power cord for damage and make sure the connection is solid. Open the casing (if safe) to examine internal parts, like gears or motor brushes, for looseness or wear. Tighten any loose screws or parts you find. If the noise persists, more detailed tips are available to help you fix it safely.
Key Takeaways
- Ensure attachments are firmly clicked in and free of damage or wear.
- Inspect the power cord for cuts, frays, and secure connections before use.
- Check internal components like gears and motor brushes for looseness, damage, or excessive wear.
- Tighten loose screws or parts and replace missing or broken attachments promptly.
- If rattling persists after these checks, consult a professional to avoid internal damage.

Hand Mixer Attachments Compatible with KitchenAid Hand Mixer KHM3 KHM5 KHM7 KHM9, Hand Mixer Turbo Beaters for Kitchenaid, with Whisk, Dough Hooks and Blending Rod Replacement (6 Pack)
Mixer Attachments Compatibility: Hand mixer beater attachment fit for KitchenAid hand mixers. Hand mixer replacement beaters kit compatible…
As an affiliate, we earn on qualifying purchases.
As an affiliate, we earn on qualifying purchases.
Why Is My Hand Mixer Rattling and How Can I Fix It Fast?
If your hand mixer is rattling, it’s likely due to loose or misaligned components inside the device. One common cause is motor overheating, which can cause parts to expand and shift, leading to vibrations. Check if the motor feels excessively warm or if the rattling worsens after prolonged use. Another issue could be belt tension; if the belt connecting the motor to the beaters is too loose or too tight, it can cause noise and vibration. Adjusting the belt tension may resolve the rattling. Verify the motor is cool before inspecting, and be gentle when tightening or loosening the belt. Proper maintenance of these components can dramatically reduce noise and prevent further damage, restoring quiet operation to your hand mixer. Additionally, consulting sizing and load‑planning tools can help ensure your device is functioning within its optimal parameters. Understanding mechanical vibrations can also aid in diagnosing and preventing future issues, especially when considering component wear and tear over time. Regularly inspecting the internal parts can help catch issues early before they result in increased noise levels or damage.

Worm Gear Kit Compatible With KitchenAid Whirlpool 5QT & 6QT Mixer Gear Parts Replacement, Worm Follower Gear Kit 9706529 W11086780 9709511 9703337 9709231
【worm gear kit includes】1 x 9709511 Gasket; 1 x 9703445 Thrust Bearing; 1 x 9709231 WP9709231 Worm Gear;…
As an affiliate, we earn on qualifying purchases.
As an affiliate, we earn on qualifying purchases.
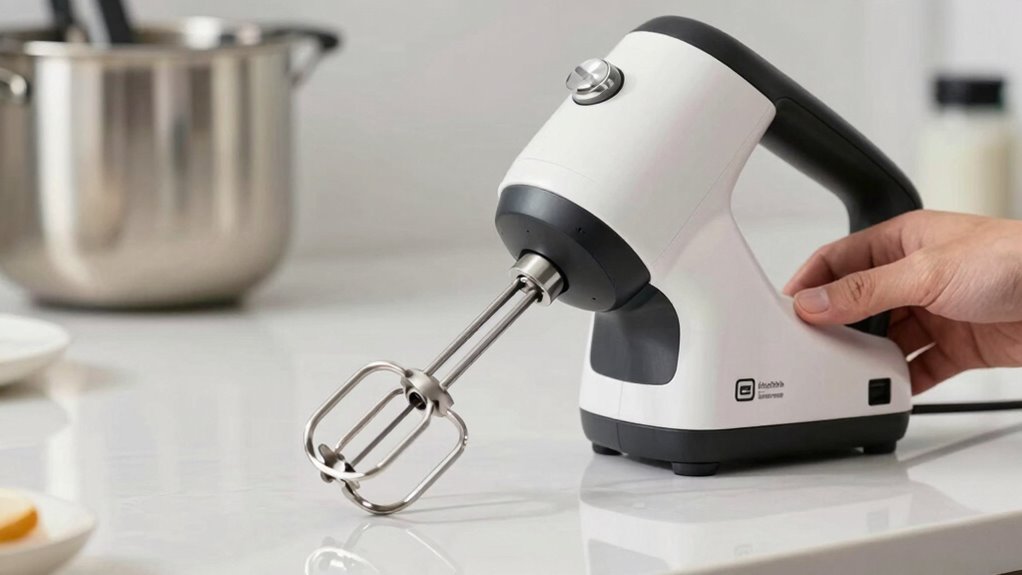
Check the Attachments and Accessories for Loose or Worn Parts
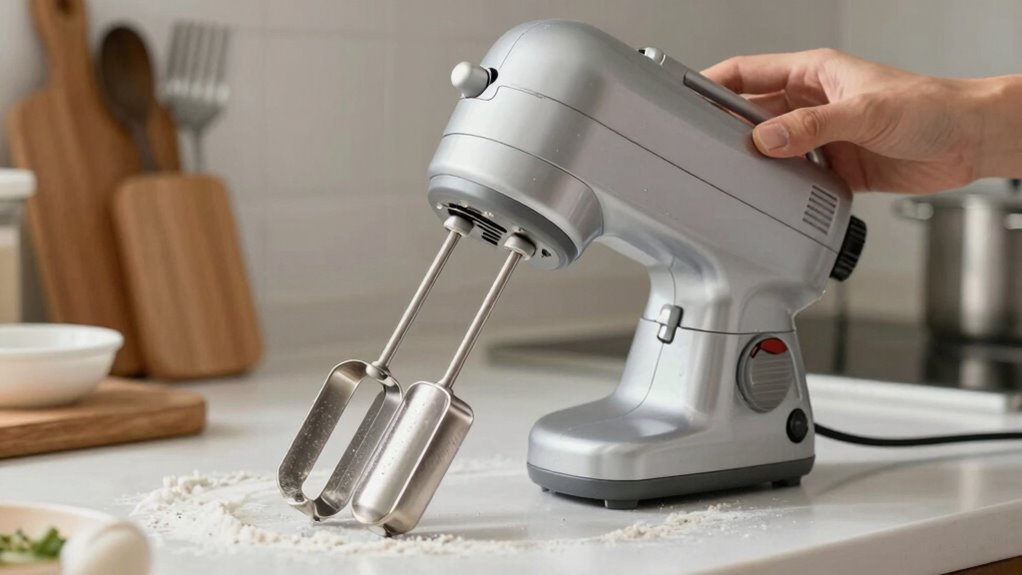
Loose or worn attachments are a common cause of rattling in your hand mixer. To fix this, you need to perform an attachment inspection to guarantee everything is secure and in good condition. Here are key steps to follow:
Loose or worn attachments often cause rattling; inspect and secure all accessories for smooth operation.
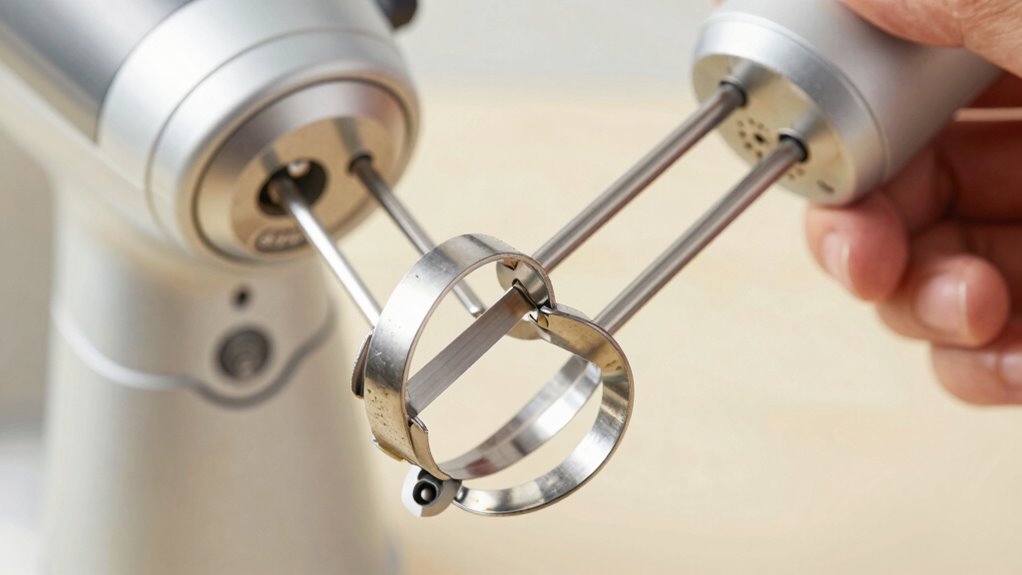
- Check that all attachments are firmly clicked into place, ensuring accessory security.
- Look for any cracks, chips, or signs of wear on beaters or dough hooks.
- Remove and reattach each accessory to confirm they fit snugly.
- Replace any worn or damaged parts immediately to prevent further rattling.
- Consulting your appliance’s Room‑size wattage guides can help you understand the appropriate power use and prevent overheating issues that might contribute to noise. Additionally, inspecting the filtration system can ensure the motor operates smoothly and quietly. Regularly checking the motor components can also help identify potential issues early before they lead to increased noise or failure, and paying attention to motor maintenance practices can prolong the lifespan of your mixer. It’s also helpful to review your user manual for specific attachment compatibility guidelines to avoid mismatched or incompatible parts.

ABN Belt Tension Gauge – Universal, 10 lbs Specification, Easy to Read
Practical: The ABN Belt Tension Gauge helps to set accurate vehicle belt tension
As an affiliate, we earn on qualifying purchases.
As an affiliate, we earn on qualifying purchases.
Make Sure the Power Cord and Connection Are Secure and Working
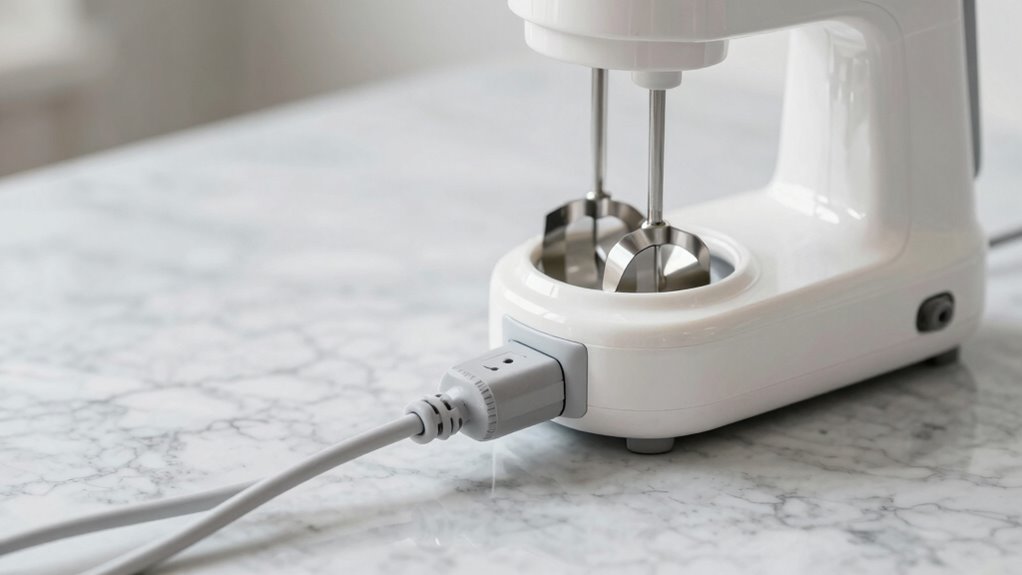
After confirming that all attachments are secure, it’s important to guarantee the hand mixer’s power cord and connection are also in good condition. Start with a thorough connection check, ensuring the plug is fully inserted into the outlet. Examine the power cord for any visible damage, such as cuts, frays, or exposed wires. If you notice any issues, avoid using the mixer until it’s repaired or replaced. Check the connection point between the cord and the mixer for looseness or corrosion. A loose or damaged connection can cause rattling sounds or intermittent operation. Ensuring a secure and intact power cord and connection helps prevent electrical issues and confirms the mixer receives proper power, reducing the chances of rattling caused by power supply problems. Additionally, inspecting the electrical safety features can help identify potential hazards before use. Regularly testing the connectivity of your appliance can also help detect underlying issues early. Incorporating a performance check can further ensure all components work harmoniously and prevent future problems. Performing a visual inspection periodically can help spot developing issues before they affect operation.
hand mixer internal parts inspection tools
As an affiliate, we earn on qualifying purchases.
As an affiliate, we earn on qualifying purchases.
Inspect the Internal Components for Wear or Damage
You should carefully check the internal parts of your hand mixer for any signs of wear or damage. Look closely at the gear system to spot any worn teeth, and examine the motor brushes for excessive wear. Don’t forget to inspect the connection wires for frays or loose connections that could cause rattling or noise. Additionally, verify the water-resistant sealing to prevent moisture intrusion that could impact internal components. Regularly component inspection helps identify potential issues before they lead to more significant failures. Being attentive to internal component condition ensures safe and reliable operation over time, especially considering how proper home wiring and safety practices are essential for safe appliance operation. Incorporating preventive maintenance routines can further prolong the lifespan of your appliance and ensure consistent performance.
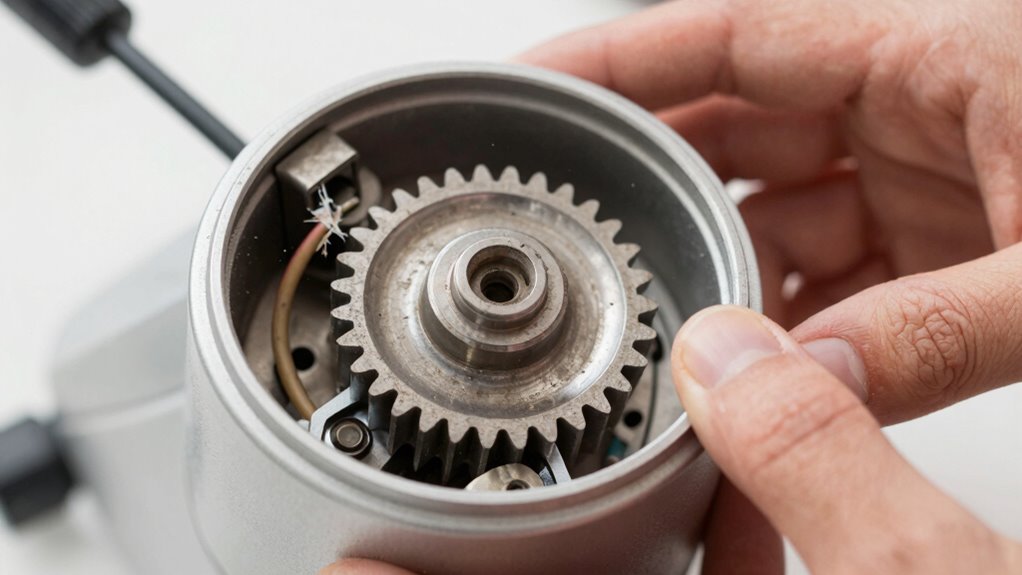
Check Gear Wear
Inspecting the gear components is essential because worn or damaged gears can cause rattling sounds and impair the mixer’s performance. Over time, gear wear and component fatigue can lead to loose or slipping gears, increasing noise and reducing efficiency. To check for issues, look closely at the gear assembly and note any signs of damage. Regularly maintaining your home systems can help identify problems early before they become costly repairs. Here are four key steps:
- Examine gear teeth for chips, cracks, or excessive wear.
- Check for missing or broken teeth, which signal significant damage.
- Look for signs of lubricant leakage or dryness, indicating insufficient lubrication.
- Inspect for looseness or play in the gear joints, which may suggest component fatigue. Understanding gear design principles can also help you better identify potential problems during inspection. Additionally, paying attention to vibration patterns when operating the mixer can provide clues about internal issues. Recognizing pest damage signs in mechanical parts can also indicate underlying problems that need addressing. Being familiar with common mechanical failures can enhance your ability to troubleshoot effectively. Addressing gear wear early helps prevent more extensive damage and keeps your mixer running smoothly.
Examine Motor Brushes
Are your motor brushes showing signs of wear or damage? If so, it’s time to inspect them closely. Motor brushes transfer electrical current to the armature via electrical contacts, ensuring smooth operation. Worn or damaged brushes can cause misfires, rattling sounds, or inconsistent performance. Carefully remove the cover to access the motor area, and then gently examine the brushes for signs of excessive wear, cracks, or burn marks. If they’re considerably shortened or damaged, replacing them can restore proper contact and reduce noise. When inspecting, check that the brushes move freely within their holders and make good contact with the commutator. Properly functioning motor brushes are essential for your hand mixer to run quietly and efficiently. Don’t ignore worn brushes—they could be the source of your rattling.
Inspect Connection Wires
Start by examining the connection wires for any signs of wear, damage, or loose connections. Proper connection inspection is essential to guarantee wiring safety and prevent rattling issues. Look for cracked insulation, exposed wires, or burn marks that could indicate overheating. Next, check if all wires are securely connected to the motor and switch components. Loose connections can cause intermittent operation or noise. Also, verify that there are no frayed or broken wires that might short circuit or spark. Finally, gently tug on the wires to confirm they’re firmly attached—avoid applying excessive force. Remember, safe wiring practices help prevent electrical hazards and keep your hand mixer running smoothly. Conducting this connection inspection is a critical step in troubleshooting rattling sounds effectively.
Tighten Loose Screws or Parts to Stop Rattling
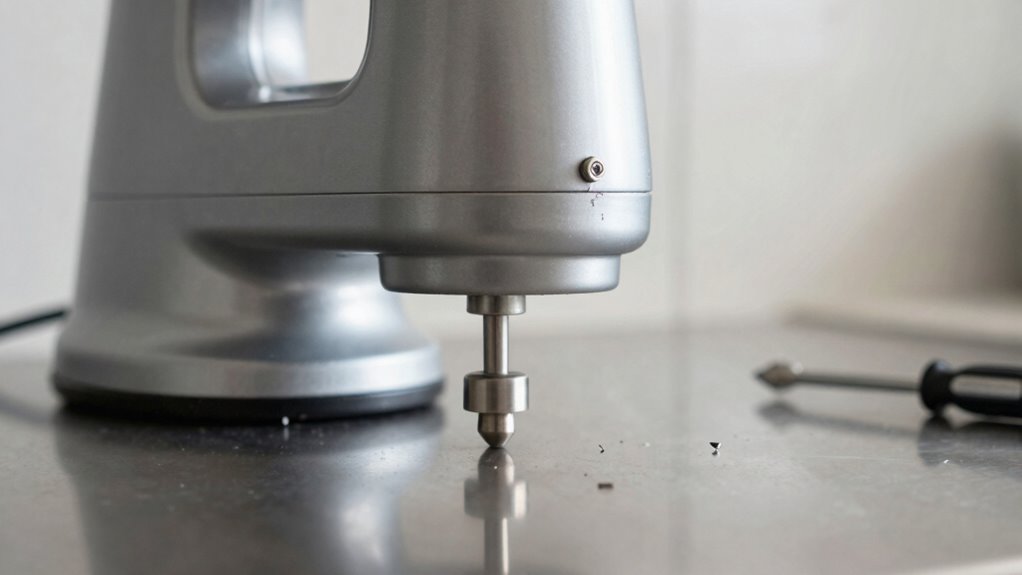
Start by carefully inspecting all attachment points for looseness or gaps. Make sure to tighten any screws securely to prevent movement that causes rattling. Also, check for missing parts that could be contributing to the noise and address those issues promptly.
Inspect Attachment Points Carefully
Often, rattling sounds come from loose screws or parts that need tightening. To fix this, carefully inspect the attachment points where components connect. Securing connections is key to eliminating noise. Here are four steps to guide you:
- Check the screws holding the beaters or attachments in place.
- Look for any loose or damaged clips securing attachments.
- Tighten any screws you find to ensure firm attachment.
- Verify that all attachment points are snug without over-tightening, which could damage parts.
Focusing on these attachment points helps ensure all securing connections are solid. Loose attachment points are often the main source of rattling, so a thorough inspection can save you from unnecessary panic and keep your hand mixer running smoothly.
Tighten Screws Firmly
When you notice rattling sounds during operation, the most effective fix is to tighten any loose screws or parts. Start by inspecting all accessible screws on your hand mixer, especially around the motor housing and attachments. Use a screwdriver to firmly tighten any that feel loose, ensuring they’re snug but not over-tightened. Proper screw tightening helps minimize unnecessary vibration, directly reducing rattling noises. Loose screws can cause parts to vibrate against each other, amplifying noise during operation. By securing these screws, you stabilize the internal components, leading to a quieter, smoother performance. Regular screw tightening not only stops rattling but also prolongs your mixer’s lifespan. Make this a routine check to maintain ideal vibration reduction and ensure your mixer runs quietly and efficiently.
Check for Missing Parts
Missing or loose parts can cause rattling sounds during operation, so it’s important to inspect your hand mixer thoroughly. Check for missing parts like beaters, guards, or attachments, as these can create noise if not properly installed. Loose components such as screws, blades, or housing parts can also lead to rattling. Here are the steps to follow:
- Verify all attachments are securely in place and not missing.
- Examine the beaters and blades for cracks or damage.
- Tighten any loose screws or fasteners you find.
- Ensure the housing and other components are properly aligned and snug.
Addressing missing parts and securing loose components will often eliminate rattling and restore smooth operation.
When to Call a Professional or Consider Replacing Your Mixer

If your hand mixer continues to rattle despite troubleshooting efforts, it’s time to contemplate professional repair or replacement. Persistent rattling often indicates internal issues beyond simple fixes, such as worn gears or motor problems. In these cases, seeking a professional repair can ensure safety and proper function, especially if you’re unfamiliar with electrical components. However, if your mixer is old or the repair costs approach the price of a new one, replacement considerations become more practical. Weigh the cost of repairs against buying a new model with updated features and improved durability. Remember, attempting to fix complex internal parts yourself can be risky, so consulting a professional is the safest choice before deciding to replace your mixer altogether.
Quick Tips to Prevent Rattling and Keep Your Mixer Running Smoothly
Regularly inspecting and cleaning your hand mixer can go a long way in preventing rattling issues. Proper motor maintenance helps guarantee smooth operation and reduces noise troubleshooting problems. Here are four quick tips to keep your mixer running smoothly:
- Check for loose attachments and tighten them securely.
- Clean any debris or stuck ingredients from vents and moving parts.
- Lubricate the motor’s moving components if applicable, following manufacturer instructions.
- Store the mixer in a dry, stable place to prevent vibrations that cause rattling.
What to Do Immediately When Your Hand Mixer Starts Rattling
When your hand mixer suddenly starts rattling during use, take immediate action to prevent further damage and guarantee safety. First, turn off and unplug the device to stop the noise and avoid injury. Then, inspect the beaters and attachments for loose or broken parts. Use these troubleshooting basics to identify potential issues:
| Step | Action | Reason |
|---|---|---|
| 1 | Check attachments for secure fit | Prevents rattling caused by loose parts |
| 2 | Examine for damage or debris | Ensures smooth operation and safety |
| 3 | Test on low speed after reassembly | Confirms proper functioning |
| 4 | Refer to maintenance tips if noise persists | Guides further troubleshooting |
Following these steps helps you address common problems promptly and safely.
Frequently Asked Questions
Can a Rattling Hand Mixer Be Safely Used Until It’s Repaired?
You shouldn’t use a rattling hand mixer until it’s repaired, as doing so risks user safety and could damage the appliance further. The rattling indicates internal issues that might worsen with use, potentially causing electric shocks or mechanical failure. To preserve your appliance’s longevity and ensure safety, stop using it immediately, inspect for loose parts, and get it professionally repaired before resuming use.
Are There Specific Brands More Prone to Rattling Issues?
Some brands are more prone to rattling issues due to brand reliability and common defects. You might notice that less reputable brands or cheaper models often have these problems because of lower quality components. Well-known brands usually have better quality control, reducing rattling risks. If you experience rattling, check for loose parts or defects, regardless of the brand. Prioritize brands with good reviews and proven reliability to minimize rattling issues.
How Often Should I Perform Maintenance Checks on My Hand Mixer?
You should perform maintenance checks on your hand mixer every 3 to 6 months, depending on usage. Follow a regular maintenance schedule and use troubleshooting tips like inspecting for loose parts, cleaning the vents, and lubricating moving components. This routine helps prevent rattling issues and keeps your mixer running smoothly. Stay proactive, and you’ll extend its lifespan and guarantee peak performance.
Is It Safe to Open the Mixer Casing Myself?
Think of opening your mixer casing like tending to a wounded animal—you can’t just rush in without caution. It’s not entirely safe to do DIY repairs unless you follow proper safety precautions, like unplugging the device and wearing insulated gloves. If you’re unsure or unfamiliar with electrical parts, it’s best to avoid opening the casing yourself. Instead, seek professional help to avoid risks and guarantee safety.
What Signs Indicate My Mixer Needs Professional Servicing Immediately?
You should get your mixer serviced immediately if you notice a damaged power cord or an unusual burning smell. These signs indicate electrical issues that could cause further damage or pose safety risks. Don’t ignore these warning signals. Unplug the mixer right away and contact a professional for repairs. Continuing to use it could lead to more serious problems or even electrical hazards.
Conclusion
Don’t ignore that rattling—sometimes it’s a simple fix, but other times, it’s a warning sign. Before you panic or reach for a new one, try these quick checks. Still, if the noise persists, it might be time to seek professional help or consider a replacement. Remember, your safety comes first. Stay alert, and don’t let a small sound turn into a big problem. The next step could save your mixer—and your day.