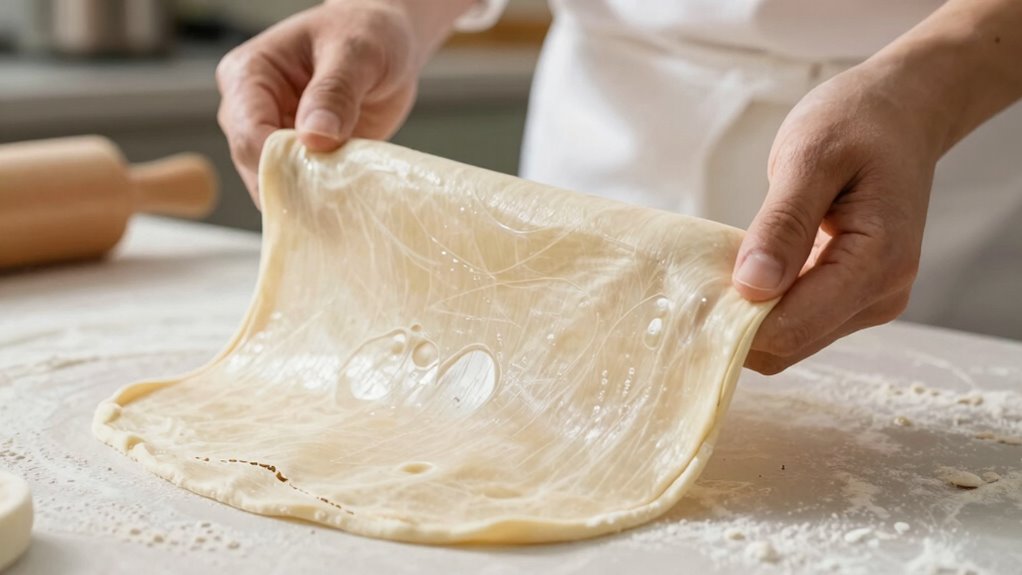

To know when to stop mixing your dough using the windowpane test, gently stretch a small piece into a thin, translucent sheet without tearing it. If it stretches easily and passes light through without showing cracks, your gluten is well-developed, and you can stop kneading. Avoid over-mixing, which makes the dough tough, or under-mixing, which leaves it weak. Keep practicing, and you’ll master the signs that tell you your dough is just right.
Key Takeaways
- Stop mixing when a small dough piece can be stretched into a thin, translucent sheet without tearing, indicating proper gluten development.
- Look for a smooth, elastic, and slightly tacky dough that holds shape and passes the windowpane test.
- Avoid overmixing, which causes tearing and stiffness, and under-mixing, which results in a weak, loose dough.
- Use gentle folding and resting if the dough shows signs of underdeveloped gluten, then re-test.
- Once the dough passes the windowpane test, cease mixing to prevent weakening the gluten network.
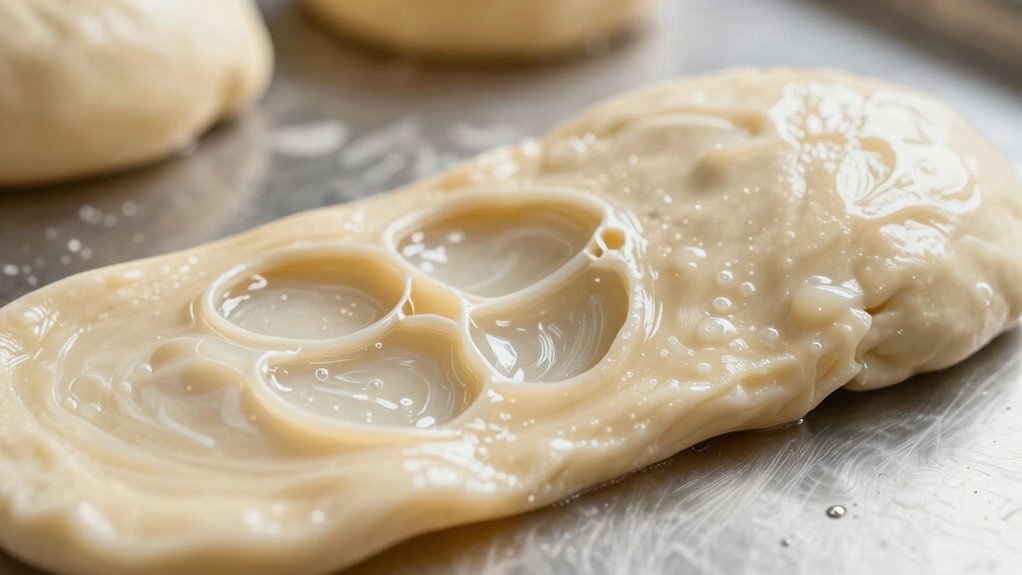
What Is the Windowpane Test and Why Does It Matter?
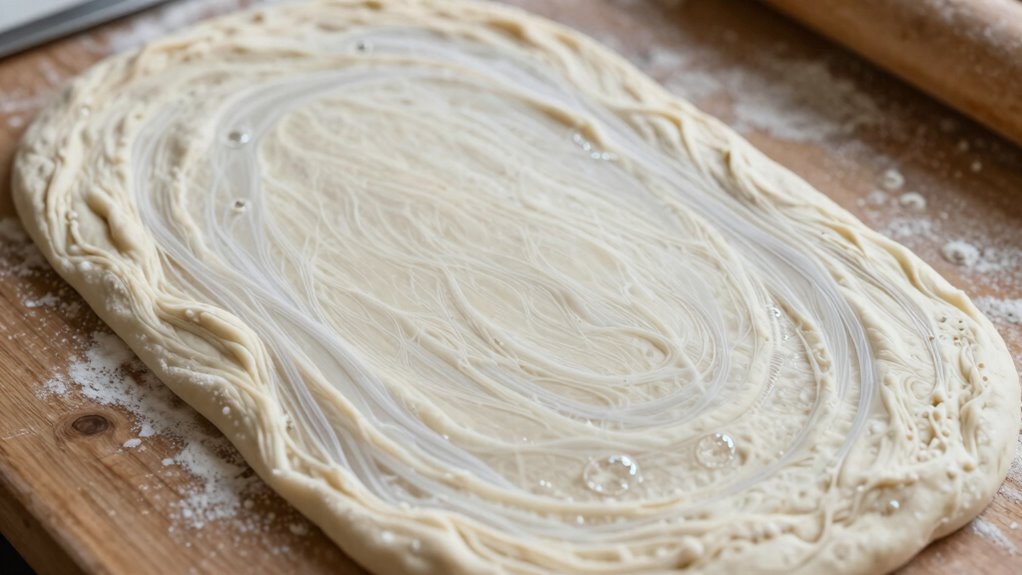
The windowpane test is a simple but effective way to determine if your dough is properly kneaded and ready for shaping. When you perform this test, you stretch a small piece of dough into a thin, translucent sheet without tearing it. This indicates that gluten formation has developed sufficiently, giving the dough excellent elasticity. Gluten, the protein network that forms during kneading, provides the structure needed for bread to rise and hold its shape. If the dough tears easily or doesn’t stretch without breaking, it’s a sign that kneading isn’t complete. Achieving the right dough elasticity ensures your bread will have a desirable texture and structure. Proper gluten development also influences the texture quality of your final baked product. Recognizing when to stop kneading is crucial to avoid over- or under-working the dough, which can affect the final outcome. The windowpane test is a quick, visual way to confirm that your dough has reached the ideal level of gluten development. Monitoring dough gluten development helps bakers ensure consistent results and optimal bread texture, leading to better baking outcomes. Paying attention to these signs can help prevent over-kneading, which can make the dough tough.
How to Prepare Your Dough for the Windowpane Test

To prepare your dough for the windowpane test, start by ensuring it’s properly hydrated—adding enough water so the dough feels soft but not sticky. Use gentle mixing techniques to develop gluten without overworking the dough, which helps it stretch thin. When your dough is just right, it will be ready for the test to check its elasticity.
Proper Dough Hydration
Achieving proper dough hydration is essential for passing the windowpane test, as it determines how well the dough stretches without tearing. Proper hydration levels activate gluten formation, creating a resilient network that’s flexible yet strong enough to hold its shape. If your dough is too dry, it won’t develop enough gluten, making it tough and prone to tearing when stretched. Conversely, over-hydrated dough becomes too sticky and difficult to handle. To strike the right balance, measure your water carefully, and add it gradually while mixing. Knead until the dough feels smooth and elastic. Consistent hydration ensures even gluten development, giving you a dough that’s ready for the windowpane test and capable of stretching thin without breaking. Paying attention to yarn weight and stitch type can help you understand how different hydration levels affect dough texture and elasticity.
Gentle Mixing Techniques
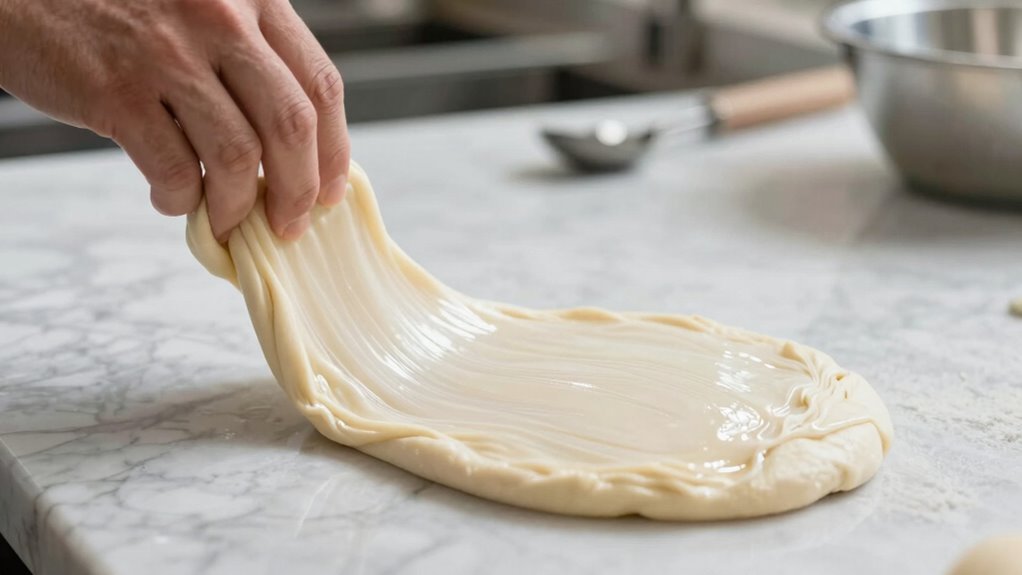
Once your dough has reached the right hydration level, handling it gently during mixing helps develop gluten without overworking the dough. Gentle mixing preserves the dough’s elasticity and prevents tearing, which is essential for a successful windowpane test. To achieve this, focus on these key techniques:
- Use a light touch, avoiding aggressive kneading.
- Fold the dough over itself rather than squeezing or pressing.
- Rotate and stretch it slowly to evenly distribute gluten strands.
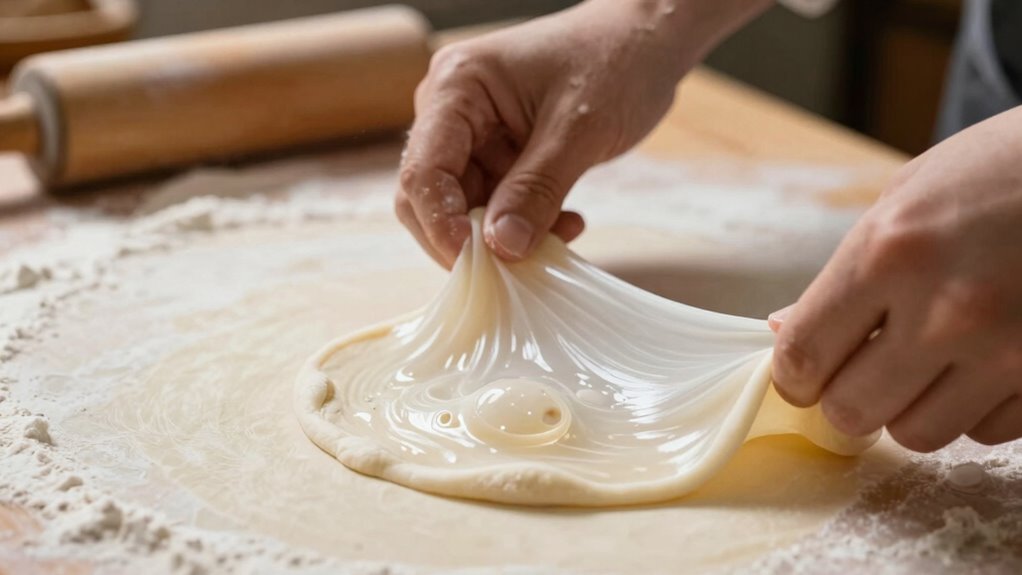
Step-by-Step Instructions for Performing the Windowpane Test
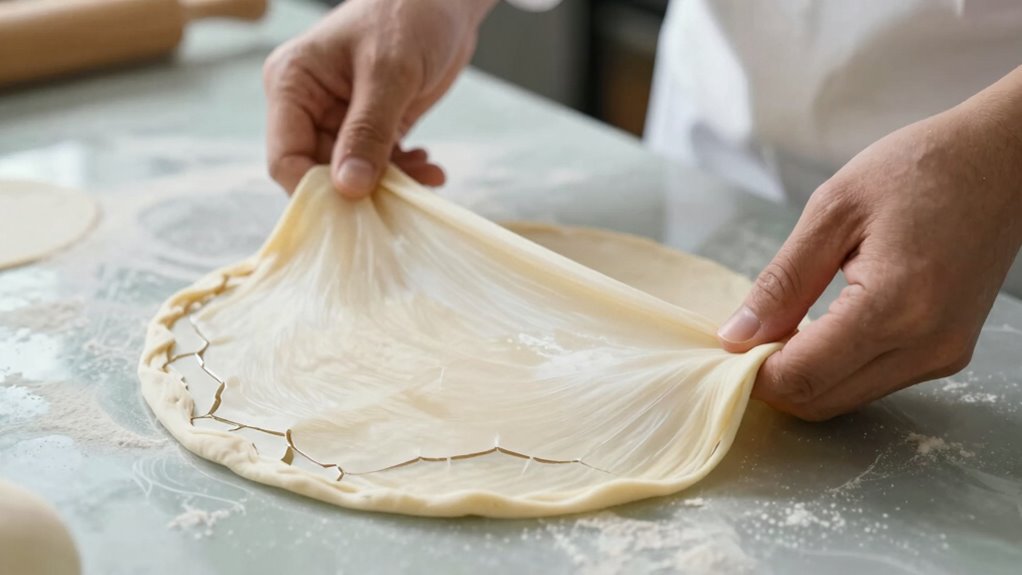
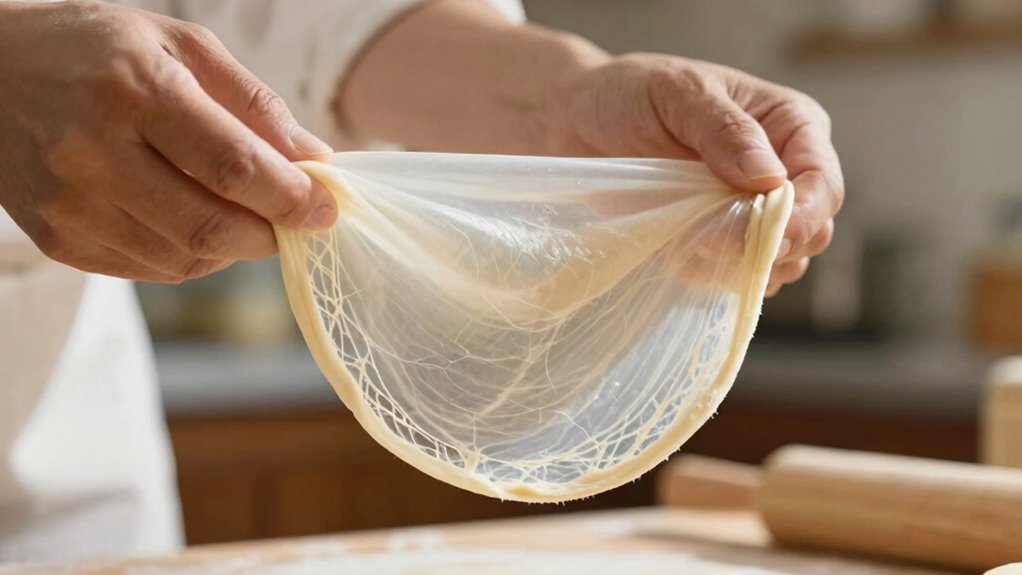
Performing the windowpane test is straightforward and essential for evaluating dough’s gluten development. To begin, gently pinch off a small piece of dough and flatten it between your fingers. Carefully stretch the dough outward, using light, even pressure, aiming for a thin, translucent sheet. If it stretches without tearing and you can see light through it, your dough has good elasticity. This indicates proper gluten development, which influences fermentation timing and dough strength. If the dough tears easily, it needs more kneading. Keep practicing this technique until you achieve a delicate, thin, see-through membrane. Proper gluten development is crucial for achieving the right dough consistency and optimal rising. Recognizing when your dough reaches this stage can help prevent over- or under-mixing, ensuring consistent baking results.
Recognizing the Perfect Gluten Development in Your Dough
When your dough passes the windowpane test with flying colors, it’s a sign that the gluten network has developed just right. Recognizing perfect gluten development means observing these key signs:
- The dough is smooth and slightly tacky without sticking excessively.
- It stretches thin without tearing, indicating good gluten structure.
- It springs back slowly when gently poked, showing ideal dough elasticity.
- Achieving the right degree of gluten development ensures a balanced dough strength that supports proper shaping and rising.
These indicators show your gluten network is strong yet flexible, essential for trapping gas during fermentation. Proper gluten development ensures your dough will rise well and create a tender crumb. Avoid over-mixing, which can make the gluten too tight, or under-mixing, which leaves the gluten weak. When these signs align, your dough is ready for the next step in baking.
Common Signs That Your Dough Is Over- or Under-Mixed

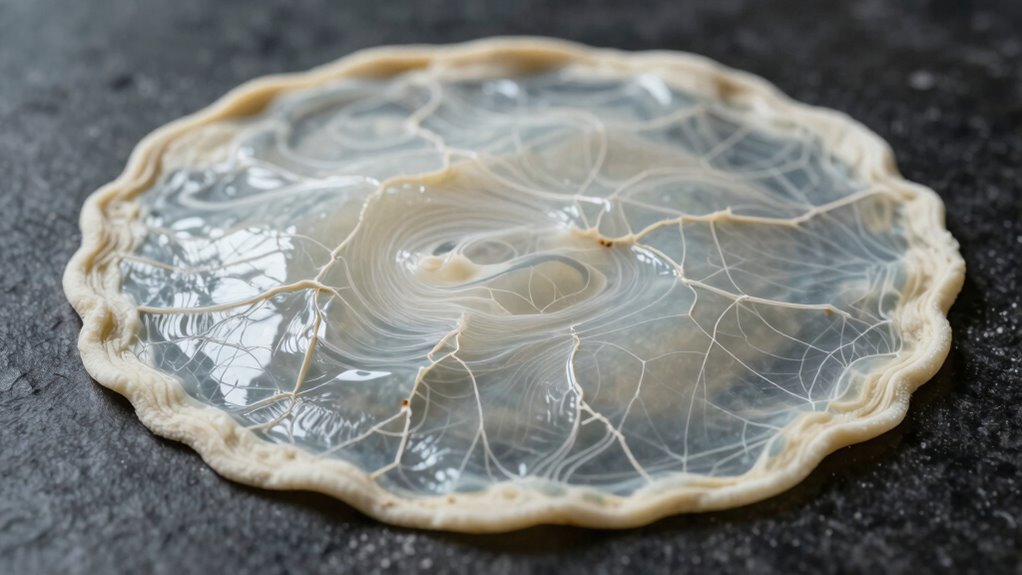
You can tell if your dough is over- or under-mixed by looking for specific signs. Thin, translucent cracks indicate over-mixing, while a sticky or dry texture suggests under-mixing. Additionally, an elastic or tough consistency can help you identify the current state of your dough. Being familiar with Free Floating concepts can also aid in understanding the ideal dough texture and avoiding common pitfalls.
Thin, Translucent Cracks
Thin, translucent cracks in your dough often indicate that it’s either over- or under-mixed. These cracks reveal a loss of dough elasticity and an imbalance in hydration. When dough is over-mixed, it becomes too stiff and prone to cracking because gluten strands tighten excessively. Conversely, under-mixed dough may develop cracks due to uneven hydration and weak gluten development. To assess whether your dough needs more mixing or resting, consider these points:
- Elasticity: If the dough tears easily and cracks appear, it may be under-mixed or over-mixed.
- Hydration balance: Cracks can signal either insufficient or excessive water incorporation.
- Texture and feel: Over-mixed dough feels tough; under-mixed dough feels shaggy and loose.
Recognizing these cracks helps you adjust the mixing process for ideal dough consistency.
Sticky or Dry Texture
A sticky or dry dough often signals that it’s been over- or under-mixed. When your dough is sticky, it usually means the gluten structure hasn’t developed enough, resulting in poor dough elasticity. This can make shaping difficult and lead to a dense final product. Conversely, a dry dough suggests over-mixing, which can break down the gluten network, causing the dough to lose its stretch and become crumbly. Proper mixing should produce a dough that is slightly tacky but not overly sticky, with good elasticity that springs back when pressed. Recognizing these signs helps you adjust your mixing technique early, ensuring the dough maintains the right balance of gluten development and elasticity for a perfect bake.
Elastic or Tough Consistency
When dough feels elastic or tough, it’s often a sign that it’s been over- or under-mixed. Over-kneading can develop gluten excessively, making the dough tough and difficult to shape. Under-kneading, on the other hand, results in a dough that isn’t elastic enough, affecting the fermentation process. To check, consider these points:
- If the dough resists stretching and snaps back, it may be over-mixed.
- If it feels too loose and doesn’t hold shape, it might be under-mixed.
- Adjust your kneading techniques accordingly, stopping when the dough has a smooth, elastic texture. Proper kneading encourages a balanced fermentation process, leading to better rise and texture. Recognizing these signs helps you avoid over- or under-mixed dough, ensuring excellent results.
Tips for Achieving the Ideal Dough Consistency Before Testing
Ensuring your dough reaches the right consistency before testing is crucial for accurate results. Focus on proper dough kneading; it develops gluten and creates an even texture. Knead until the dough is smooth and slightly tacky, but not sticky. Avoid overworking it, which can make the dough tough. Pay attention to fermentation timing; giving the dough enough time to rest allows gluten to relax, improving elasticity. Don’t rush this step, as under-fermented dough may feel dense and tight. Use gentle pressure when mixing, and feel for a uniform, soft, and slightly elastic texture. Proper kneading combined with adequate fermentation ensures your dough is ready for the windowpane test, giving you confidence that it’s at the perfect stage for testing. Remember, proper dough handling is key to achieving the ideal consistency before conducting the test. Incorporating consistent fermentation techniques can further enhance the dough’s overall quality and testing accuracy. Additionally, monitoring the dough’s gluten development can help you determine if it’s ready for the windowpane test. Regularly assessing dough elasticity can also guide you in achieving the optimal texture for testing.
Troubleshooting: What to Do If Your Dough Fails the Windowpane Test?
If your dough fails the windowpane test, it usually indicates that the gluten development isn’t sufficient. To fix this, try adjusting your kneading techniques or consider different flour types. Here are steps to improve your dough:
- Increase kneading time gently, focusing on consistent, folding motions.
- Use bread flour or high-protein flour for better gluten formation.
- Rest the dough for 10-15 minutes, then knead again to allow gluten to develop fully.
When to Stop Mixing Based on the Windowpane Test Results
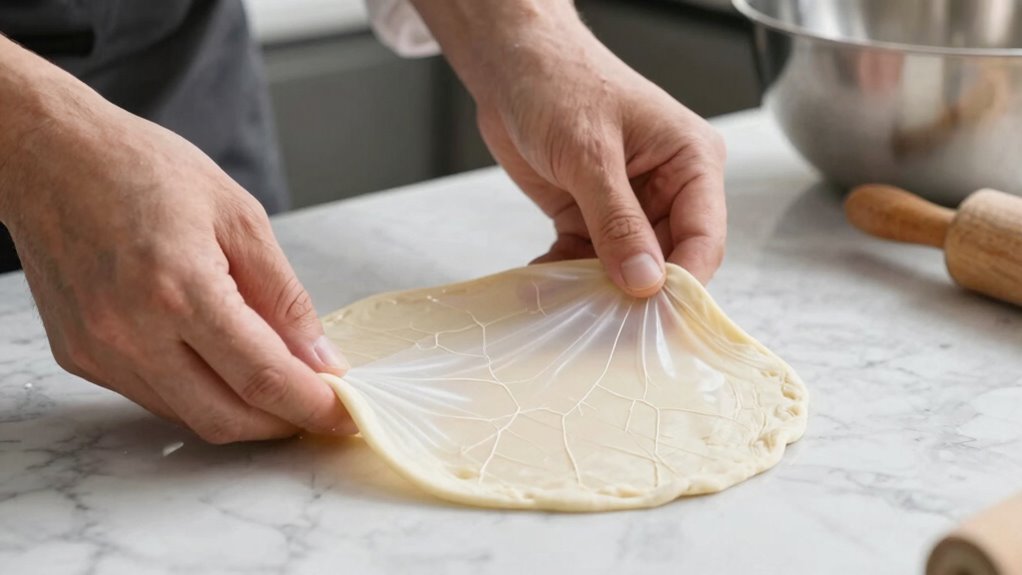
You should stop mixing your dough once it passes the windowpane test and develops a thin, translucent membrane without tearing. This indicates that the gluten network has formed correctly, providing the right dough elasticity. When the dough shows this level of translucency, it means you’ve mixed enough to develop gluten but haven’t overworked it. Overmixing can weaken the gluten structure, making your dough tough and less airy. On the other hand, stopping too early can result in a weak gluten network, affecting rise and texture. Pay close attention to the dough’s appearance and feel. Once it stretches and stays intact without tearing, and you see that delicate, see-through membrane, you’ve achieved the ideal point to stop mixing. Proper gluten development is essential for achieving a light and airy baked good.
How the Windowpane Test Improves Your Baking Results and Texture
Using the windowpane test as part of your baking process directly enhances the texture and structure of your bread or baked goods. It ensures your dough has developed proper gluten formation and ideal dough elasticity. When you perform the test correctly, you can see that the dough can stretch thin without tearing, indicating it’s ready. Proper gluten development is key to achieving a desirable crumb in your baked creations. This improvement comes from: 1. Better gluten development, which provides strength and extensibility 2. Increased dough elasticity, allowing for a lighter, airier crumb 3. More consistent results, as you know exactly when the dough is perfectly kneaded
Alternative Methods to Assess Dough Readiness When You Can’t Use the Windowpane Test
When the windowpane test isn’t an option, you can rely on visual cues like the dough’s texture to judge its readiness. Feel for gluten development by gently stretching the dough; it should be elastic and slightly tacky but not sticky. These methods help verify your dough is properly prepared without the traditional test. Additionally, observing the dough’s overall elasticity and extensibility can provide further insight into its readiness. Recognizing the dough’s smoothness and uniformity can also indicate proper development and readiness for the next step in your baking process. Monitoring the ear wax odor of the dough can sometimes reveal fermentation activity, which is useful when other tests are inconclusive. Understanding the power output of electric dirt bikes can inspire innovative ways to incorporate sustainable energy ideas into your kitchen or workshop projects. Furthermore, being aware of the scaling of fermentation can help you better judge the dough’s readiness based on fermentation progress and activity.
Visual Dough Texture
While the windowpane test is a popular method for checking dough gluten development, there are effective visual cues you can rely on when it’s not an option. Observing the dough’s texture provides valuable insight into its readiness. Look for these signs:
- The dough appears smooth and slightly tacky, indicating good gluten formation.
- It holds its shape without tearing or cracking when stretched gently.
- The surface shows a slight sheen, reflecting proper dough elasticity.
- The dough’s consistency should be firm but pliable, demonstrating balanced hydration and gluten development.
- Additionally, visual dough texture can reveal the level of gluten development, helping you judge whether the dough has been mixed enough.
These visual cues suggest the dough has been mixed enough and has developed enough gluten to support rising and shaping. Relying on texture helps you gauge dough readiness accurately, especially when you can’t perform the windowpane test.
Feel for Gluten Development
If you can’t perform the windowpane test, feeling the dough’s texture is a reliable way to assess gluten development. As you knead, pay attention to how the dough feels—well-developed gluten gives it a smooth, slightly tacky surface and increased elasticity. When gluten formation is sufficient, the dough will stretch without tearing easily and will bounce back when pressed gently. You should notice a resilient, springy texture that indicates good dough elasticity. If the dough remains sticky or feels overly soft, it likely needs more kneading. Conversely, if it becomes too stiff or dry, you’ve overmixed. Developing gluten is essential for structure and rise, so trust your touch to gauge when your dough is ready for the next step.
Frequently Asked Questions
Can the Windowpane Test Be Used for Gluten-Free Doughs?
Yes, you can use the windowpane test for gluten-free doughs, but with some limitations. Unlike wheat doughs, gluten-free mixes don’t develop gluten formation or dough elasticity the same way. When testing, gently stretch the dough to see if it’s thin and translucent without tearing. If it holds together and shows some stretch, it’s ready. Keep in mind, gluten-free doughs won’t behave exactly like traditional doughs during this test.
How Does Hydration Level Affect the Windowpane Test Outcome?
It’s interesting how hydration level directly influences the windowpane test outcome. When dough has higher hydration, it develops a more flexible gluten network, making it easier to stretch without tearing. Conversely, low hydration results in a stiffer dough with less elasticity, often failing the test. You’ll notice that properly hydrated dough feels smooth and elastic, revealing a well-developed gluten network, while under-hydrated dough feels stiff and tears easily.
Is the Windowpane Test Suitable for All Types of Bread Dough?
The windowpane test isn’t suitable for all bread doughs, especially those with low gluten development or high hydration levels. For some doughs, overmixing can damage gluten strands, so you might not get a clear windowpane. Your mixing techniques and dough type influence the test’s reliability. Use it as a guide, but also pay attention to dough feel and elasticity, adjusting your mixing to achieve proper gluten development.
What Tools Are Best for Performing the Windowpane Test Accurately?
To perform the windowpane test accurately, you’ll want to use a gentle dough handling technique with your fingertips. A bench scraper or a dough scraper helps you handle the dough without overworking it. As you stretch the dough, apply even pressure, and watch for a thin, translucent membrane. This indicates proper gluten development, showing you’ve mixed enough. Proper tools and gentle mixing techniques guarantee reliable results with the windowpane test.
How Does Ambient Temperature Influence Gluten Development During Mixing?
You notice that higher ambient temperatures speed up gluten development, making the dough tougher faster, while cooler temps slow it down. Humidity impact also matters—high humidity can make dough stickier and easier to develop gluten, whereas low humidity may require longer mixing. Adjust your mixing time based on temperature effects and humidity impact, so you don’t overmix or undermix, ensuring ideal gluten structure without compromising dough texture.
Conclusion
Mastering the windowpane test is like learning to read your dough’s heart. It guides you to stop mixing at just the right moment, ensuring your bread turns out light and airy. With practice, you’ll develop an intuitive feel, turning a simple stretch into a secret handshake with your dough. Keep experimenting, trust your senses, and soon, baking will become a dance where you and your dough move in perfect harmony.