To clean your blender in just 30 seconds without disassembly, start by pouring warm water into the jar and adding a few drops of dish soap. Blend briefly for 10-15 seconds to loosen residue. Rinse thoroughly with clean water while blending for another 30 seconds to flush out remaining grime. For extra freshness, add a splash of vinegar and blend briefly. If you want to discover more quick tips, keep exploring!
Key Takeaways
- Fill the blender halfway with warm water and add a few drops of dish soap.
- Secure the lid tightly and blend on high for 10-15 seconds to loosen residue.
- Pour out the soapy water and rinse with clean warm water.
- For extra freshness, blend ice with vinegar or lemon juice for a quick clean.
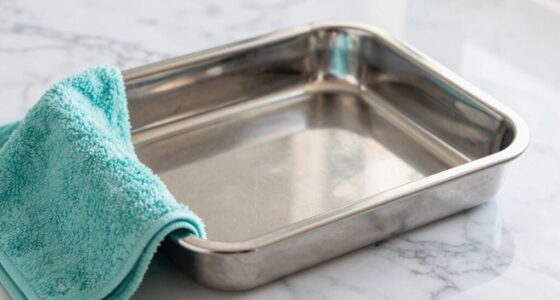
- Wipe exterior and blades with a damp cloth to finish cleaning within 30 seconds.
How to Clean Your Blender in 30 Seconds Without Disassembly
Ever wonder how to quickly clean your blender without taking it apart? This simple method is perfect for fast blender maintenance and uses clever cleaning hacks. First, fill the blender halfway with warm water and add a few drops of dish soap. Secure the lid tightly. Then, turn on the blender for 10-15 seconds, letting the soapy water swirl around and loosen residue. Pour out the soapy water and rinse with clean warm water. For extra freshness, blend a handful of ice and a splash of vinegar or lemon juice for 10 seconds. This quick technique keeps your blender clean, odor-free, and ready for your next use. No disassembly required, saving you time and effort while maintaining your appliance’s hygiene. Additionally, regular cleaning helps prevent buildup that could affect the performance of your blender. Incorporating easy cleaning methods ensures your appliance stays in top condition and extends its lifespan. Using this method regularly can also help prevent odor buildup and keep your blender smelling fresh. Proper maintenance, including this quick cleaning, is essential for ensuring your sustainable and secure kitchen appliances operate efficiently over time.
Prepare Your Blender for a Quick Clean

Before you start cleaning your blender, it’s important to prepare it properly. First, gather your cleaning tools, such as a damp cloth or sponge, and verify the blender is unplugged for safety. Check your maintenance schedule to determine if any parts need special attention or deeper cleaning. Remove any leftover ingredients or residue from the jar to prevent buildup during cleaning. Wipe the blender’s exterior and blades gently, focusing on areas prone to splatters. Clearing debris beforehand makes the quick clean more effective and reduces the risk of damage. Regularly following your maintenance schedule helps keep your blender in top shape and ensures that quick cleanings are always efficient. Proper preparation sets the stage for a fast, hassle-free cleanup. Additionally, understanding your blender’s filtration and airflow systems can help you identify potential issues early and maintain optimal performance. Being aware of proper cleaning techniques tailored to your blender model can further prolong its lifespan and ensure it functions smoothly. Incorporating routine home maintenance practices can also prevent buildup and keep your appliance operating efficiently, which supports overall kitchen appliance longevity. To enhance cleaning efficiency, consider using specialized cleaning tools designed for small appliances.
Rinse With Water and Dish Soap: the Fastest Way to Remove Residue
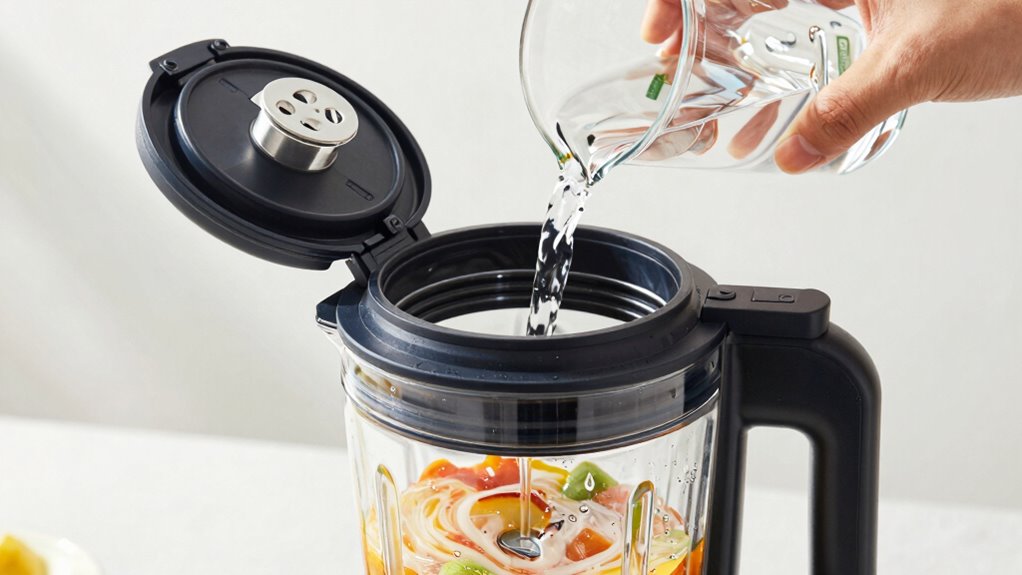
To quickly remove residue from your blender, fill it with warm water and add a few drops of dish soap. Then, blend for about 30 seconds to loosen everything up. This simple step is the fastest way to get your blender clean and ready for its next use. Incorporating nanotechnology-enabled cleaning techniques can further enhance your appliance maintenance, ensuring thorough sanitation.
Fill With Warm Water
Filling your blender with warm water is a quick and effective way to start cleaning. This simple step helps loosen leftover residue and makes the next cleaning steps easier. Use water that’s warm but not boiling to avoid damaging the blender’s components or seals. Proper water temperature is key in cleaning tips because it helps break down oils and food particles without causing damage. Pour enough water into the blender to cover the blades and interior surfaces. This ensures you’re rinsing away debris thoroughly. Once filled, let it sit for a few seconds before starting your blending or rinsing process. This initial step saves time and effort, setting the stage for a spotless blender with minimal fuss.
Add Dish Soap
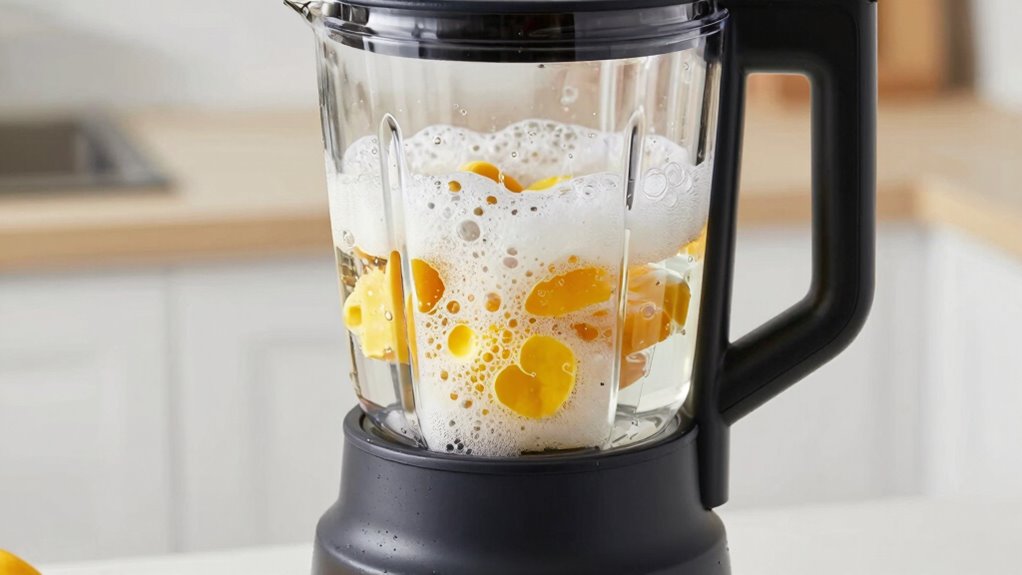
Adding dish soap to your blender is an effective way to break down grease and food residue quickly. The soap’s surfactants latch onto stubborn particles, making residue removal faster and easier. Simply add a few drops of dish soap into the water-filled blender, then turn it on briefly. This creates a foamy mixture that loosens grime without disassembly. Regularly cleaning your blender with this method can prevent bacterial buildup and extend its lifespan. Incorporating this quick cleaning step can also help maintain the performance of your appliance, ensuring it functions optimally over time. Using this technique can also minimize the presence of lingering odors, such as cooking smells or other residues, that may otherwise be difficult to remove.
Blend Briefly
After adding dish soap and running the blender briefly, the next step is to rinse it with water while blending. This helps loosen any remaining residue and guarantees your blender stays fresh. Keep it running until the mixture reaches a smooth, smoothie-like consistency, which indicates the soap and water are thoroughly circulated. Blending briefly creates a gentle rinse that removes stuck-on particles without requiring disassembly. Make sure to cover the lid tightly to prevent splashing. Once the rinse is complete, stop the blender and pour out the soapy water. This quick step effectively clears away residue, leaving your blender clean and ready for its next use in just seconds. Additionally, using a safe cleaning method ensures your appliance remains in good condition over time. Incorporating smart home features like automatic alerts or cleaning reminders can help maintain your kitchen appliances more efficiently, especially by monitoring cleaning cycles to prevent buildup. Regularly using a gentle cleaning approach can also extend the lifespan of your blender and keep it performing optimally.
Deep Clean Your Blender Using Vinegar: No Disassembly Needed

To give your blender a deep clean without taking it apart, start by preparing a vinegar solution. Then, run the blender on a short cycle to loosen grime and buildup. Finish by rinsing and wiping it down for a spotless, fresh appearance. Incorporating culinary education into your routine can help you understand how to maintain your tools effectively.
Prepare Vinegar Solution
Creating a vinegar solution is a simple and effective way to deep clean your blender without disassembly. To prepare, fill your blender halfway with warm water and add one cup of white vinegar. This vinegar solution helps break down grease, residue, and odors, making your cleaning routine more efficient. Once combined, put the lid on tightly and give it a quick shake to mix everything evenly. Incorporate this vinegar solution into your cleaning schedule once a week or as needed to maintain a fresh, spotless blender. Preparing the solution is quick, and it guarantees your blender stays clean without the hassle of taking it apart. Just a few seconds of preparation can make a big difference in your cleaning routine.
Run Blender Short Cycle
Once you’ve prepared your vinegar solution, place it in the blender and secure the lid tightly. Turn on the blender and run it for about 30 seconds on a short cycle. This quick cleaning method is effective for blender maintenance, as it helps loosen residue and grime stuck to the blades and sides. The vinegar’s acidity breaks down buildup, ensuring your blender stays fresh and odor-free. Keep the blender running just long enough to circulate the vinegar mixture thoroughly, but avoid overworking it. Regularly cleaning your blender is essential to maintain optimal performance and hygiene. Incorporating routine maintenance into your kitchen habits helps prolong the lifespan of your appliance and keeps it functioning smoothly. Additionally, using vinegar for deodorizing ensures your blender remains free of lingering smells.
Rinse and Wipe Down
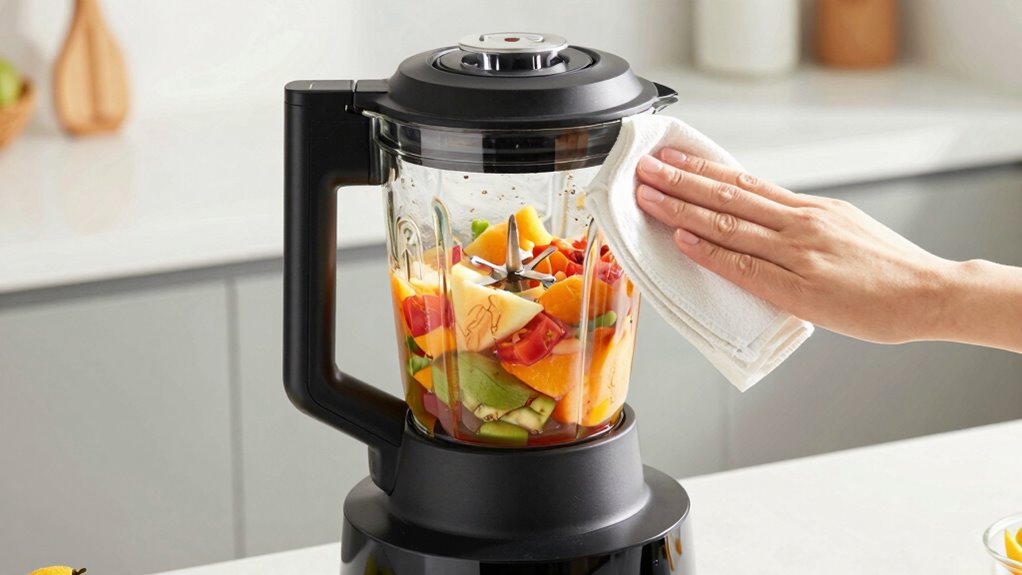
Have you finished running the vinegar cycle and want to give your blender a thorough clean? Now, it’s time to rinse and wipe down. Start by rinsing the blender’s materials with warm water to remove any remaining vinegar and loosened debris. Use effective rinse techniques, such as tilting the blender or filling it halfway with water, then blending briefly to flush out residues. For stubborn spots, a soft sponge or cloth works best—avoid abrasive scrubbers that might damage your materials. Be sure to clean the lid, gasket, and base thoroughly. After rinsing, wipe the exterior with a damp cloth to remove smudges and splashes. This step assures your blender looks spotless and ready for next use, maintaining hygiene and prolonging its lifespan.
Tips to Keep Your Blender Sparkling Between Uses

To keep your blender looking its best between cleaning sessions, it’s important to take simple, consistent steps. Regular blender maintenance involves rinsing the container immediately after use to prevent residue buildup. A quick cleaning hack is to fill the blender halfway with warm water and a few drops of dish soap, then blend for 30 seconds—this helps loosen stuck particles and keeps it fresh. Wipe down the exterior with a damp cloth to remove splatters and fingerprints. Avoid leaving leftovers inside, as they can dry and become harder to clean later. Storing your blender with the lid off allows airflow, reducing odors. These small habits make a big difference in keeping your blender sparkling and ready for your next blend.
When to Disassemble and Deep Clean Your Blender Properly
You should consider disassembling and deep cleaning your blender whenever you notice stubborn stains, lingering odors, or a decline in performance. The disassembly necessity arises when regular cleaning no longer suffices. Typically, deep cleaning frequency varies based on use but should be done at least once a month or after processing sticky or dairy ingredients.
During deep cleaning, focus on:
During deep cleaning, concentrate on thoroughly scrubbing blades and soaking removable parts in soapy water.
- Removing the blender jar for thorough scrubbing
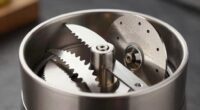
- Cleaning blades meticulously to prevent buildup
- Soaking removable parts in warm, soapy water
- Inspecting seals and gaskets for mold or residue
This process ensures your blender stays hygienic and functions at its best, preventing long-term damage caused by residue buildup. Recognizing these signs helps you maintain your appliance effectively and avoid unnecessary repairs.
Frequently Asked Questions
Can I Use Other Cleaning Agents Besides Dish Soap and Vinegar?
Yes, you can use alternative cleaners and natural solutions to clean your blender. Baking soda mixed with water creates a gentle scrub, while lemon juice acts as a natural disinfectant and freshener. These options are safe and effective, especially if you prefer eco-friendly methods. Just make certain you rinse thoroughly afterward to remove any residue. Using natural solutions keeps your blender clean without relying solely on dish soap or vinegar.
How Often Should I Perform a Deep Clean on My Blender?
Cleaning your blender is like tuning a musical instrument; regular maintenance keeps it performing at its best. You should perform a deep cleaning at least once a month or more often if you use it frequently. Following a consistent maintenance schedule prevents buildup and guarantees hygiene. Pay attention to signs of residue or odor, and adjust your deep cleaning frequency accordingly to keep your blender spotless and ready for your next blend.
Is It Safe to Run the Blender Without Any Ingredients Inside?
Running your blender without any ingredients inside is generally safe, but you should consider blender safety during empty operation. It’s best to do this occasionally and not regularly, as it can cause unnecessary wear on the blades or motor. Make sure the blender is stable and avoid prolonged empty runs. Always check your manufacturer’s instructions, as some models may have specific warnings about operating without ingredients.
What Should I Do if My Blender Has Stubborn Stains?
If your blender has stubborn stains, start with stain removal cleaning tips by filling it halfway with warm water and a drop of dish soap. Run the blender on high for 30 seconds, then add a mixture of baking soda and water for extra stain-fighting power. Let it sit for a few minutes, then rinse thoroughly. Regular cleaning helps prevent stains and keeps your blender in top shape.
Are There Specific Cleaning Methods for Different Types of Blender Blades?
Yes, you should modify your cleaning method based on the blade material. For stainless steel blades, use warm water and dish soap, then scrub gently with a soft brush. If your blades are plastic or coated, avoid abrasive cleaners to prevent damage; instead, opt for a mixture of vinegar and water for cleaning. Always check your blender’s manual for specific recommendations to guarantee effective and safe cleaning.
Conclusion
Think of your blender as a trusted friend who deserves a quick refresh after every adventure. With just a splash of water, a dash of soap, or a whisper of vinegar, you keep it shining like a clear lake—ready for the next splash of life. A swift clean is your way of saying, “I care,” ensuring your blender stays a loyal companion, always sparkling and prepared for new creations.