
To make great lattes and cappuccinos, start by adjusting your espresso grind to find the right size—finer for a richer extraction, aiming for about 25-30 seconds of pouring time. Use cold milk, steam it to 140-150°F, and create microfoam by introducing steam gently while swirling. A proper balance of extraction and milk texture is key; mastering these settings and timing will help you craft drinks that taste fantastic every time. Keep going to discover more tips for perfect results.
Key Takeaways
- Adjust grind size to achieve a 25-30 second extraction for balanced flavor.
- Use cold milk and steam just below surface to create smooth microfoam.
- Maintain consistent timing and monitor shot extraction to optimize espresso flavor.
- Introduce air gradually during steaming for velvety foam, stopping at 140-150°F.
- Wipe steam wand immediately after use to ensure proper machine operation and foam quality.
Creating the perfect latte or cappuccino starts with dialing in your espresso machine settings. To achieve that smooth, velvety milk and rich espresso shot, you need to master a few key techniques, especially when it comes to milk frothing and adjusting your bean grind. These elements directly influence the final texture and flavor, so paying attention to them makes a noticeable difference.
Start with your bean grind adjustments. The grind size is vital because it affects the extraction time and flavor profile. For espresso, you want a fine grind, almost powdery but not so fine that it clogs the machine. If your shot pulls too quickly and tastes sour, try a slightly finer grind. Conversely, if it takes too long and tastes bitter, coarsen the grind a bit. Consistent adjustments help you find that sweet spot, ensuring your espresso has balanced richness without over-extraction. Remember, even small tweaks can improve the shot’s crema and overall flavor, so don’t hesitate to experiment until you achieve the ideal extraction time—typically around 25-30 seconds. Proper extraction techniques are essential for extracting maximum flavor and achieving a balanced shot.
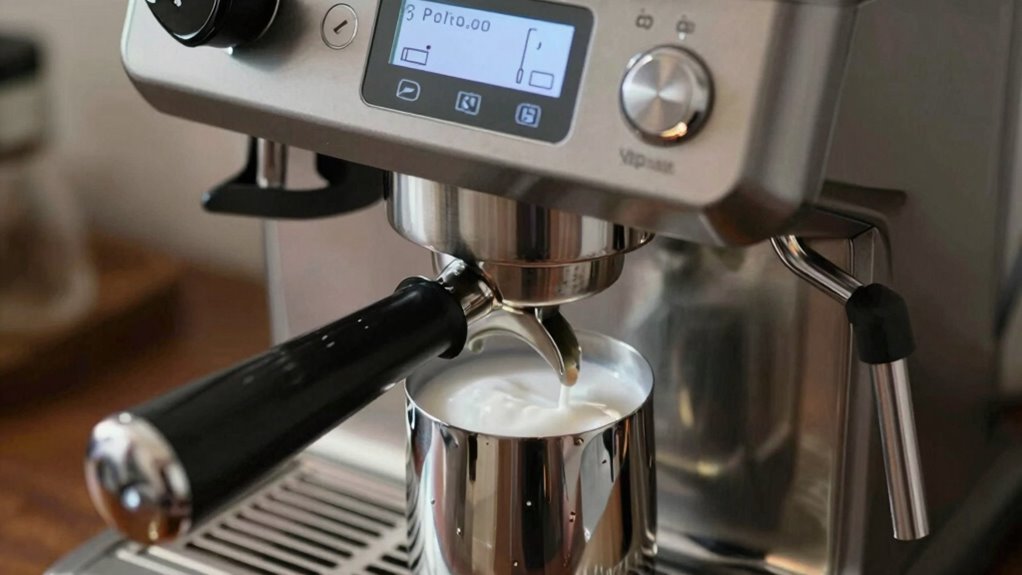
Once your espresso shot is dialed in, turn your attention to milk frothing techniques. Creating the perfect microfoam requires patience and the right approach. Start with cold milk and fill your pitcher no more than one-third full to allow room for frothing expansion. Submerge the steam wand just below the surface of the milk and turn on the steam. As the milk begins to warm, introduce a gentle swirling motion and keep the wand just below the surface to incorporate air gradually. This helps create those tiny bubbles that produce a creamy, velvety foam essential for lattes and cappuccinos. Once the milk reaches around 140-150°F, turn off the steam and immediately wipe the wand clean to prevent milk residue buildup. Swirl the pitcher gently to break any larger bubbles and to incorporate the foam smoothly into the milk. Practicing these milk frothing techniques ensures your milk has a glossy, fine-textured foam that enhances both the appearance and taste of your drink.
Frequently Asked Questions
How Do I Clean My Espresso Machine After Making Lattes?
To clean your espresso machine after making lattes, start by removing the portafilter and rinsing it thoroughly. Run water through the steam wand to clear milk residue, then wipe it with a damp cloth. Perform descaling procedures regularly as part of your cleaning maintenance to prevent buildup. Clean the drip tray and water reservoir weekly. This routine guarantees your machine stays in top condition and continues brewing great coffee.
Can I Use Pre-Ground Coffee for Lattes and Cappuccinos?
Yes, you can use pre-ground coffee for lattes and cappuccinos, but keep in mind that coffee freshness and grind size matter. Opt for a grind size suited for espresso to extract the best flavor. Freshly ground coffee yields better taste, but if you use pre-ground, choose a package with a recent roast date. confirm the coffee is stored properly to maintain freshness and flavor for your drinks.
What’s the Best Milk Frothing Technique for Beginners?
Did you know that 80% of beginners struggle with milk frothing? For the best milk frothing technique, focus on mastering milk frothing basics by starting with cold milk and a clean steam wand. Keep the wand just below the surface, introduce air slowly, and angle the pitcher slightly. Practice your beginner frothing techniques until the milk becomes smooth, silky, and doubles in volume for perfect lattes and cappuccinos every time.
How Can I Troubleshoot if My Espresso Is Too Bitter?
If your espresso’s too bitter, start by adjusting your coffee grind to a slightly coarser setting, which reduces over-extraction. Also, check your extraction time; aim for about 25-30 seconds, as longer times can cause bitterness. Experiment with these adjustments to find a balance. Remember, consistent tamping and fresh beans also help improve flavor and prevent over-extraction, making your espresso smoother and more enjoyable.
Are There Specific Settings for Different Types of Milk?
Imagine you’re a barista in 1920s Paris! For different milks, adjust your frothing temperature—dairy needs around 150°F, while milk alternatives vary. Use the steam wand’s control to match each type’s ideal temperature, ensuring smooth, creamy froth. Experiment with settings to find what works best for your milk choice. Keep an eye on the temperature gauge, and you’ll craft perfect lattes and cappuccinos every time!
Conclusion
Now that you know the right settings and timing, making perfect lattes and cappuccinos becomes much easier. For example, imagine you’re brewing a cappuccino for a friend’s surprise visit—using the right steam pressure and milk texture, you impress them every time. Just remember to experiment a little with your machine’s specific settings. With practice, you’ll create café-quality drinks right at home, turning your mornings into a special treat.