To prevent sandwich blowouts in your press, start by placing a layer of cheese directly on the bread or top of the fillings. This acts as a barrier that contains melted cheese and keeps ingredients from spilling out. Be sure to spread the cheese evenly and cover all edges for a neat seal. Using this simple cheese layer trick can make a big difference in achieving a tidy, melt-in-your-mouth sandwich; discover more tips to master the perfect press.
Key Takeaways
- Place cheese as the first layer over ingredients to act as a barrier against blowouts during pressing.
- Ensure cheese covers the entire surface, especially edges, to contain fillings and melted cheese.
- Use sturdy bread and avoid overstuffing to prevent pressure-induced leaks and bread tearing.
- Distribute cheese evenly with thin layers for consistent melting and minimal spills.
- Apply moderate, even pressure and preheat the press to promote uniform melting and prevent blowouts.
Why Proper Cheese Layering Prevents Sandwich Blowouts
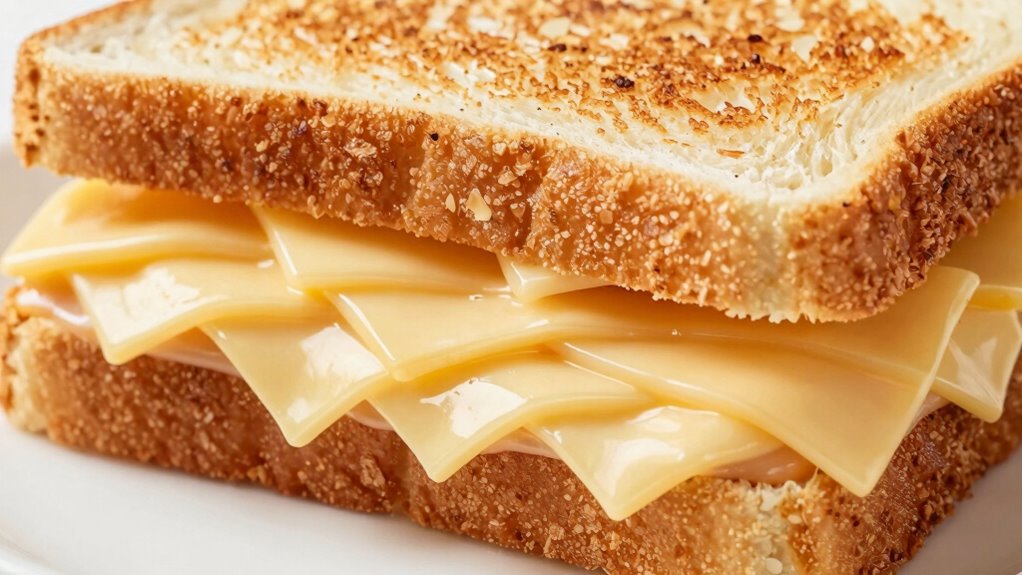
Proper cheese layering is essential to prevent your sandwich from falling apart during pressing. When choosing cheese, consider varieties that melt well and distribute evenly, such as American or cheddar, to guarantee consistency. Using the right cheese helps create a cohesive, sturdy interior that holds up under pressure. Additionally, cheese contributes markedly to sandwich aesthetics, giving your creation a smooth, appetizing appearance. Layering cheese directly on bread or other ingredients acts as a barrier, preventing moisture from seeping into bread and causing sogginess. Properly placed cheese creates a seal, keeping ingredients contained and maintaining the sandwich’s structure. This strategic cheese placement not only enhances durability but also elevates the visual appeal, making your pressed sandwich look as good as it tastes. Understanding melting qualities of different cheeses can help you select the best options for your sandwich. Incorporating cheese layering techniques can further optimize the stability and presentation of your sandwich, especially when considering ingredient moisture levels to prevent sogginess. Employing appropriate cheese selection is also key to achieving a consistent melt and preventing blowouts.
How to Layer Ingredients for the Best Pressed Sandwich

Achieving the perfect pressed sandwich depends largely on how you layer your ingredients. Start with your bread choices—choose sturdy bread like ciabatta or hearty sourdough to hold fillings without soggings. Place your cheese types directly on the bread to act as a barrier, preventing moisture from making the bread soggy and helping with even melting. Layer denser ingredients like meats or vegetables next, then add lighter toppings on top. This order ensures a balanced, well-pressed sandwich. For extra precision, consider these tips:
- Use cheese as the first layer to prevent blowouts
- Select bread with good structure for even pressing
- Distribute ingredients evenly to avoid uneven pressure
- Incorporate proper ventilation considerations to prevent excess moisture buildup during pressing, which can lead to blowouts and sogginess. Proper layering also involves understanding how load calculations influence pressure distribution and moisture management during pressing to achieve optimal results. Additionally, paying attention to moisture control helps maintain the sandwich’s texture and prevents sogginess during the pressing process. Understanding the moisture management techniques can further improve the overall quality of your sandwich.
Choosing the Right Cheese for a Neat, Melty Sandwich
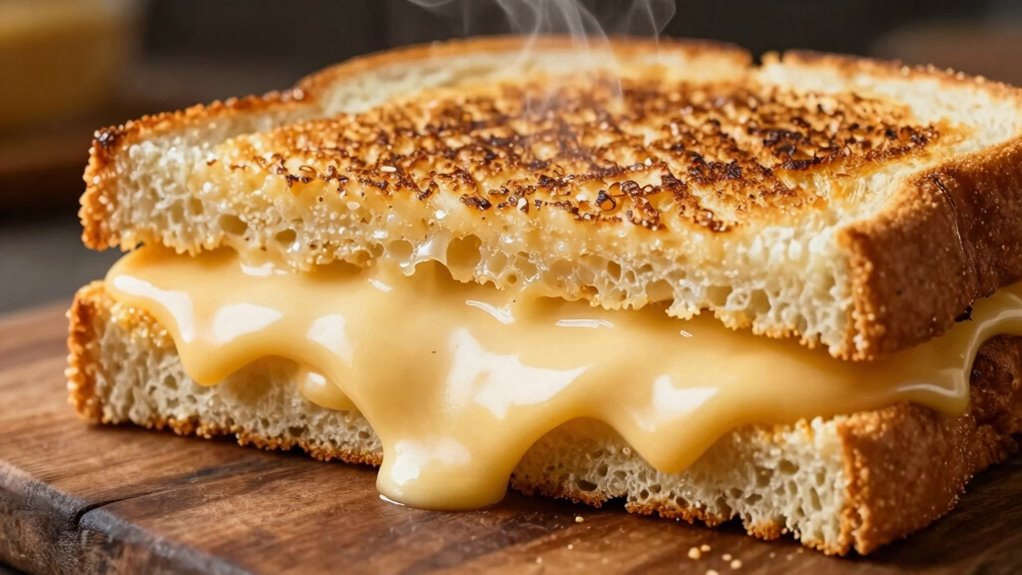
The right cheese can make all the difference in creating a neat, melty sandwich. Choosing cheese varieties that melt well ensures your sandwich stays intact and gooey without blowouts. Some cheeses, like mozzarella and cheddar, excel at cheese melting, providing smooth, even coverage. Others, like Swiss or provolone, add flavor without compromising meltiness. To prevent messes, select cheeses with high moisture content and good melting properties. Additionally, understanding cheese meltability can help you pick the best cheese for your perfect sandwich.
Step-by-Step: Applying the Cheese Layer Trick for Perfect Results

Once you’ve chosen the right cheese for your sandwich, the next step is to apply it correctly to guarantee a neat, melt-in-your-mouth result. Proper cheese distribution is key to preventing blowouts, so focus on even ingredient layering. Start by laying down a base layer of bread, then evenly spread the cheese across the surface, covering all edges. Use a gentle but firm hand to ensure the cheese stays in place without spilling over. This technique helps the cheese melt uniformly and acts as a barrier to keep ingredients contained. To enhance your technique, consider these tips:
Apply cheese evenly over bread edges for neat, uniform melting.
- Distribute cheese in thin, even layers for consistent melting
- Cover all ingredient edges to prevent leaks
- Press lightly to set the cheese before closing the sandwich
- Utilizing smart kitchen appliances can help maintain ideal temperatures for perfect cheese melt and prevent overcooking, especially when precise temperature control is crucial.
- Paying attention to cheese quality can significantly improve the overall melt and flavor of your sandwich.
- Being aware of filtration and temperature control in your appliances ensures optimal melting conditions and prevents uneven heating.
- Additionally, understanding water’s role in heat transfer can help you better control the melting process for a flawless sandwich.
Common Mistakes That Cause Messy Sandwiches: and How to Fix Them
One common mistake is overloading your sandwich, which can cause ingredients to spill out during pressing. Uneven cheese placement also leads to messes and uneven melting. To prevent these issues, use a barrier like parchment paper and distribute ingredients evenly. Incorporating smart contract technology can help automate and ensure consistent sandwich preparation processes. Additionally, paying attention to ingredient layering techniques can significantly improve the final result. Proper cheese placement ensures even melting and prevents blowouts during pressing, and understanding food safety practices can further ensure your sandwich remains delicious and safe to eat. Being mindful of cookie categories like necessary and functional cookies can enhance your online shopping experience when purchasing sandwich accessories.
Overloading the Sandwich
Overloading your sandwich might seem like a good way to pack in flavor, but it often leads to messy results. When you pile on too much cheese or stuffing, it can cause the bread to tear or the filling to spill out during pressing. To prevent this, pay attention to cheese thickness—thin slices melt evenly and stay contained. Also, choose the right bread; sturdier options like sourdough or thick-cut bread hold up better under pressure. Overloading can also lead to uneven heating, making your sandwich messy and difficult to handle. Keep these tips in mind:
- Avoid excessive cheese layers that spill out
- Opt for bread that can support the filling
- Keep fillings balanced to prevent blowouts
- Consider natural pools that blend seamlessly with your backyard landscape, providing a beautiful backdrop for your sandwich press corner.
Additionally, selecting sustainable materials for your sandwich press can ensure durability and reduce environmental impact. This way, your sandwich stays neat, flavorful, and perfectly pressed.
Uneven Cheese Placement
Uneven cheese placement is a common mistake that can turn a perfectly pressed sandwich into a messy ordeal. If your cheese isn’t evenly distributed, it can cause ingredient shifting during pressing, leading to cheese spilling out or ingredients slipping apart. To avoid this, focus on proper cheese distribution by placing slices evenly over the ingredient stacking. Make sure the cheese covers the entire surface area of the fillings, especially near the edges, to create a barrier that holds everything in place. This helps prevent blowouts and ensures a clean, uniform press. Take your time to arrange the cheese carefully, aligning it with the other ingredients. Consistent cheese layering not only improves the appearance but also enhances the overall press quality and mess-free experience.
Not Using a Barrier
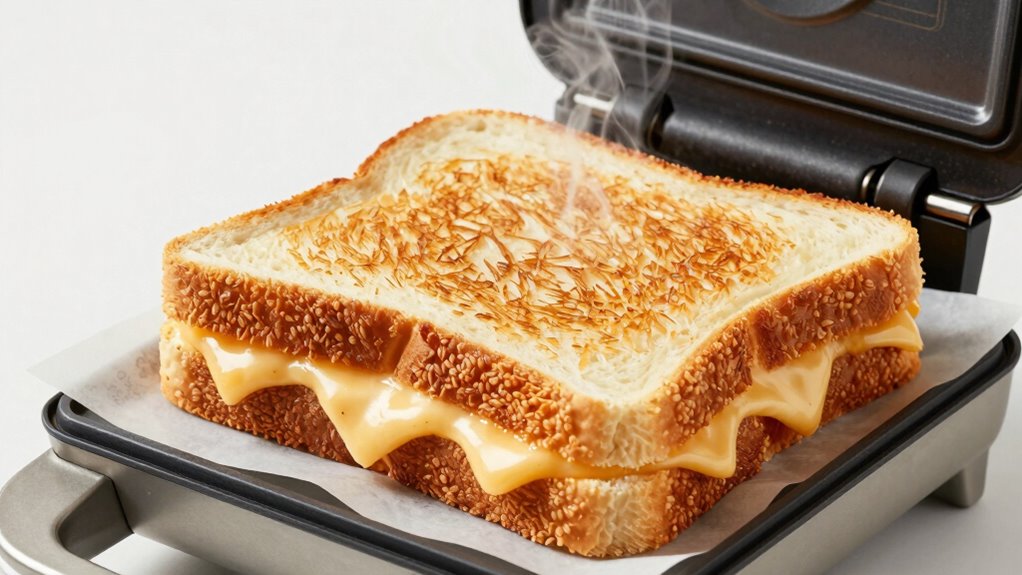
Failing to use a barrier, such as parchment paper or a silicone sheet, can easily lead to messy sandwiches when pressing. Without cheese barriers, melted cheese can seep out, causing mess and uneven sandwich sealing. This not only ruins presentation but also makes cleanup harder. To prevent this, always place a barrier between the press and your sandwich. It keeps cheese contained and helps achieve even contact, ensuring a perfectly sealed sandwich. Using a barrier also protects your press from cheese stains and buildup. Remember, cheese barriers are simple but effective tools for consistent results. Skipping them often results in cheese blowouts and uneven pressure. By incorporating a barrier, you make sandwich pressing cleaner, more efficient, and much less frustrating.
Tips for Applying Even Pressure and Achieving Melty, Spill-Free Sandwiches
To get perfectly melty, spill-free sandwiches, applying even pressure is key. You should also optimize cheese placement to prevent messes and guarantee consistent melting. Managing heat distribution across the press helps achieve uniform results every time.
Use Even Pressure
Applying even pressure when using your sandwich press guarantees your ingredients melt perfectly without spilling over. Consistent pressure helps achieve the ideal cheese consistency and prevents uneven cooking. To do this effectively:
- Ensure proper ingredient spacing so the cheese can melt evenly without crowding.
- Close the press gradually, applying steady, firm pressure without forcing it shut.
- Use a light, even press if your model allows, avoiding excessive force that can squeeze out ingredients.
Maintaining even pressure distributes heat uniformly, melting the cheese smoothly and sealing the sandwich neatly. Remember, uneven pressure can cause blowouts or under-melted spots. Focus on gentle, consistent pressure to get that perfectly melty, spill-free sandwich every time.
Optimize Cheese Placement
Ever wondered why some sandwiches come out perfectly melted and tidy while others spill over? The key lies in optimizing cheese placement. Start with proper ingredient sequencing: place cheese directly on the bread, avoiding overlaps with wet ingredients that can cause spills. Focus on cheese distribution: evenly spread slices or shreds across the entire surface to ensure consistent melting and pressure. Use this simple guide:
| Step | Tip | Result |
|---|---|---|
| Ingredient sequencing | Place cheese on bread first | Prevents cheese from spilling out |
| Cheese distribution | Even layer across the bread | Ensures uniform melt |
| Placement | Center cheese for balance | Achieves spill-free results |
| Pressing technique | Apply even, gentle pressure | Melts cheese smoothly |
Optimizing cheese placement maximizes pressure and prevents blowouts, giving you a tidy, delicious melt every time.
Manage Heat Distribution
Achieving even heat distribution is essential for a perfectly melted, spill-free sandwich. Proper heat management guarantees the cheese melts uniformly and prevents blowouts. To master this, focus on applying consistent pressure and controlling the heat source.
- Use a preheated press to start with the right temperature
- Avoid pressing too hard initially; gradually increase pressure
- Rotate or adjust the sandwich during cooking for even cheese melting
Variations of the Cheese Layer Technique for Different Sandwich Styles

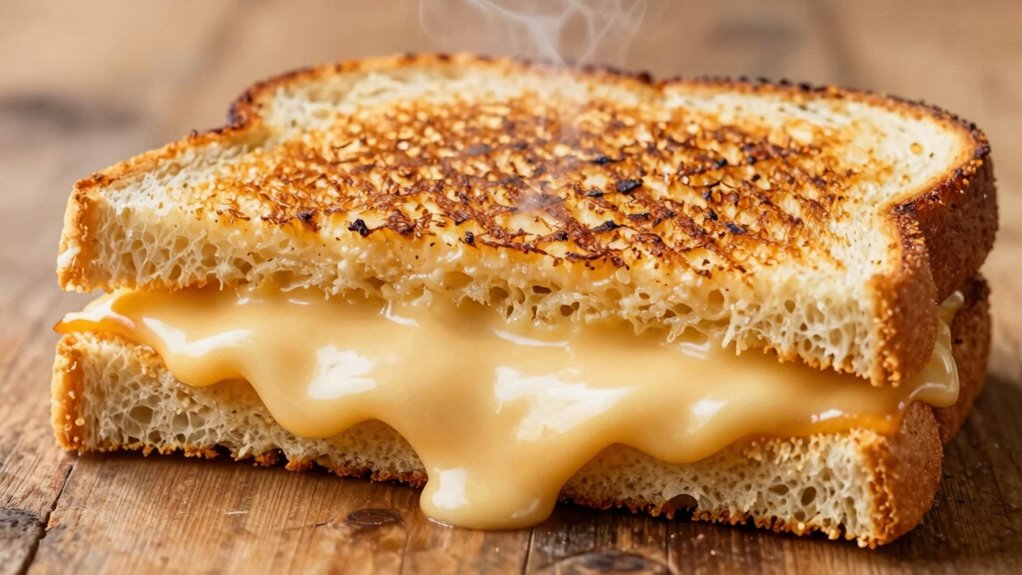
Different sandwich styles call for unique cheese layering techniques to maximize flavor and texture. For a classic grilled cheese, place a generous layer of cheese directly on the bread, ensuring it melts evenly and creates a seamless barrier against moisture. When making a panini, layer cheese between slices of meat or vegetables to enhance flavor and prevent blowouts. For open-faced sandwiches, spread cheese evenly over the bread’s surface to promote proper melting and prevent leaks. Consider bread compatibility—softer breads may need thinner cheese layers to avoid sogginess, while sturdier bread can support thicker layers. Adjust your cheese placement based on the sandwich’s ingredients and bread type, ensuring optimal cheese melting and a secure, leak-free sandwich.
Troubleshooting: What to Do When Your Cheese Isn’t Melting or Leaking
When your cheese isn’t melting properly or starts leaking out of your sandwich, it’s usually due to temperature issues, cheese type, or layering technique. To fix this, consider the following:
- Use melt-friendly cheese types like provolone, mozzarella, or cheddar for better results.
- Adjust your bread choices; denser breads may require longer pressing or lower heat to prevent leaks.
- Ensure your cheese layer is thin and evenly distributed, especially around the edges, to promote uniform melting and prevent blowouts.
Additionally, pre-warming your cheese slightly or covering the sandwich during pressing can help it melt more evenly. Pay attention to the cheese’s moisture content and the bread’s texture to avoid issues with leaking or unmelting.
Final Tips for Consistently Neat and Delicious Sandwiches

To guarantee your sandwiches turn out neat and consistently delicious, focus on proper assembly and pressing techniques. Use cheese alternatives like sliced vegan cheese or nut-based spreads to prevent overflow, especially with rich fillings. Select bread types such as ciabatta, brioche, or whole wheat for even pressing and flavor variety. Layer ingredients evenly to avoid uneven pressure and messes. Keep the press clean and preheated for ideal results. Apply consistent pressure and check periodically to prevent blowouts. Here’s a quick comparison:
| Cheese Alternatives | Bread Types | Tips for Success |
|---|---|---|
| Vegan cheese slices | Ciabatta | Even layering |
| Nut-based spreads | Brioche | Preheat press |
| Dairy-free cheeses | Whole wheat | Use proper pressure |
| Melty plant-based | Sourdough | Cut ingredients evenly |
| Soft cheeses | Rye | Clean after use |
Frequently Asked Questions
Can This Cheese Layer Trick Work With Vegan or Dairy-Free Cheeses?
Yes, the cheese layer trick works with vegan cheese and dairy-free alternatives. You can layer these cheeses similarly to dairy cheese to prevent blowouts in your sandwich press. Just guarantee you choose melty, gooey vegan options like cashew cheese or plant-based cheeses made for melting. Properly layering vegan cheese helps create a barrier, preventing leaks and ensuring your sandwich turns out perfectly crispy and delicious every time.
How Does the Thickness of the Cheese Layer Affect Sandwich Integrity?
You’ll find that the thickness of your cheese layer directly impacts sandwich integrity. A thicker layer with high cheese density can cause uneven melting, risking blowouts, while a thin, uniform layer guarantees consistent heat distribution. Layer uniformity is key; too thick, and the cheese might leak or blow out, too thin, and it won’t hold together. Experiment with moderate thickness to achieve the perfect balance of melt and structural stability.
Is It Necessary to Pre-Melt the Cheese Before Applying the Layer Trick?
You don’t need to pre-melt the cheese before applying the cheese layering trick. Simply placing the cheese in its solid form works well, as the heat from the press melts it evenly during cooking. This method helps prevent blowouts by creating a sealed, cohesive layer. Just make certain the cheese is evenly distributed, and the cheese melting process will do the rest, resulting in a perfectly sealed, delicious sandwich.
Can This Technique Be Adapted for Gourmet or Specialty Sandwiches?
Yes, you can adapt this technique for gourmet or specialty sandwiches. Use high-quality, gourmet ingredients and select specialty bread to elevate your creation. Apply the cheese layer trick by placing a cheese barrier to prevent blowouts, ensuring each bite remains intact. Melt the cheese slightly beforehand if needed, and layer carefully. This method works beautifully with fancy cheeses and artisanal bread, making your gourmet sandwiches both delicious and neatly presented.
How Do I Store Pressed Sandwiches to Maintain Their Neatness Overnight?
To keep your pressed sandwiches neat overnight, store them properly. Wrap your sandwich tightly in plastic wrap or foil to preserve bread quality and prevent dryness. Place it in an airtight container to maintain freshness and avoid squishing. Keep the sandwich assembly intact, ensuring the cheese layer stays secure, and avoid stacking heavy items on top. This way, you maintain bread preservation and keep your sandwich looking great for the next day.
Conclusion
Mastering the cheese layer trick is like tuning a finely crafted instrument—you’ll create harmonious, spill-free sandwiches every time. When you layer your ingredients with care and apply even pressure, you turn a simple lunch into a symphony of flavor and neatness. Remember, practice makes perfect, and soon, your sandwiches will be as reliable as a trusted friend—delicious, tidy, and always ready to impress. Keep experimenting, and enjoy the perfect press every time.