
TL;DR

Get kitchen staples and gadgets delivered free with Prime
- Fast, free delivery on millions of items
- Prime Video, Amazon Music and more included
- Member-only deals all year
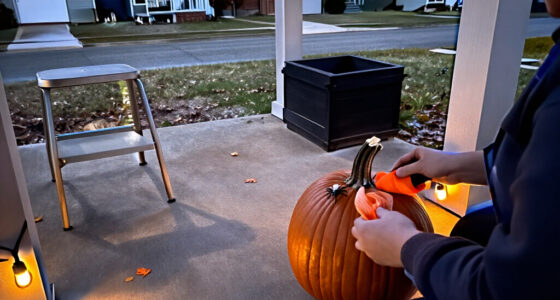
Good Housekeeping’s pumpkin-carving guide shares advice from Michael Natiello, creative director of The Great Jack-o’-Lantern Blaze, on choosing, carving and caring for a jack-o’-lantern. His tips include cutting an opening in the bottom, thinning the face area and coating cut edges with petroleum jelly; the guide says a cold-water soak may help revive a shriveled pumpkin.
Good Housekeeping’s pumpkin-carving guide offers advice from Michael Natiello, a professional carver and creative director of The Great Jack-o’-Lantern Blaze, on making jack-o’-lanterns easier to carve and helping them stay fresh. The instructions cover pumpkin selection, cutting technique and care after carving, offering Halloween decorators practical ways to reduce common problems such as a collapsing lid or drying edges.
Natiello recommends starting with a fresh pumpkin that has a sturdy stem, no bruises and a flat base. A stable pumpkin is less likely to roll while being worked on. The guide advises cutting an opening in the bottom rather than the top, which Natiello says can help prevent the pumpkin’s sides from caving in. For carvers who prefer a top opening, it recommends cutting the lid at an angle so it does not fall inside when replaced.
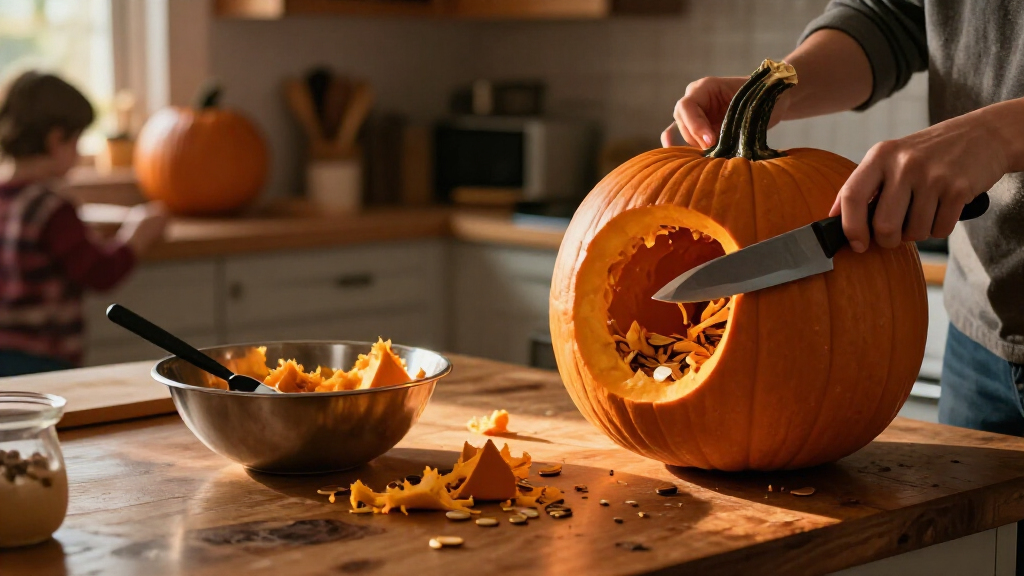
After removing the seeds and pulp, scrape the inside wall behind the planned face until it is about 1¼ inches thick, the guide says. That can make the shell easier to cut. Drawing the design on paper first helps plan the proportions; tape the pattern to the pumpkin and mark its lines with a fork or pencil. Natiello suggests holding the pumpkin so its face points upward and using a serrated kitchen knife or an X-Acto knife. For detailed designs, the guide says, a small saw may help. Make straight up-and-down cuts rather than slanted ones.
For cleaner results, remove larger pieces first and refine the edges afterward. The guide also suggests reusing shell scraps as design details, such as a tongue or hair accessory. To slow drying, Natiello recommends spreading petroleum jelly on cut edges. If the pumpkin shrivels after a few days, the article says a facedown soak in cold water for up to eight hours may revive it. These are expert tips, not guarantees of how long any individual pumpkin will last.
Better Carving Starts Before Cutting
The advice addresses two familiar Halloween frustrations: designs that do not come out as planned and pumpkins that deteriorate before the holiday. Choosing a stable pumpkin and sketching a pattern can make the work easier to control, while leaving enough time to remove pulp and refine cut lines can improve the finished look.
Care after carving matters too. A jack-o’-lantern is a fresh produce item, and the guide’s suggestions—sealing cut surfaces and briefly soaking a shriveled pumpkin—may help with appearance, but they do not establish a guaranteed shelf life. Readers should treat a carved pumpkin as perishable and discard it if it becomes moldy or shows other signs of spoilage.
Lighting choices also affect how the pumpkin is displayed. The article mentions candles, Christmas lights and battery-operated votives. For safer use, keep any flame attended, away from flammable materials and out of reach of children and pets; battery-operated lights avoid an open flame.
pumpkin carving kit with fine saws
As an affiliate, we earn on qualifying purchases.
As an affiliate, we earn on qualifying purchases.
The Guide’s Step-by-Step Method
The source is a seasonal Good Housekeeping report that presents carving as a series of manageable steps, from choosing a pumpkin to lighting the finished design. Its central advice is to take time at each stage, rather than rushing the cutting or cleanup. The guide identifies Natiello as a pumpkin-carving professional and creative director of The Great Jack-o’-Lantern Blaze.
Its recommendations include both traditional carving and small finishing touches. After lighting a candle, the guide says to leave the lid on briefly, then make a small opening where it has blackened to create a chimney. It also suggests sprinkling cinnamon inside the lid so the heat releases its scent. Those tips are optional; the basic instructions focus on the pumpkin’s stability, the design and preserving the cut edges.
pumpkin carving tools serrated knives
As an affiliate, we earn on qualifying purchases.
As an affiliate, we earn on qualifying purchases.
How Long a Carved Pumpkin Lasts
The guide does not give a set number of days that a carved pumpkin will remain fresh, nor does it compare the effectiveness of petroleum jelly with other preservation methods. The cold-water soak is described as a way to revive a pumpkin that has shriveled, but the source does not quantify how long the improvement may last or say that it will work in every case.
It also does not provide controlled test results for the carving and care tips. A pumpkin’s condition, the environment where it is displayed and the timing of carving may affect how quickly it deteriorates; the source does not specify temperature or storage conditions. The advice should be understood as practical guidance rather than a guarantee.
petroleum jelly for pumpkin preservation
As an affiliate, we earn on qualifying purchases.
As an affiliate, we earn on qualifying purchases.
Prepare the Pumpkin Before Halloween
For readers following the method, the next steps are to select a firm, stable pumpkin, sketch a design and allow enough time to scoop and carve it carefully. After cutting, apply the suggested edge coating and monitor the pumpkin for drying or spoilage. If using a candle, place it inside before lighting and keep it attended; battery-operated lights offer an alternative without an open flame.
The source does not announce a follow-up test or a later update. Its guidance is intended for use in the run-up to Halloween, with the finished pumpkin’s condition checked as the display date approaches.
pumpkin cleaning and carving tools
As an affiliate, we earn on qualifying purchases.
As an affiliate, we earn on qualifying purchases.
Key Questions
What kind of pumpkin is easiest to carve?
Good Housekeeping recommends a fresh pumpkin with a sturdy stem, no bruises and a flat bottom so it stays stable while you carve.
Should I cut the opening at the top or bottom?
Carver Michael Natiello recommends an opening in the bottom to help prevent the sides from caving in. If you cut from the top, the guide advises making the lid cut at an angle so it is less likely to fall inside.
How can I help a carved pumpkin last longer?
Natiello recommends coating the cut edges with petroleum jelly to help seal in moisture. The guide says a pumpkin that shrivels may be soaked facedown in cold water for up to eight hours, but neither method comes with a guaranteed lifespan.
How thick should the pumpkin wall be behind the design?
The guide recommends thinning the inside wall behind the face to about 1¼ inches so the shell is easier to pierce and cut.
What can I use instead of a candle?
The article suggests Christmas lights or battery-operated votives. Battery-operated lights avoid an open flame; if using a candle, keep it attended and away from flammable materials, children and pets.
Source: rss
Evergreen bestsellers Picks
bestsellers
As an affiliate, we earn on qualifying purchases.