To use your stand mixer for bread dough, set it to the dough or knead function and let it run for about 8-10 minutes on medium-low speed. Keep an eye on the dough’s texture; it should become smooth and elastic, passing the windowpane test. Stop when properly gluten-developed, avoiding over-kneading. If you want to master the perfect kneading technique, there’s more to explore that can help you get consistent results.
Key Takeaways
- Use the dough or kneading setting on your mixer for 8-10 minutes at medium-low speed.
- Add ingredients gradually into the bowl before starting to ensure proper mixing.
- Monitor dough texture during kneading; stop when it passes the windowpane test and is elastic.
- Choose high-quality bread flour (12-14% protein) for optimal gluten development.
- Adjust kneading time and flour addition based on dough consistency and mixer performance.
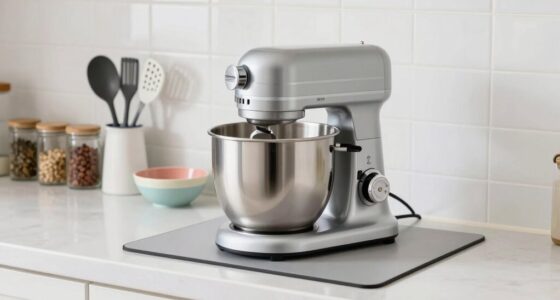
A stand mixer can make bread dough preparation much easier and more efficient, especially if you’re looking to save time and effort. When it comes to kneading your dough, understanding the right kneading techniques and choosing the proper flour are essential. Your mixer’s dough hook takes over the physical work, but you still need to know how to set it up for peak results.
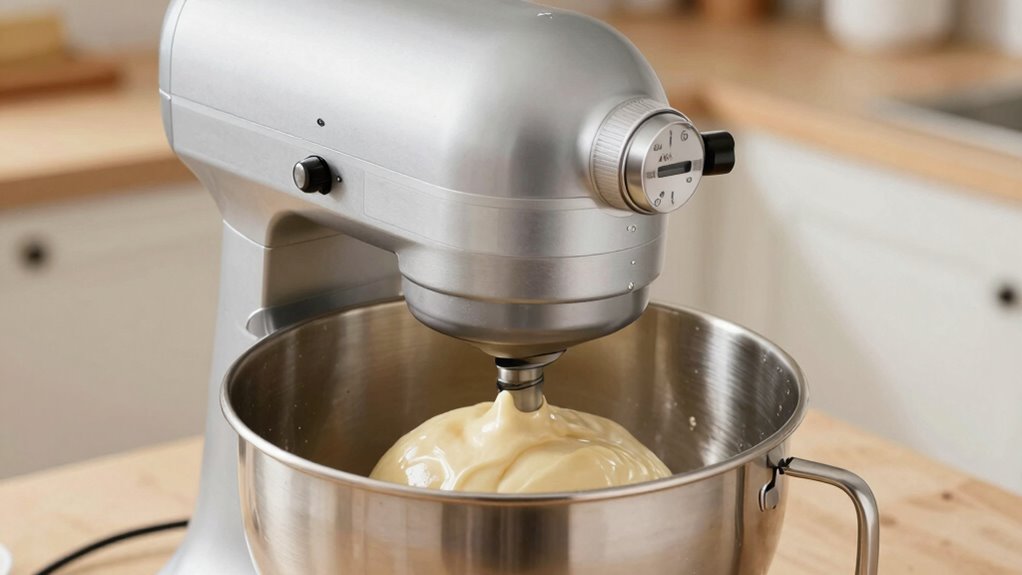
First, consider kneading techniques. Most stand mixers have a dough setting or a specific kneading function that mimics hand kneading but in a more consistent manner. You want to start by adding your ingredients—water, flour, yeast, salt, and any extras—into the bowl. Once the mixer is running, keep an eye on the dough’s consistency. It should come together into a rough, shaggy mass before becoming smooth and elastic. Typically, kneading takes about 8-10 minutes on a medium-low speed. Over-kneading can make the dough tough, so it’s good to stop once it’s elastic and passes the windowpane test—stretching thin without tearing. Remember, kneading techniques involve not just duration but also knowing when the dough has reached proper gluten development.
Most stand mixers knead for 8-10 minutes until dough is elastic and passes the windowpane test.
Next, flour selection plays an essential role in how your dough turns out. Using high-quality bread flour with a higher protein content, around 12-14%, will give you the best gluten structure, resulting in a chewy, well-risen loaf. Lower-protein flours, like all-purpose, can work but might produce a denser crumb. When adding flour, do so gradually, especially if your recipe calls for a specific texture. Too much flour can make the dough dry and stiff, while too little can cause sticking and an uneven rise. If your dough feels sticky after kneading, add a small amount of flour, a teaspoon at a time, until it’s tacky but not overly sticky. Conversely, if it’s too stiff, a splash of water can help loosen it up.
Using the right settings and timing on your stand mixer guarantees consistent results. Most mixers have a dedicated dough or knead setting, which typically runs for about 8 to 10 minutes. If yours doesn’t, a low speed for 6-8 minutes, followed by a brief rest, then another 2-3 minutes, works well. Always check the dough’s texture midway, and don’t hesitate to stop early if it’s already smooth and elastic. By paying attention to kneading techniques and selecting the right flour, you’ll produce better dough with less effort, allowing your mixer to do the heavy lifting while you focus on perfecting your bread.
Frequently Asked Questions
Can I Use a Stand Mixer for All Bread Types?
Yes, you can use a stand mixer for most bread types, but keep in mind it’s not a bread machine. For best results, focus on proper gluten development by kneading the dough just enough. Some delicate bread recipes like sourdough or enriched loaves may require manual handling or longer kneading times. Adjust your mixer’s speed and timing accordingly to guarantee the dough is well-developed without overworking it.
How Do I Prevent Over-Mixing Bread Dough?
Think of your dough as a delicate melody; over-mixing risks drowning out its subtle harmony. To prevent this, keep an eye on the mixer and stop as soon as ingredients are just combined. Over-mixing can lead to dough toughness, so avoid prolonged mixing. Use low speed, and don’t rush—your bread’s texture depends on gentle handling, preserving its airy structure and ensuring a soft, chewy loaf every time.
What’s the Best Way to Clean the Stand Mixer After Kneading?
To clean your stand mixer after kneading, start by unplugging it. Remove the bowl and attachments, then soak them in warm, soapy water. Wipe down the mixer’s body with a damp cloth, following cleaning tips in your maintenance checklist. For stubborn residue, use a soft brush. Dry all parts thoroughly before reassembling. Regular cleaning keeps your mixer running smoothly and extends its lifespan.
How Does Dough Hydration Affect Mixer Settings?
Dough hydration levels directly influence your mixer settings and kneading time. Higher hydration creates wetter dough, requiring gentler, slower mixing to avoid overworking gluten, while lower hydration needs more vigorous mixing for proper gluten development. Pay attention to how the dough feels—stickier or stiffer—and adjust your speed and duration accordingly. This guarantees ideal gluten development and a well-shaped, airy bread, no matter your hydration level.
Can I Substitute Manual Kneading With a Stand Mixer?
Yes, you can substitute manual kneading with a stand mixer, but keep in mind that it may impact kneading efficiency. Your mixer can do the heavy lifting, saving you time and effort, but avoid overmixing. Use the dough hook and set the speed to low or medium, kneading until the dough is smooth and elastic. This ensures proper gluten development while preventing overworking the dough.
Conclusion
So, next time you’re tempted to skip kneading, remember your trusty stand mixer is there to lend a gentle hand. With the right settings and timing, it’s like having a friendly baker in your kitchen who knows just when to step back and let the dough work its magic. Embrace the ease, relax a little, and enjoy the delightful smell of fresh bread—your homemade masterpiece is just a few turns away.