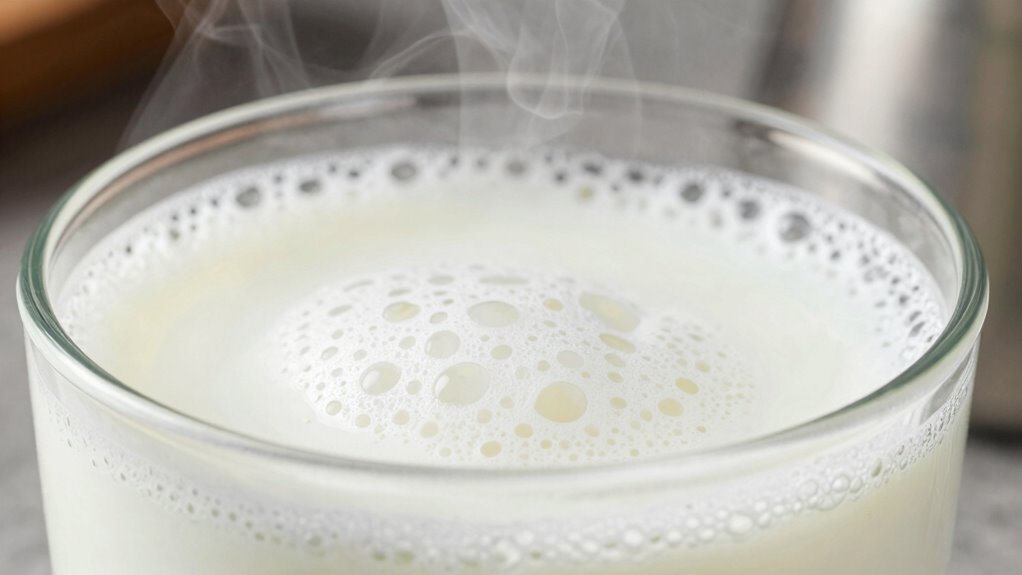

The main reason your milk frother won’t thicken is usually due to milk temperature or quality issues. Using cold, fresh milk at the right temperature (about 140°F to 160°F) helps create dense, creamy foam. Overheating or underheating can weaken the proteins needed for thick froth. Ensuring your milk is properly prepared and your frother is clean makes all the difference. Keep exploring to discover more tips for perfecting your foam every time.
Key Takeaways
- Using cold, fresh milk with higher fat content promotes thicker, creamier foam.
- Overheating or underheating the milk prevents proper protein denaturation needed for dense foam.
- Insufficient airflow or poor frothing technique can hinder proper aeration and foam thickening.
- Dirty or poorly maintained frother can restrict airflow and reduce foam quality.
- Choosing the wrong frother material or settings may prevent the milk from achieving desired thickness.
Why Isn’t My Milk Foam Thickening?
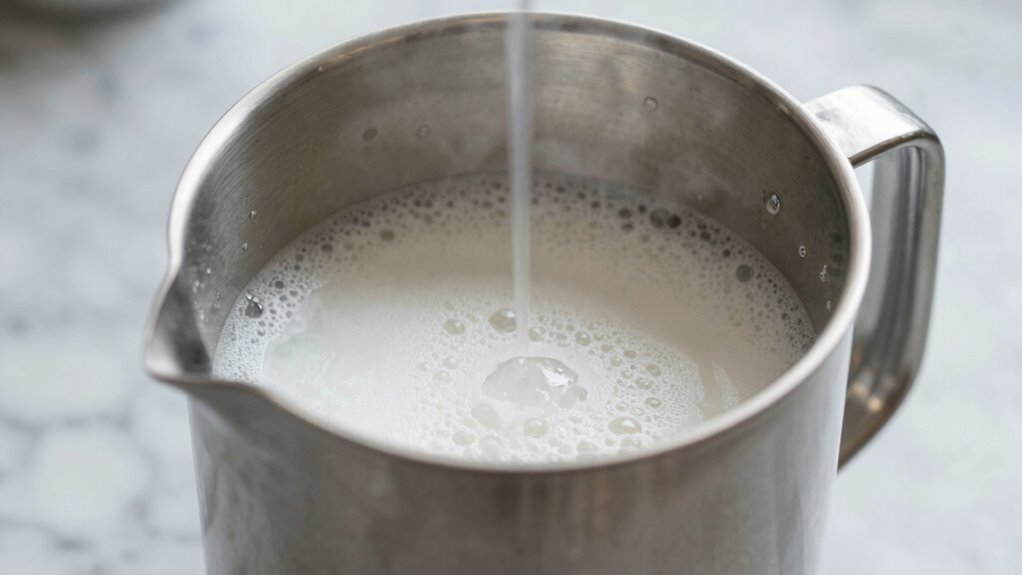
If your milk isn’t foaming thick enough, the issue often comes down to the temperature or the type of milk you’re using. Poor milk quality can hinder foam development, so opt for fresh, cold milk with a higher fat content for better results. Additionally, the frother material plays a role; stainless steel frothers tend to heat milk more evenly and help create a richer foam, while plastic ones might not transfer heat as effectively. Ensure the milk is cold before frothing, as warm or overheated milk won’t foam properly. Using milk with the right fat content and ensuring your frother is made from quality material can appreciably improve foam thickness. These small adjustments make a big difference in achieving that perfect, thick foam. Proper milk selection based on fat content and freshness can significantly influence the quality of your foam. Moreover, paying attention to airflow around the frother can enhance foam formation by allowing better aeration during frothing. Maintaining the correct frotting technique is also crucial for achieving a dense, velvety foam. To optimize your results, consider the frothed milk temperature to ensure it stays within the ideal range for thick foam formation.
How Do Milk Temperature and Type Affect Foam?

The temperature and type of milk you choose directly impact how well it foams. Milk composition, including fat, protein, and sugar levels, influences the stability and texture of your foam. Whole milk tends to produce creamier, denser foam because of its higher fat content, while skim milk creates lighter, fluffier froth. The ideal temperature for frothing is between 140°F to 160°F; too hot, and the proteins break down, preventing good foam formation. Using the right frothing techniques, like consistent steaming and proper aeration, enhances foam quality. Cold milk is harder to foam, but starting with chilled milk helps achieve a better microfoam. Adjusting milk type and temperature accordingly will improve your frothing results markedly. Additionally, innovative European cloud servers are now supporting advanced appliances that can optimize frothing processes through smart technology integration. Maintaining proper milk freshness is also crucial, as older milk can negatively affect foam quality and stability. Being aware of milk temperature and quality can help prevent common foaming issues and ensure a silky, stable foam. Moreover, understanding the role of milk temperature control in your frothing setup can lead to more consistent results across different types of milk. Proper milk storage also plays a vital role in maintaining the ideal properties for frothing success.
Can Overheating or Underheating Keep Foam Thin?
Overheating or underheating milk can prevent the foam from becoming thick and velvety. When milk overheats, the proteins break down, reducing their ability to trap air and create dense foam. Milk overheating often results in thin, frothy bubbles that lack creaminess. Conversely, milk underheating doesn’t allow enough temperature for proper protein denaturation, leading to weak and flimsy foam. If your milk isn’t heated to the right temperature—usually around 140°F to 160°F—you might notice that the foam remains thin and lacks body. Achieving the correct temperature is vital for thick, velvety foam. Proper temperature control is essential for consistent results, so avoid rushing the process or stopping too early, as both milk overheating and underheating can undermine your efforts to create rich, satisfying foam. Monitoring heat regulation can help maintain optimal conditions for perfect foam every time. Additionally, using a thermometer can help you precisely dial in the ideal temperature range for ideal foam quality.
How to Prepare Milk and Frother for Thick, Creamy Foam
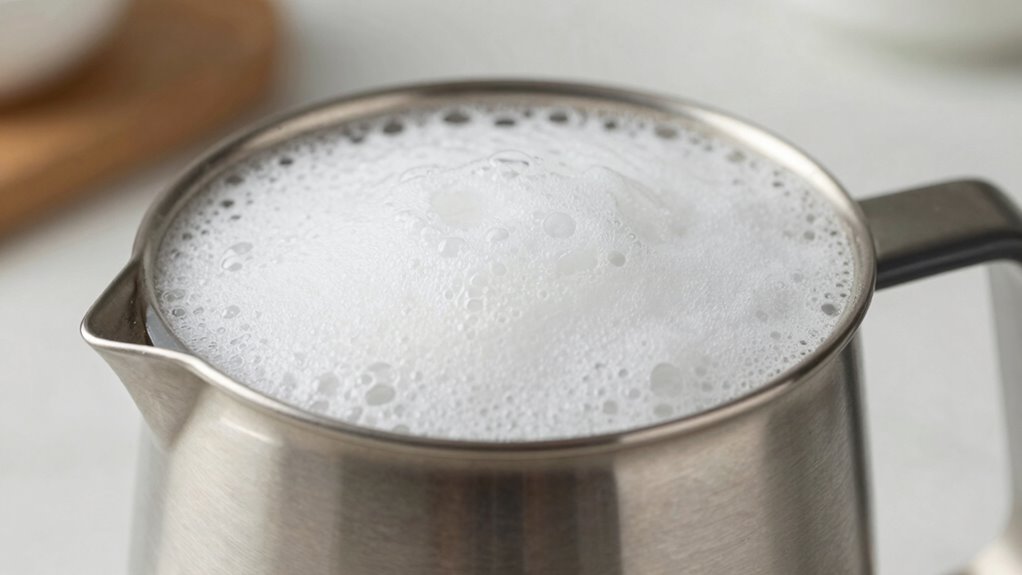
To achieve thick, creamy foam, you need to start by properly preparing both the milk and the frother. First, store your milk in the fridge to keep it fresh and at the right temperature. Use cold milk, ideally straight from storage, for better frothing results. Before frothing, clean your frother thoroughly to remove any residue that can affect foam quality. Here’s a quick guide:
| Step | Action | Tip |
|---|---|---|
| Milk Storage | Keep in fridge | Use cold, fresh milk |
| Frother Cleaning | Rinse before use | Remove leftover residue |
| Milk Temperature | Cold or slightly chilled | Avoid overheating |
| Frothing Technique | Use proper motion and speed | For thick foam |
Proper prep guarantees your milk and frother work together for perfect, creamy foam every time. Ensuring your equipment is clean and well-maintained can significantly improve foam quality and help you achieve the desired consistency. Additionally, paying attention to milk temperature control can make a substantial difference in the final foam thickness, since temperature regulation is crucial for optimal frothing performance. Regularly checking your frother’s exterior cleanliness can also prevent contamination that might interfere with foam formation. Remember that consistent technique plays a vital role in producing the best foam possible.
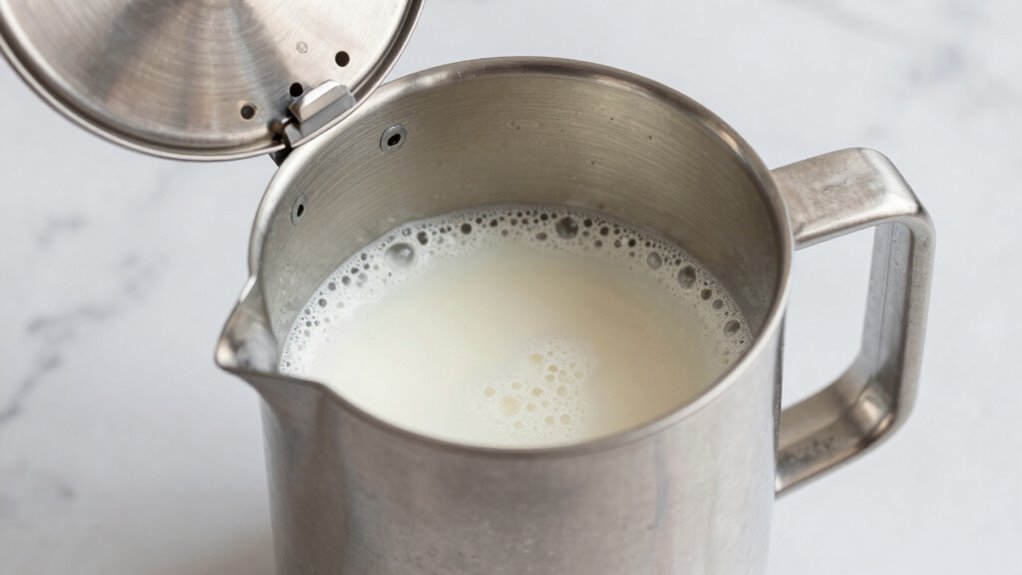
Troubleshooting Frother Problems That Prevent Thick Foam
If your frother isn’t producing thick foam, several issues could be at play. First, check the milk texture; if the milk is too cold or too warm, it won’t froth properly. Make sure you’re using fresh, cold milk for the best results. Also, inspect your frother’s maintenance—residual milk buildup can hinder its ability to create thick foam. Clean the frother thoroughly, paying close attention to the whisk or frothing disk, to ensure no blockages or residue interfere with foam formation. Additionally, confirm that you’re using the correct setting or attachment for thick foam. Poor frother maintenance and suboptimal milk texture are common culprits that prevent your frother from delivering the creamy, dense foam you desire. Regularly checking and maintaining your frother can improve its performance and help prevent clogs or residue buildup.
Frequently Asked Questions
Can Different Milk Brands Affect Foam Quality?
Yes, different milk brands can influence foam quality because of variations in milk composition. Some brands have higher fat or protein content, which helps create thicker, creamier foam. Brand consistency also matters; sticking to one brand ensures you get predictable results. If your foam isn’t thickening well, try switching brands or checking the milk’s composition to find what works best for your frother.
Does the Age of the Milk Impact Foam Thickness?
You might find that older milk affects foam thickness because milk freshness declines over time, leading to less stable bubbles. Studies suggest that fresher milk, with ideal milk temperature, produces richer, creamier foam. When milk ages, its protein structure changes, making it harder to create thick foam. For best results, always use fresh milk at the right temperature, ideally cold, to guarantee your frother produces the desired foam consistency.
How Does Altitude Influence Milk Frothing?
Altitude effects can make frothing more challenging because lower air pressure reduces the boiling point of water, impacting steam and foam production. You might notice that milk doesn’t froth as easily or thickens less at higher altitudes. To overcome frothing challenges, try warming the milk slightly more or adjusting your frothing technique. Understanding altitude effects helps you achieve better foam consistency despite the frothing challenges posed by higher elevations.
Are There Specific Cleaning Routines to Improve Foam?
To improve foam, you should develop a regular cleaning routine, ideally after every use. This helps prevent milk residue from building up inside the frother, which can hinder foam quality. Use warm water and a mild detergent, then thoroughly rinse and dry the device. Cleaning frequency is key—more frequent cleaning ensures your frother functions effectively, producing thick, creamy foam every time.
Can Adding Flavorings or Syrups Change Foam Consistency?
Adding flavorings or syrups can impact your foam’s consistency because some flavor additives contain sugars or thickeners that weigh down the foam, making it less airy. Syrup effects often include reducing foam stability and volume. To maintain good foam, use minimal flavorings, opt for unsweetened or lightly sweetened options, and add them after frothing to avoid disrupting the aeration process.
Conclusion
Think of your milk frother like a musical instrument—you need to tune it just right. When I first started, my foam was thin and disappointing, like a dull note. But once I adjusted the temperature and cleaned my frother, it sang with rich, creamy foam. Remember, small tweaks can turn a flat line into a symphony. With patience and care, you’ll craft perfect foam every time—like a master musician hitting all the right notes.