To fix runny whipped cream, start by chilling your mixing bowl and beaters in the freezer for about 10-15 minutes, which helps achieve better volume and stability. If it turns out too runny, gently fold in a stabilizer like gelatin, cream of tartar, or powdered sugar, and continue whipping until stiff peaks form. Carefully controlling temperature and using cold tools are essential—learn more tips to keep your whipped cream perfect every time.
Key Takeaways
- Chill your mixing bowl and beaters in the freezer for 10-15 minutes before whipping.
- Keep heavy cream and other ingredients thoroughly refrigerated until just before use.
- If whipped cream is runny, add a small spoonful of cold milk or chilled heavy cream and gently fold to thicken.
- Incorporate stabilizers like gelatin, cream of tartar, or commercial stabilizers to help maintain firmness.
- Serve immediately after whipping and keep the whipped cream in a cold environment to prevent runoff.
Why Does My Whipped Cream Turn Runny?
Have you ever noticed your whipped cream becoming runny just after you’ve whipped it? The main reason is your cream’s inconsistency in cream consistency, which is heavily influenced by temperature control. If the cream isn’t cold enough, fat molecules won’t whip properly, leading to a runny texture. Warm cream melts the fat, preventing stable foam formation. To avoid this, always keep your cream chilled before whipping. Proper temperature control ensures the fat in the cream can trap air effectively, creating a stable, fluffy texture. If your cream warms up during whipping, it can quickly lose its structure and turn runny. So, maintaining a consistently cold environment is key to achieving the perfect whipped cream and preventing it from turning runny too fast. Additionally, understanding the Free Floating concept can help you keep your kitchen environment ideal for whipping creamy textures. Using a cold bowl can also significantly improve your results, as it helps maintain the necessary low temperature throughout the whipping process. Keeping your tools and ingredients cold minimizes temperature fluctuations, which are crucial for stable whipped cream. For optimal results, consider using a whipping thermometer to monitor the temperature precisely. Always remember that temperature stability is vital for consistent whipping performance.
How to Prepare Your Equipment for Perfect Whipping
Getting your equipment ready before whipping cream is essential for achieving the best results. Start with clean, well-maintained tools—any residual grease or residue can prevent proper aeration. Ensure your mixing bowls and beaters are thoroughly washed and dry, as leftover fats can interfere with the formation of stiff peaks. Using equipment that’s cold helps maintain ingredient freshness and promotes better whipping. If your bowls or beaters aren’t cold, chill them in the freezer for 10-15 minutes beforehand. Proper equipment maintenance, like cleaning and chilling, guarantees your cream whips up smoothly and holds its shape. Additionally, understanding the contrast ratio of your equipment can influence how well the light reflects during visual inspections, which is crucial in a professional setting. Fresh ingredients also play a role; using high-quality, fresh cream yields better volume and stability. Using well-drained soil for your ingredients and equipment storage can also help prevent mold and spoilage, ensuring your whipped cream turns out perfect every time. Paying attention to equipment temperature can further improve whipping results and prevent runny cream. Properly conditioning your tools by chilling or warming them appropriately can make a significant difference in achieving perfect peaks. Also, considering the humidity levels in your environment can influence how quickly your cream reaches the desired texture, especially during warm weather. Preparing your tools and ingredients correctly sets the foundation for perfect whipped cream every time.
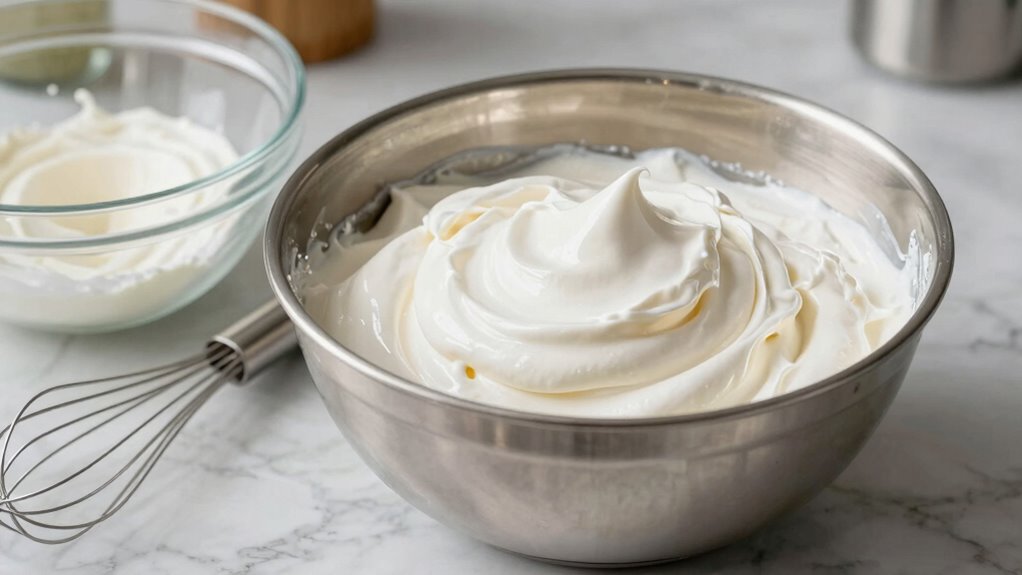
Techniques for Whipping Cream to Achieve Fluffy, Stable Peaks
To whip your cream into fluffy, stable peaks, start by chilling your equipment and mixing bowl. This helps the cream whip more easily and holds its shape longer. Also, using the right amount of proper sugar will stabilize the cream without making it runny. For added assurance, consider the trusted reputation of your chosen tools and ingredients to ensure consistent results. Additionally, understanding market trends can help you select high-quality dairy products that perform better during whipping. Incorporating essential gear for every prepper, such as water purification systems or multi-tools, can also prepare you for unexpected situations while ensuring your kitchen remains stocked with high-quality ingredients.
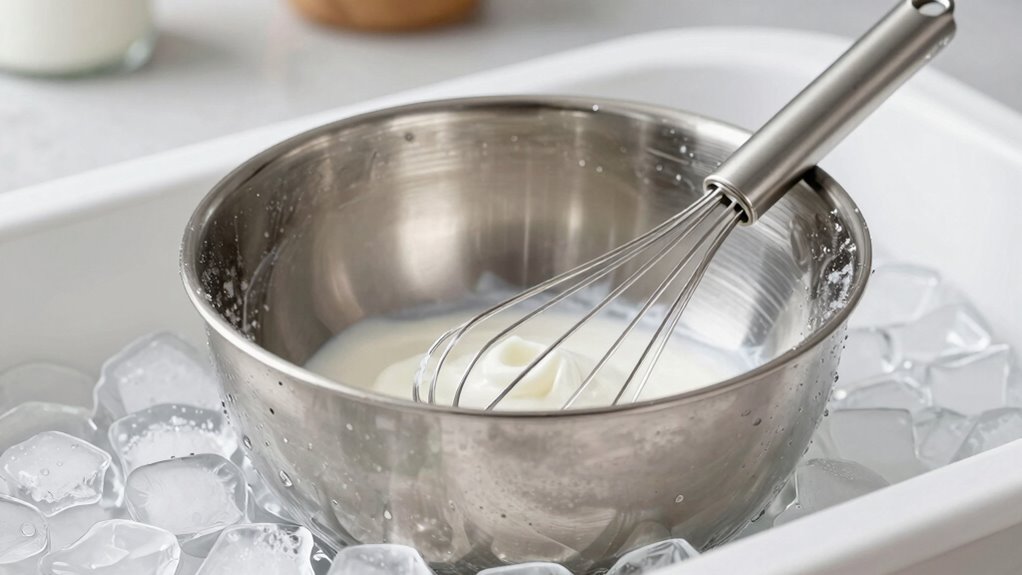
Chill the Equipment
Did you know that chilling your equipment can make a significant difference in whipping cream? Proper equipment maintenance is essential for achieving fluffy, stable peaks. Before you start, place your mixing bowls and beaters in the refrigerator for at least 15-30 minutes. Cold equipment helps the fat in the cream whip more efficiently, leading to better volume and stability. Use refrigeration techniques to keep everything as cold as possible during the process. Avoid room temperature tools, which can cause the cream to deflate or become runny. By chilling your equipment thoroughly, you create ideal conditions for whipping cream into perfect peaks. This simple step ensures your cream stays firm and airy, preventing runniness and improving overall results.
Use Proper Sugar
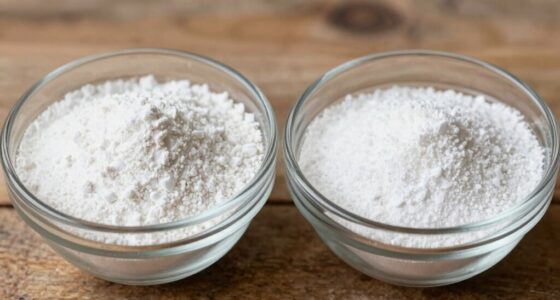
Using the right amount of proper sugar is key to achieving fluffy, stable peaks when whipping cream. The type of sugar you choose matters; superfine sugar dissolves quickly and creates a smoother texture, while powdered sugar contains cornstarch for added stability. Adjust sweetness levels based on your preference and the recipe, but avoid oversweetening, which can weaken the whipped cream’s structure. Too much sugar can cause the cream to become runny or grainy, so measure carefully. Incorporate the sugar gradually as you whip, ensuring it dissolves completely. Proper sugar not only sweetens but also helps stabilize the whipped cream, making it easier to achieve those perfect, firm peaks.
Common Mistakes That Cause Runny Whipped Cream
One common mistake that causes whipped cream to turn runny is overmixing it. When you beat the cream too long, it quickly loses its structure and becomes watery. Proper whipped cream storage is essential; keep the bowl cold and use chilled utensils to maintain its stability. Also, adding flavor enhancements too early or in excess can weaken the whipped cream’s texture, making it more prone to runoff. Be mindful of incorporating ingredients like vanilla or sugar gradually and after the cream has thickened. Avoid rushing the process, as overbeating not only affects consistency but can also diminish taste quality. Staying attentive during whipping and following best storage practices help you achieve a stable, fluffy whipped cream that holds its shape longer. Additionally, understanding AI ethics can be beneficial if you’re developing automated tools or appliances for cooking, ensuring they operate fairly and safely. Incorporating temperature control methods can further improve the stability of whipped cream, especially when working in less-than-ideal environments. Using a cold bowl and chilled utensils is a simple yet effective way to help prevent the cream from becoming runny. Properly stabilized whipped cream can also be achieved by adding a stabilizer like gelatin or cream of tartar, which can help it hold its shape longer. For extra stability, some cooks incorporate plant-based thickeners like agar-agar, which can be especially helpful for dairy-free versions.
How to Fix Runny Whipped Cream Quickly

If your whipped cream turns runny while you’re still preparing it, quick action can save the texture. To fix the whipped cream consistency fast, add a spoonful of cold milk or chilled heavy cream and gently fold. This helps thicken it immediately. You can also try incorporating stabilizer options like gelatin or cornstarch—just a small amount—whisked in quickly. Ensuring proper temperature control during whipping can also prevent over-whipping and curdling. Proper storage and handling of whipping ingredients are essential for achieving peak stability.
Using Stabilizers to Keep Your Whipped Cream Stable

Stabilizers are a great way to guarantee your whipped cream stays firm and holds its shape longer. They help improve whipped cream consistency, especially when you need it to last for hours. There are different stabilizer types you can try:
- Gelatin: Dissolve in warm water and whip in gradually for a sturdy hold.
- Cream of tartar: Add a pinch during whipping to increase stability.
- Commercial stabilizers: Follow package instructions for best results.
Using stabilizers prevents your whipped cream from becoming runny or collapsing. They’re especially useful for decorating cakes or serving over extended periods. Additionally, understanding the whipped cream technique, such as the “Cold Bowl” rule, can significantly improve your results. To achieve optimal stability, maintaining the correct temperature during preparation is also crucial, as it directly impacts the effectiveness of your stabilizers. Properly chilling the bowl can enhance the whipping process and ensure a more stable end product.
Tips for Keeping Your Whipped Cream Light and Fluffy Until Serving

To keep your whipped cream light and fluffy until serving, start with chilled equipment to maintain its structure. Be cautious when adding stabilizers so they don’t weigh down the cream, and serve immediately after whipping for the best texture. These simple steps help guarantee your whipped cream stays perfect until it’s time to enjoy.
Use Chilled Equipment
Chilling your mixing bowls and beaters before whipping guarantees your cream stays light and fluffy longer. Cold equipment helps maintain the proper temperature, reducing the risk of runny cream. To guarantee ideal results, consider these tips:
- Keep your equipment clean and well-maintained to prevent residual warmth from affecting your whipped cream.
- Use ingredient substitutions like chilled heavy cream straight from the fridge for best performance.
- Store your mixing tools in the freezer for at least 15 minutes before whipping to maximize their cooling effect.
Add Stabilizers Carefully
Adding stabilizers can help your whipped cream hold its shape longer, but using them too much or too quickly can make the texture stiff or grainy. Choose the right stabilizer types, such as gelatin, cornstarch, or cream of tartar, and add them gradually. Stick to recommended stabilizer amounts to avoid altering the cream’s lightness. Here’s a quick guide:
| Stabilizer Type | Recommended Amount |
|---|---|
| Gelatin | 1 teaspoon dissolved in 2 tbsp water |
| Cornstarch | 1-2 teaspoons |
| Cream of Tartar | 1/8 teaspoon per cup of cream |
Use stabilizers sparingly and incorporate them slowly for the best fluffy, stable whipped cream.
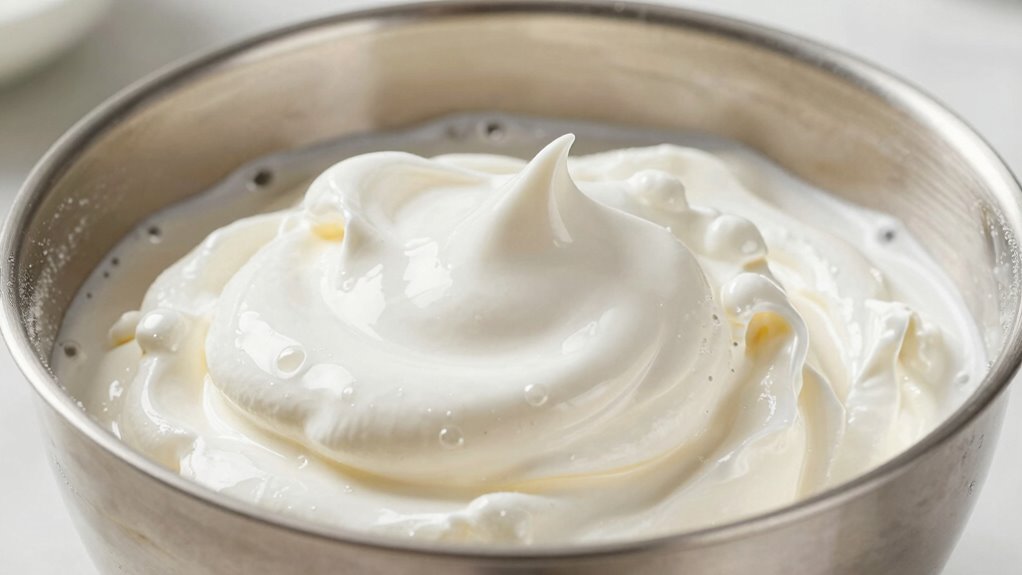
Serve Immediately After Whipping
Once you’ve whipped your cream to perfection, serving it immediately is key to maintaining its light, fluffy texture. Proper serving timing prevents it from losing volume and becoming runny. To keep your whipped cream at its best until the moment of serving, consider these tips:
- Plan your serving time so the whipped cream isn’t sitting out too long.
- Keep the bowl and cream cold until just before serving to control temperature and prevent melting.
- Use a chilled serving dish to help maintain the cream’s structure.
Frequently Asked Questions
Can Adding Sugar Affect the Stability of Whipped Cream?
Adding sugar can affect the stability of whipped cream because sugar stabilizes the foam structure, making it less likely to deflate quickly. However, too much sugar can cause the whipped cream to become overly sweet and runny, impacting the overall texture. For the best results, add sugar gradually and beat until stiff peaks form, ensuring the sweetness impact doesn’t compromise stability.
What Is the Ideal Temperature for Whipping Cream?
Think of cream temperature as the Goldilocks zone for perfect whipped cream—you want it just right. The ideal chilling for whipping cream is around 35-40°F (2-4°C). If it’s too warm, it won’t hold air; too cold, and it may seize. Keep your cream cold, use a chilled bowl, and you’ll achieve that fluffy, stable texture, making your dessert truly enchanting.
How Long Can Whipped Cream Stay Fresh Before It Turns Runny?
Whipped cream typically stays fresh for about 24 hours before it turns runny, especially if not stored properly. To maximize shelf life, keep it refrigerated in an airtight container and avoid exposing it to warm temperatures. Storage tips include using a chilled bowl and whisk during whipping and covering the whipped cream tightly afterward. Always check for signs of spoilage before serving to guarantee freshness and safety.
Can Non-Dairy or Alternative Creams Be Whipped Successfully?
Yes, you can whip plant-based alternatives successfully, but expect some whipping challenges. Non-dairy creams like coconut, soy, or almond can create fluffy toppings if chilled well and whipped with a cold bowl. Keep in mind, they may not reach the same stiff peaks as dairy. Use a mixer on high speed, and add a pinch of stabilizer like cornstarch or aquafaba to improve the texture and stability.
Does the Type of Bowl Material Impact Whipping Results?
Yes, the bowl material influences your whipping results. Metal bowls, especially stainless steel, are best because they stay cold and help the cream whip faster and firmer. Glass bowls work well too, but plastic bowls tend to be warmer and can make it harder to achieve stiff peaks. So, using the right bowl material guarantees your whipping results are consistent and your cream gets the perfect texture.
Conclusion
Think of your whipped cream as a delicate dance—if you don’t keep your partner (the cream) cool and steady, the performance falls apart. By following the “cold bowl” rule, avoiding common mistakes, and knowing how to fix runny cream quickly, you’re guiding it to stay light and fluffy. With these tips, you’ll master the art of perfect whipped cream every time—turning a simple ingredient into a beautiful, stable cloud that elevates your desserts.