
To get crispy food without drying it out, timing is everything. Wait until your oil reaches the ideal temperature of 350°F to 375°F before adding your ingredients. Adding food too early causes the oil temperature to drop, resulting in soggy, greasy results. Gently introduce small batches to maintain consistent heat, ensuring a crispy crust forms. master this timing trick, and you’ll enjoy perfectly fried foods every time—there’s more to mastering the technique ahead.
Key Takeaways
- Maintain the oil temperature within 350°F to 375°F to ensure crispiness without over-drying.
- Introduce food gently to prevent temperature drops that cause sogginess.
- Fry in small batches to keep the oil temperature stable.
- Remove food promptly once golden and crispy to avoid drying out.
- Rest fried items on a wire rack to prevent steam and preserve crispness.
If you want to extend the life of your engine, mastering the oil timing trick can make a significant difference. But this trick isn’t just for engines—it also applies to your frying skills. When you know how to manage oil temperature and timing, you can cook food that’s beautifully crisp without turning dry or greasy. The key lies in understanding the importance of oil temperature and how it influences your frying technique.
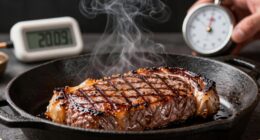
As you begin, recognize that the right oil temperature is crucial. If your oil is too hot, your food will cook too quickly on the outside, risking burning or creating an unappetizing, dark crust. On the other hand, if the oil isn’t hot enough, your food will absorb too much oil, resulting in a greasy texture and a soggy, unappealing finish. The ideal oil temperature for most frying is between 350°F and 375°F, which allows the food to crisp evenly while sealing in moisture. Using a thermometer helps you maintain this precise temperature, so you don’t have to rely on guesswork. Proper oil temperature management is essential for achieving consistent, crispy results.
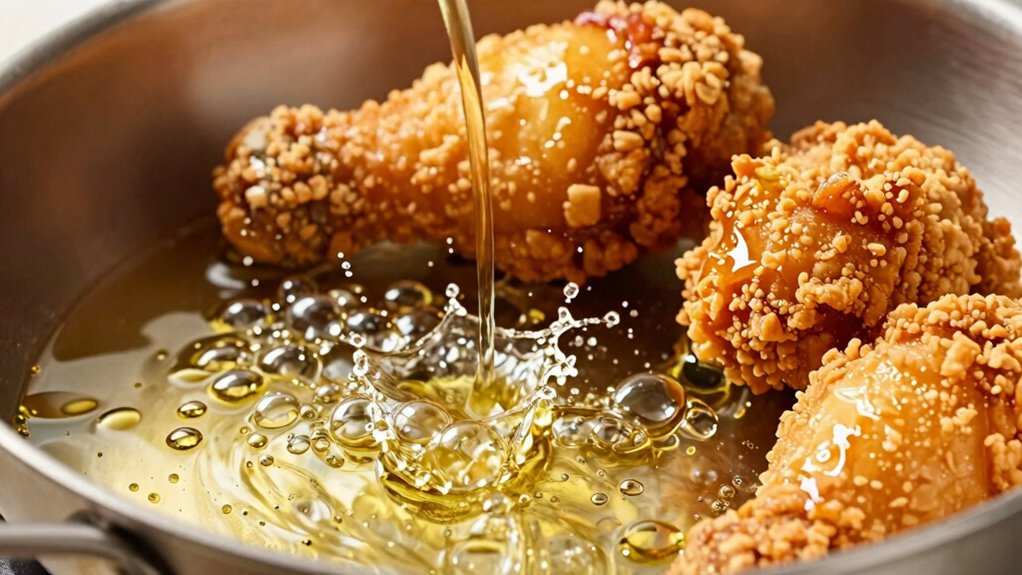
Your frying technique also plays a vital role in applying the oil timing trick. Once the oil reaches the right temperature, you should carefully introduce your food. Placing it gently into the oil minimizes splatters and prevents sudden drops in temperature. If you add too much at once, the temperature drops dramatically, leading to uneven cooking and soggy results. Instead, fry in small batches to keep the oil temperature stable. This way, your food crisps up quickly, forming a golden crust that locks in moisture and flavor. Maintaining a consistent frying temperature is key to avoiding uneven results and achieving that perfect crisp. Additionally, understanding cooking science can help you better anticipate how ingredients react to heat, further improving your frying outcomes. It’s also helpful to recognize that oil smoke point is a critical factor when choosing your cooking oil, as exceeding this temperature can lead to undesirable flavors and health concerns.
Add food gently in small batches to keep oil temperature steady and ensure crispy, evenly cooked results.
Timing is everything. As soon as you add your food, monitor the oil temperature closely. If you notice a decrease, adjust the heat slightly to compensate. This oscillation in temperature can affect the frying process, causing uneven crispiness or dryness. Removing the food at just the right moment, when it’s golden and crisp, ensures you avoid overcooking or drying out. Resting the fried items briefly on a wire rack, instead of paper towels, allows excess oil to drip away without trapping steam, which helps keep the crust crisp.
In essence, your mastery of the oil timing trick—balancing oil temperature, frying technique, and timing—transforms your cooking. It’s about more than just temperature; it’s about how you control the entire process to achieve perfectly crisp, flavorful food. When you get this right, frying becomes less of a gamble and more of a reliable method for delicious results. The next time you fry, remember: patience and precision in controlling oil temperature and timing are your best tools for crispy perfection without the dreaded dryness.
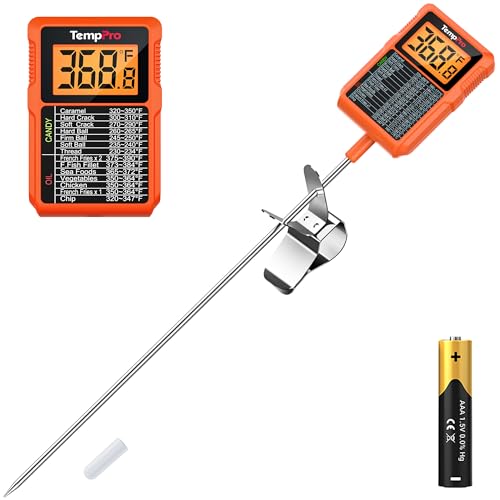
TempPro TP510 Waterproof Digital Candy Thermometer with Pot Clip, 10" Long Probe Instant Read Food Cooking Meat Thermometer for Grilling Smoker BBQ Deep Fry Oil Thermometer(Previously ThermoPro)
【Backlit 90° Rotating Display】The large 90-degree rotating screen enables effortless angle adjustment for optimal visibility, while the backlight…
As an affiliate, we earn on qualifying purchases.
As an affiliate, we earn on qualifying purchases.
Frequently Asked Questions
Can This Oil Timing Trick Be Used With All Types of Oil?
Yes, you can use the oil timing trick with different oil types, but be mindful of their smoke points. For high smoke point oils like avocado or peanut oil, you can heat them longer without burning, helping food crisp up nicely. Lower smoke point oils like olive or sesame need careful timing to avoid smoking or burning. Always monitor the oil temperature to guarantee the trick works effectively and safely.
How Long Should I Wait Before Adding Food After Heating the Oil?
You should wait until the oil reaches the ideal oil temperature, usually around 350-375°F, before adding your food. This guarantees proper cooking timing and helps achieve a crispy exterior without drying out. Use a thermometer to monitor the temperature accurately. Once the oil is hot enough, add your food promptly to prevent temperature drops, ensuring even cooking and maximum crispiness. Patience here makes all the difference.
Does This Method Work for Both Frying and Roasting?
Yes, this method works for both frying and roasting. For frying, you should heat the oil to the right cooking temperature, then wait for the oil to stop smoking before adding food to prevent dryness and guarantee crispiness. In roasting, preheating the oven and oil helps create a crispy exterior. Always watch for oil smoke, as it indicates the oil’s temperature is too high, risking burnt flavor.
Are There Specific Foods That Benefit Most From This Technique?
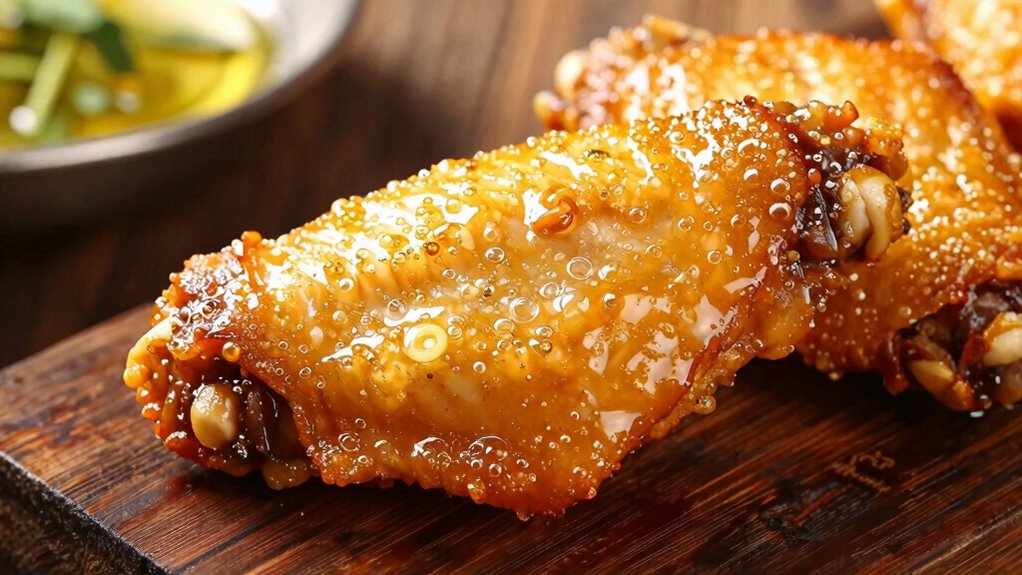
Did you know that foods like chicken wings and crispy vegetables benefit most from this technique? You’ll notice a significant boost in seasoning enhancement and flavor infusion because the oil timing helps lock in moisture while creating a crisp exterior. This method works especially well for items that need a crunchy texture without drying out, making your dishes more flavorful and satisfying. Give it a try for your next batch!
What Are Common Mistakes to Avoid When Using This Oil Timing Trick?
You should avoid letting the oil temperature drop too low, which can cause uneven cooking and soggy food. Make sure your food coating is even and not too thick, as this can trap moisture and prevent crispiness. Don’t add too much food at once, as it lowers the oil temperature and results in greasy, less crispy results. Monitoring the oil temperature and maintaining a consistent heat helps your food stay crispy rather than drying out.

ZHSYMX 3-in-1 Auto Car LCD Meter Digital Oil Pressure Voltage Water Temperature Gauge Universal Instrument 9-36V for Car/Truck/SUV/RV
【Universally Of Application】This gauge is suitable for 12V,24V universal Car/Truck/SUV/RV/BOAT.
As an affiliate, we earn on qualifying purchases.
As an affiliate, we earn on qualifying purchases.
Conclusion
Master this oil timing trick, and your dishes will dance with crispy perfection instead of drying out like a wilted flower. Think of it as a secret handshake between your ingredients and the heat—when done right, it transforms your cooking into a symphony of textures. With this simple timing, you hold the magic wand to turn ordinary bites into extraordinary moments. So, get ready to reveal the crispy treasure chest that’s just waiting to elevate your culinary game.

LODGE Deep Frying Basket, 1 EA
YOUR NEW GO-TO DEEP FRY BASKET: The Lodge Deep Fry Basket turns your dutch oven into a deep…
As an affiliate, we earn on qualifying purchases.
As an affiliate, we earn on qualifying purchases.

GoodCook 15” x 10.5” Nonstick Carbon Steel Baking Pan & Raised Wire Rack – Pizza Crisper, Crispy Bacon, Multipurpose Cooking Sheet Pan, Cooling Rack, Kitchen Cookware Set, Dishwasher Safe
CRISPY BAKING SHEET SET: Ensure crisp results every time in the oven. This 15” x 10.5” nonstick baking…
As an affiliate, we earn on qualifying purchases.
As an affiliate, we earn on qualifying purchases.