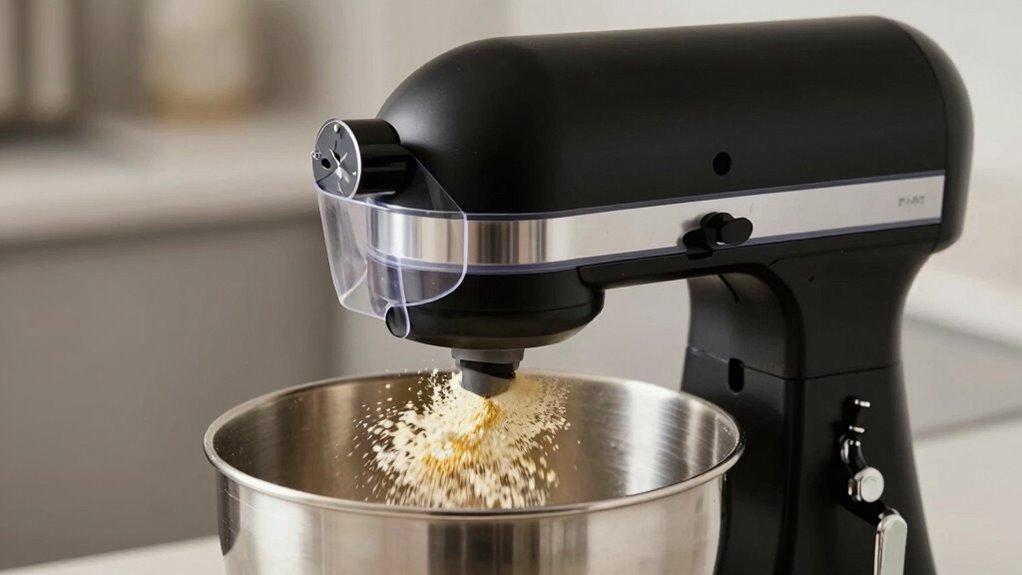

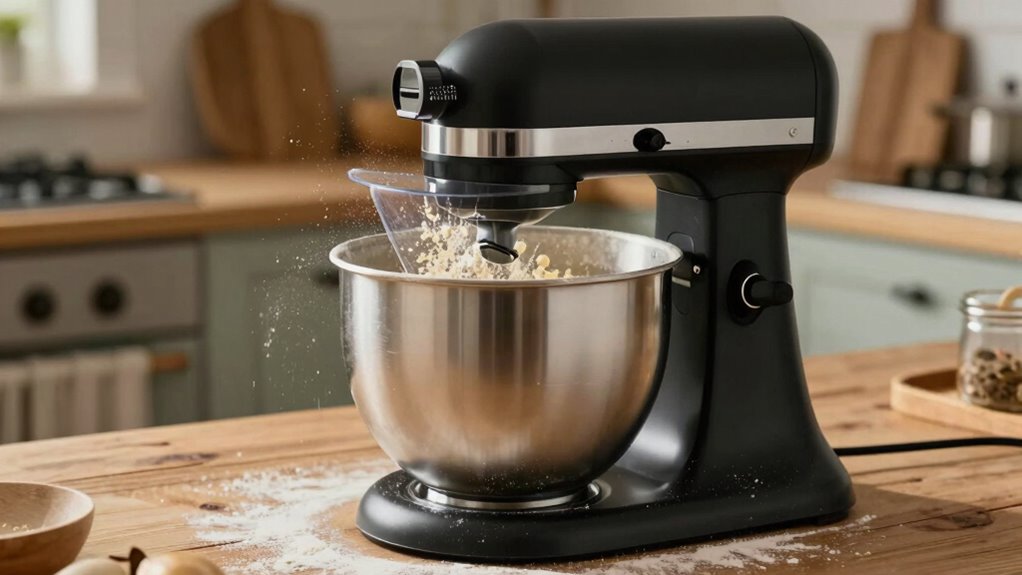
To add flour without making a mess, modify your splash guard to better fit your bowl and prevent flour from spilling out. Loosen screws or cut a small slit for a custom opening, then secure the guard tightly with clamps or tape. Use low speed and add flour gradually, keeping the guard snug to the bowl. Stick around if you want more tips on cleaning and customizing your mixer setup for cleaner baking.
Key Takeaways
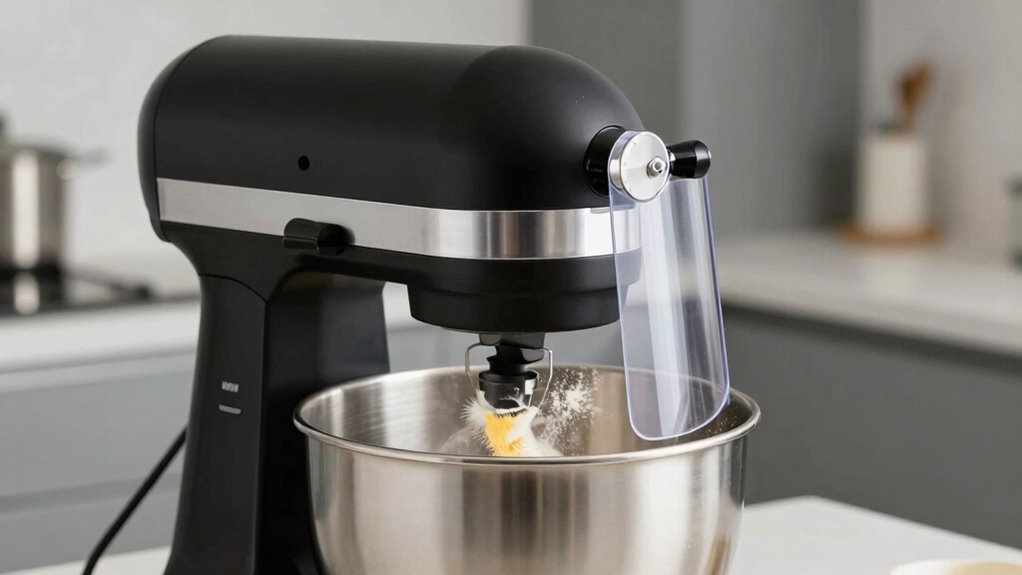
- Use a transparent splash guard to monitor ingredients while minimizing mess during flour addition.
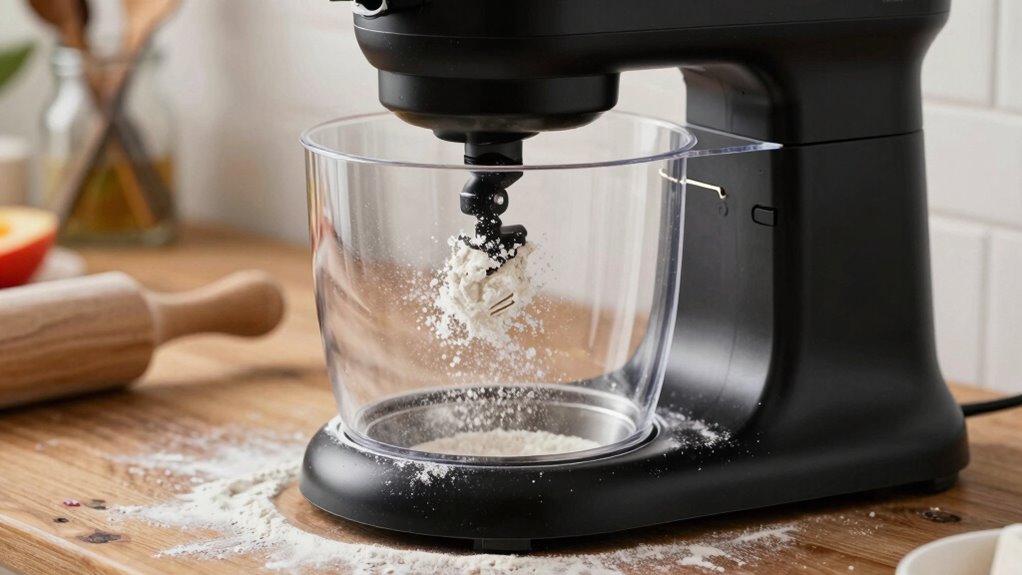
- Add flour gradually at low speed to prevent airborne dust and splatters.
- Adjust or modify the guard opening with tools or tape for a snug fit and easy ingredient access.
- Secure the splash guard tightly to avoid movement and spillage during mixing.
- Incorporate small, controlled flour additions through an adjustable or removable section for cleaner, efficient mixing.

Food-Grade Pouring Shield for KitchenAid 4.5-5QT Mixer Bowl (Stainless Steel, Glass, Ceramic) – Secure Fit Splash Guard for KitchenAid Tilt-Head Stand Mixers and Dishwasher Safe
SPLASH GUARD DESIGN with KitchenAid Pouring Shield: Our Pouring Shield, specifically designed for KitchenAid bowls, sits atop your…
As an affiliate, we earn on qualifying purchases.
As an affiliate, we earn on qualifying purchases.
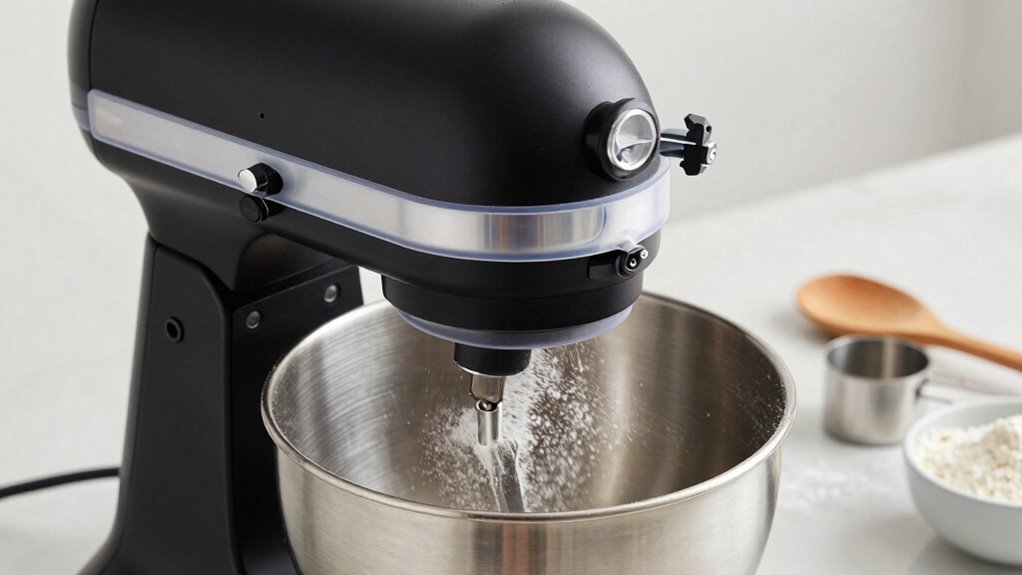
Why Splash Guards Sometimes Make Baking Messier
Have you ever noticed that splash guards sometimes create more mess instead of preventing it? That’s because splash guard limitations can lead to unexpected mixing challenges. When the guard doesn’t fit perfectly or isn’t designed for your specific mixer, ingredients can spill over the edges. Flour, liquids, or other ingredients may escape through gaps or bounce back, creating splatters around your workspace. Sometimes, the guard’s shape or size restricts your access to the bowl, making it harder to add ingredients smoothly. Properly understanding these splash guard limitations helps you avoid common pitfalls and ensures your baking process stays clean and efficient. It’s all about choosing the right guard and using it correctly. Additionally, understanding the connected cooking features of modern mixers can improve your overall baking experience. Being aware of safety aspects when modifying or customizing your equipment can prevent accidents and maintain safe operation practices. Recognizing the importance of fit and compatibility can significantly reduce spills and messes during mixing. Knowing the design features of your mixer and splash guard can help you select the best combination for a cleaner baking process. Exploring adjustable components can further minimize splatter risks and enhance your control over the mixing process.
Food-Grade Pouring Shield for KitchenAid 4.5-5QT Mixer Bowl (Stainless Steel, Glass, Ceramic) – Secure Fit Splash Guard for KitchenAid Tilt-Head Stand Mixers and Dishwasher Safe
SPLASH GUARD DESIGN with KitchenAid Pouring Shield: Our Pouring Shield, specifically designed for KitchenAid bowls, sits atop your…
As an affiliate, we earn on qualifying purchases.
As an affiliate, we earn on qualifying purchases.
Common Challenges When Using Stand Mixer Splash Guards
Using a splash guard can sometimes make it harder to see what you’re doing, which can lead to overmixing or spills. Cleaning the guard thoroughly can be tricky, especially around tight corners and small gaps. Additionally, the guard may restrict your access to the bowl, making it difficult to add ingredients or scrape the sides. Incorporating simple organizational strategies can help you maintain a clear workspace and make adding ingredients easier. Being mindful of bowl size and placement can also improve the overall mixing process and reduce messes. Paying attention to cleaning and maintenance routines ensures the guard stays in good condition and prevents buildup that could worsen visibility or fit. Proper accessibility and ergonomics can further enhance your workflow and minimize spills during ingredient addition. Considering kitchen layout and tools can further streamline your process and reduce the need to remove or adjust the splash guard frequently.
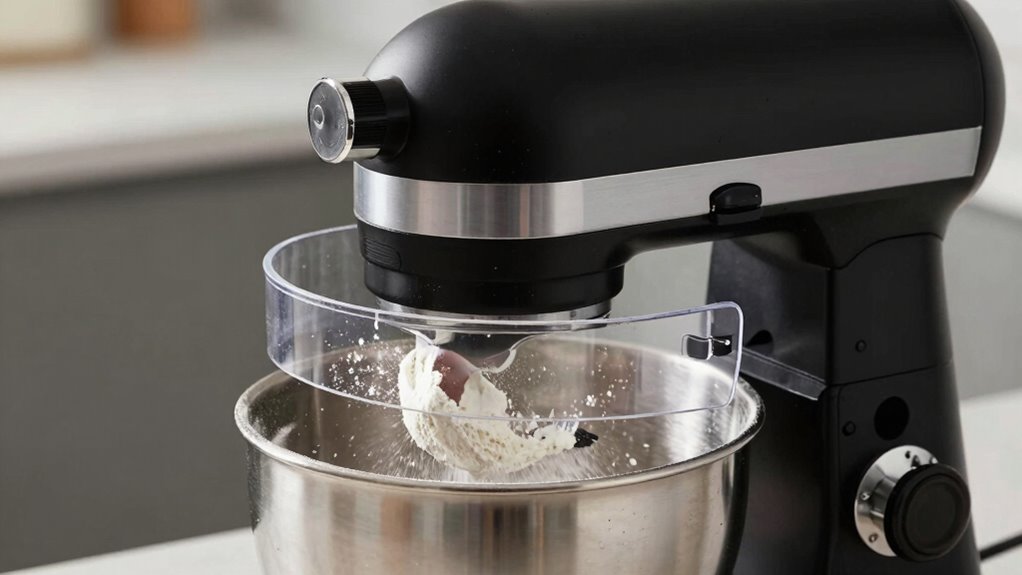
Limited Visibility During Mixing
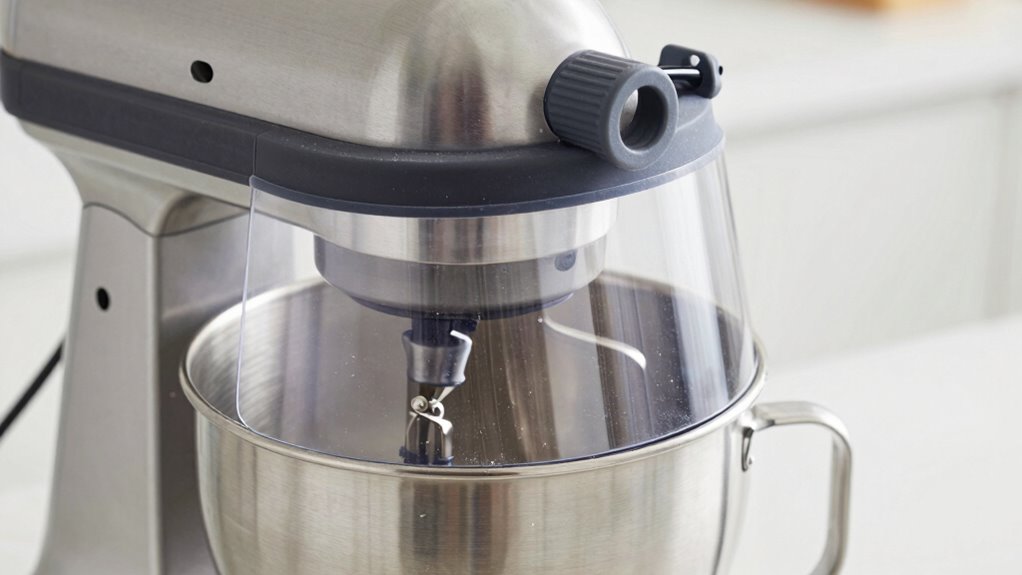
Ever notice how your view of the mixing bowl gets obstructed when you install a splash guard on your stand mixer? Visibility issues can make it hard to monitor your ingredients, leading to mixing challenges. You might find yourself opening the guard repeatedly, risking spills or uneven mixing. To help, consider adjusting the guard’s position or using a transparent one for better sightlines. Using free floating splash guards can also enhance flexibility and visibility during mixing. Additionally, selecting see-through materials for splash guards can significantly improve your ability to monitor the process without obstruction. Incorporating transparent design elements can further reduce visibility issues and improve your overall mixing experience. Properly choosing materials with high light transmission can make a noticeable difference in visibility during operation. Being aware of material transparency can help you select the best splash guard for your needs. Here’s a quick overview:
| Problem | Solution |
|---|---|
| Obstructed view | Use clear splash guards |
| Difficulty monitoring | Adjust guard height |
| Spills from opening | Minimize opening frequency |
Difficult to Clean Thoroughly
Cleaning a stand mixer splash guard can be tricky because its design often traps batter, flour, and other ingredients in hard-to-reach areas. This creates cleaning challenges that can leave residue behind, making it difficult to fully sanitize and maintain spill prevention. You might notice leftover crumbs or sticky spots after washing, which can breed bacteria or cause buildup. To combat this, consider these tips: – Use a small brush or toothbrush to reach tight corners – Rinse immediately after use to prevent dried residue – Disassemble parts when possible for thorough cleaning – Avoid harsh abrasives that can damage the material. Additionally, choosing appropriate cleaning solutions can help effectively remove stubborn residues without damaging your splash guard. Ensuring proper cleaning techniques also helps maintain the integrity of the materials and prevents residue buildup. Regularly inspecting and maintaining your splash guard ensures it remains hygienic and effective at spill prevention, keeping your kitchen cleaner and safer. Incorporating proper maintenance routines can further extend the lifespan of your splash guard and improve overall kitchen hygiene. Using the right cleaning tools ensures you can reach all the nooks and crannies, making your cleaning more effective and less time-consuming.
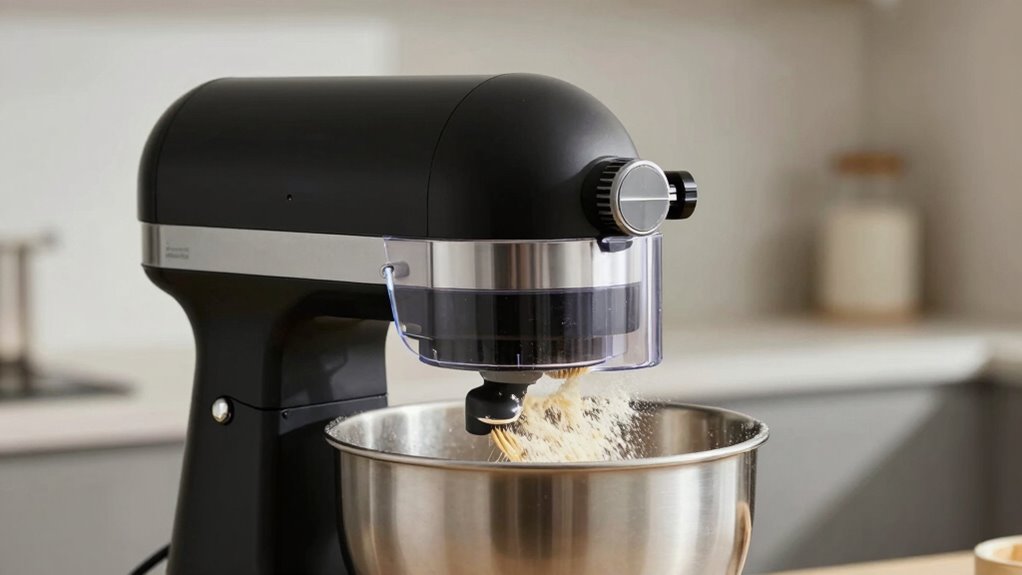
Restricted Access to Bowl
One common challenge when working with stand mixer splash guards is limited access to the bowl, which can make ingredient addition, monitoring mixing progress, or scraping down the sides difficult. The splash guard often covers the bowl tightly, preventing you from reaching in easily. This restriction can slow down your workflow and lead to uneven mixing if ingredients aren’t added smoothly. To overcome this, opt for a splash guard with a removable or adjustable section, allowing you to add ingredients without removing the entire cover. Alternatively, choose a design with a built-in chute or opening that facilitates easy ingredient addition while maintaining splash protection. Ensuring convenient bowl access helps you stay efficient and prevents messes, making your baking process smoother and more enjoyable. Additionally, selecting a splash guard with easy-to-clean features can save you time on cleanup afterward. Incorporating connected kitchen tools can further streamline your baking routine by providing real-time measurements and instructions, enhancing overall efficiency. Establishing a routine with reliable kitchen accessories can also help maintain consistency and ease during your baking projects.

ALLTOP Pastry Shortening Blender Cutter,Stainless Steel Dough Masher for Butter, Biscuit,Baking, Kneading,Dough, Flakier and Fluffier Pie Crusts, Almond – Hand Kitchen Tool (1, Black)
Unrivaled Quality: This Dough & Pastry Blender comes with high-quality, durable metal blades,guaranteeing longevity and top-tier performance. Your…
As an affiliate, we earn on qualifying purchases.
As an affiliate, we earn on qualifying purchases.
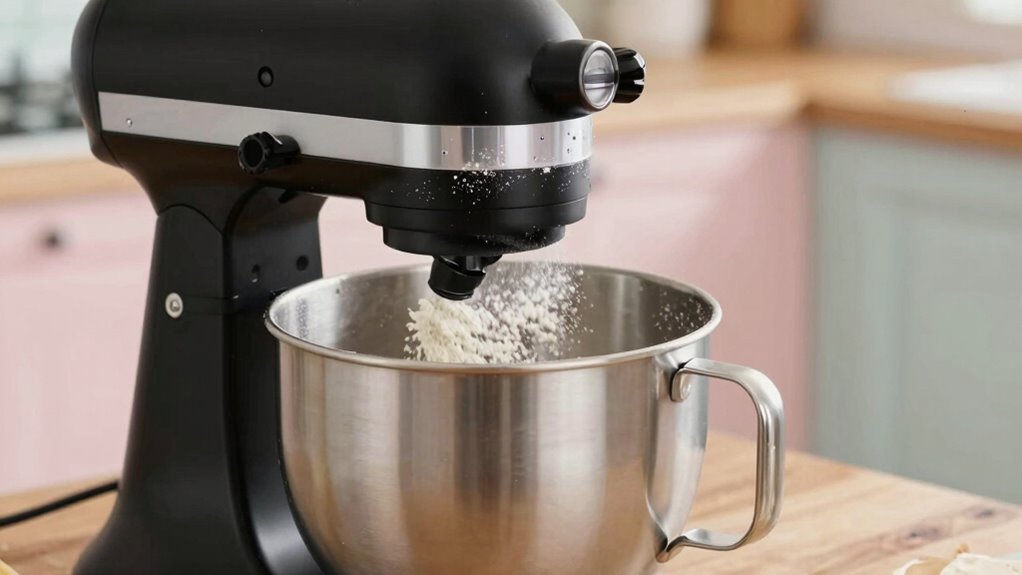
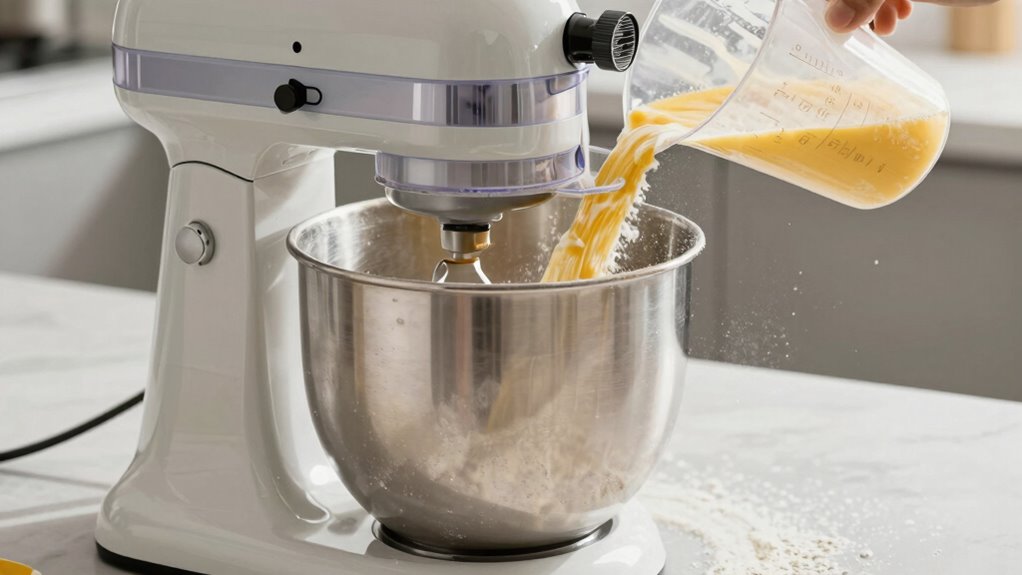
The Easy Hack: How to Add Flour Without Making a Mess
Adding flour to your mixer can quickly turn messy if you’re not careful, but there’s a simple trick to keep everything neat. Use a piece of parchment paper or a paper cone to funnel the flour gradually into the bowl. This method minimizes airborne dust and spillage, making the process cleaner. When considering ingredient substitution, opt for pre-sifted flour to reduce dust and improve mixing. Always follow safety precautions—avoid overfilling the bowl or rushing, which can cause flour to escape. For even less mess, try adding flour in small, controlled amounts while the mixer is on low speed. This way, you prevent flour from flying out and keep your kitchen cleaner. With this hack, you can add ingredients efficiently and safely without creating a white kitchen mess.

Stand Mixer Splash Guard, Lid for Kitchen in the box 3.2QT Small Stand Mixer
As an affiliate, we earn on qualifying purchases.
As an affiliate, we earn on qualifying purchases.
Step-by-Step: How to Modify Your Splash Guard for Less Spillage
To reduce spillage, you can start by adjusting the splash guard opening to better fit your mixing needs. Securing a sturdy flour barrier helps keep ingredients contained and prevents messes. Follow these simple steps to customize your guard for cleaner, more efficient mixing.
Adjusting the Guard Opening
Adjusting the guard opening is a simple way to reduce spillage during mixing. By modifying the guard, you can better control flour and ingredient flow, preventing messes. To do this, start by examining the current opening size. Then, consider these options:
- Loosen or tighten any screws or clips holding the guard in place
- Use a drill or file to carefully enlarge or narrow the opening
- Cut a small slit with scissors for a custom fit
- Add flexible tape or material to adjust the opening temporarily
These steps allow you to customize the guard’s opening for ideal ingredient addition. Remember, tweaking the adjusting opening helps keep your workspace clean without sacrificing mixing efficiency. Properly modifying the guard ensures less spillage and a neater kitchen.
Securing the Flour Barrier
Securing the flour barrier helps prevent ingredients from spilling over the guard during mixing. To do this safely, choose a material that’s compatible with your splash guard, such as food-grade silicone or flexible plastic. Avoid using adhesives or materials that could degrade or release harmful chemicals when in contact with food or heat. Guarantee the barrier fits snugly but doesn’t interfere with the mixer’s operation. Use clamps, clips, or double-sided tape designed for kitchen use to secure it firmly in place. Check for any gaps or loose edges that might cause spillage. Always prioritize safety concerns, and test the setup with small quantities first. Properly securing the barrier minimizes mess and maintains safety during your baking sessions.
Tools and Materials You Need for This Splash Guard Hack
You’ll need a few basic tools and materials to create your splash guard hack successfully. Having the right mixer accessories guarantees your setup stays secure and safe during baking. These items help prevent messes and protect your kitchen surfaces.
Here’s what you’ll need:
- A sturdy plastic or silicone sheet (acts as your splash guard)
- Scissors or a utility knife (to cut the sheet to size)
- Clamps or clips (to secure the guard onto your mixer)
- Tape or adhesive strips (to hold everything in place temporarily)
Using these tools and materials enhances baking safety by minimizing flour spills and keeping your workspace clean. With the right equipment, you can add flour smoothly without worrying about a white kitchen mess.
Best Tips for Positioning Your Splash Guard During Baking
To make certain your splash guard functions effectively, it’s important to position it correctly before you start mixing. Ensure the guard covers the bowl’s opening fully, preventing flour from flying out and creating a mess. Adjust the guard so it’s snug but doesn’t interfere with the beaters or attachments. If you use decorative accessories, choose ones that don’t obstruct airflow or access. For alternative appliances like handheld mixers, position the guard near the mixing area for optimal coverage. Keep the guard stable by securing it tightly, reducing unwanted movement. Remember, a well-placed splash guard keeps your workspace clean and minimizes cleanup time.
| Confidence | Creativity | Cleanliness |
|---|---|---|
| Securely placed | Fits your style | No more mess |
| Stylish accessories | Versatile use | Less cleanup |
| Consistent results | Personal touches | Neat kitchen |
Other Ways to Prevent Flour From Flying Everywhere
In addition to positioning your splash guard correctly, there are simple techniques to keep flour from flying everywhere. First, sift the flour before adding it to reduce airborne particles. Second, cover your mixer with a damp towel or cloth to contain dust while pouring. Third, adopt relevant safety precautions, such as wearing a mask or working in a well-ventilated area, to prevent inhaling flour dust. Fourth, consider using alternative mixing tools like hand whisks or manual dough paddles for small batches, minimizing the mess. These methods help control flour dispersion, making cleanup easier and ensuring a cleaner kitchen. Implementing these tips alongside proper splash guard use ensures a safer, tidier baking experience.
Troubleshooting: Fixing Common Problems With Your Splash Guard Hack
Even with a well-placed splash guard hack, issues can still arise that disrupt your baking process. One common problem is uneven mixing consistency, which can happen if the splash guard interferes with the paddle’s motion or if ingredients aren’t added at the right times. To fix this, guarantee the guard isn’t blocking the paddle’s movement and adjust your ingredient timing to keep everything blending smoothly. If flour still spills or sticks outside the guard, check that the guard fits snugly and isn’t loose. Also, pause briefly to scrape down the sides if ingredients start to stick. Properly balancing the splash guard placement and maintaining consistent ingredient timing helps you achieve better mixing and prevents messes.
Why You’ll Love This Hack: Cleaner, Faster Baking
Using a splash guard hack transforms your baking experience by keeping your workspace cleaner and reducing cleanup time. It boosts baking efficiency by preventing flour and ingredients from flying everywhere, so you spend less time tidying up and more time baking. With this hack, your kitchen stays organized and mess-free, making the process smoother. Plus, you’ll notice how much faster you can add ingredients without stopping to wipe surfaces or clear clutter. Here’s why you’ll love it:
Using a splash guard hack keeps your workspace tidy and speeds up baking.
- Reduced mess leads to quicker cleanups
- Less ingredient waste and spillage
- More efficient mixing process
- Better kitchen organization during baking
This simple tweak ensures a tidier, more streamlined baking session, letting you focus on creating delicious treats without the fuss.
Extra Tips for Keeping Your Kitchen Spotless While Baking
To keep your kitchen spotless while baking, adopting simple organizational habits can make a big difference. First, set your oven temperature accurately to prevent overcooking or spills from burning. Use oven thermometer for precision, which helps avoid messes caused by unexpected smoke or splatters. When ingredient substitutions are necessary, prep all alternatives beforehand, keeping them in clear containers to minimize chaos. Cover ingredients with plastic wrap or silicone lids to prevent splattering and dust. Keep your workspace tidy by cleaning as you go—wiping counters and mixer attachments regularly. Using a splash guard on your stand mixer also reduces flour and ingredient splatters, keeping your countertops cleaner. These small steps help maintain a neat kitchen and make baking more enjoyable.
Frequently Asked Questions
Will This Hack Fit All Stand Mixer Models?
This hack offers universal compatibility, but it might not fit all stand mixer models perfectly. You should check your mixer’s model-specific fit before trying it. Many splash guards are designed to work with popular brands, but some models have unique sizes or shapes. To guarantee a proper fit, measure your mixer’s opening and compare it with the splash guard’s dimensions. This way, you avoid any fit issues and get the best results.
Can I Use This Hack for Liquids Besides Flour?
Like a modern-day alchemist, you can use this hack for liquids, but beware of liquid splatter that could damage your mixer. It’s essential to check your mixer compatibility before attempting. The splash guard works best with dry ingredients, but if you’re cautious and make certain a snug fit, you can add liquids slowly without mess. Just remember, not all mixers are designed for liquids, so proceed with care.
Is This Modification Dishwasher Safe?
Yes, this modification is dishwasher safe if you follow the cleaning recommendations provided by the manufacturer. Make sure to remove the splash guard before placing it in the dishwasher, and check that all parts are dishwasher safe. Regular cleaning helps maintain its condition and ensures safety during use. Always consult your product’s guidelines to confirm dishwasher safety, and hand wash if you’re unsure about any specific materials or parts.
How Durable Is the DIY Splash Guard?
The DIY splash guard’s durability depends on the material you choose. If you use sturdy plastic or acrylic, it offers good material strength and can withstand regular use. However, over time, repeated cleaning or accidental impacts may cause wear or cracks. For long-term durability, select high-quality, impact-resistant materials and handle it gently. Proper maintenance guarantees your splash guard stays functional and intact for a longer period.
Does This Hack Affect the Mixer’s Warranty?
Yes, this hack could void your mixer’s warranty because it’s considered a modification. Manufacturers typically specify that any alterations or modifications may pose risks, including affecting warranty coverage. You should check your specific warranty terms before attempting this hack. Keep in mind that making modifications always carries some risks, and if something goes wrong, you might not be covered for repairs or replacements.
Conclusion
With this simple hack, you’ll enjoy a cleaner, more efficient baking experience—no more flour explosions or messy countertops. Worried it’s too complicated? Don’t be! Just follow the easy step-by-step, and you’ll master a neat flour addition in no time. Say goodbye to kitchen chaos and hello to stress-free baking. Once you try this trick, you’ll wonder how you ever baked without it. Happy baking and spotless countertops await!