
One common first mistake is starting your high-speed blender without securing the lid properly, which can cause splashes and noise. You might also overload it or skip preparing ingredients into smaller pieces, putting unnecessary strain on the motor. Jumping straight to high speed can lead to loud noise and wear. For best results, set up gradually and pay attention to the setup. Keep going to discover more tips that will help you blend efficiently and safely.
Key Takeaways
- Starting at high speed immediately can cause motor strain and splashing; always begin with low speed.
- Forgetting to secure the lid properly leads to spills and increased noise during operation.
- Overloading the blender with large or uncut ingredients strains the motor and reduces efficiency.
- Neglecting proper ingredient preparation results in uneven blending and potential damage.
- Ignoring regular cleaning and maintenance can cause increased noise and motor wear over time.
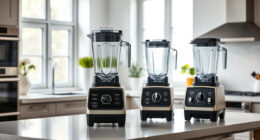
Setting up your high-speed blender correctly is vital to guarantee it performs at its best and lasts longer. One common mistake people make is neglecting to familiarize themselves with the blender’s power settings. These settings control how fast and powerful the motor runs, and using the wrong one can lead to inefficient blending or unnecessary wear. Before starting, read the user manual thoroughly. Many blenders come with multiple speed options, from low to high, allowing you to tailor the power to the ingredients. Jumping straight to the highest speed might seem tempting, but it can cause unnecessary strain on the motor or create excessive noise, often referred to as blender noise. This noise isn’t just loud; it can indicate that the motor is working harder than necessary, which may shorten its lifespan over time.
Familiarize yourself with your blender’s power settings to ensure efficient blending and prolong its lifespan.
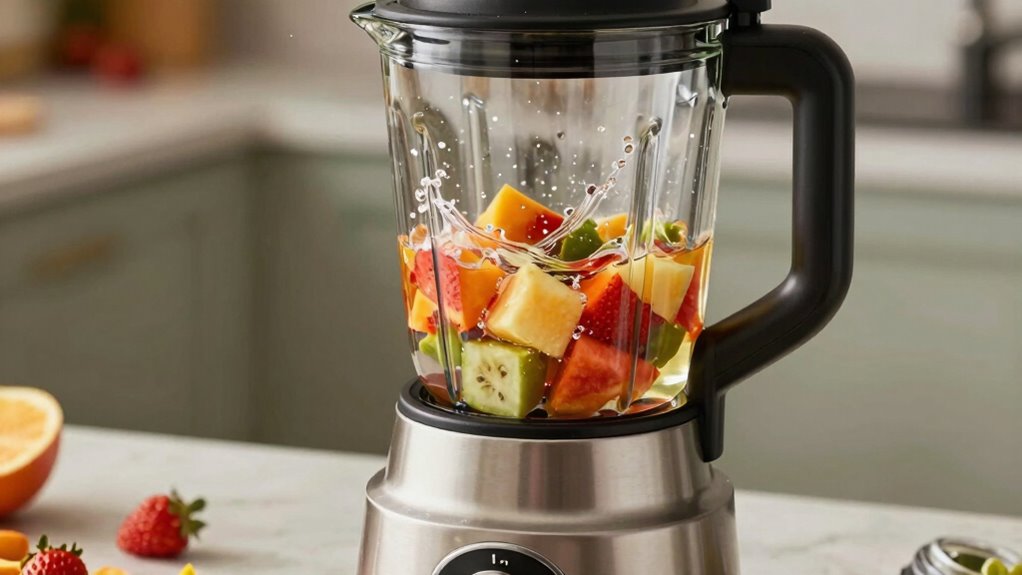
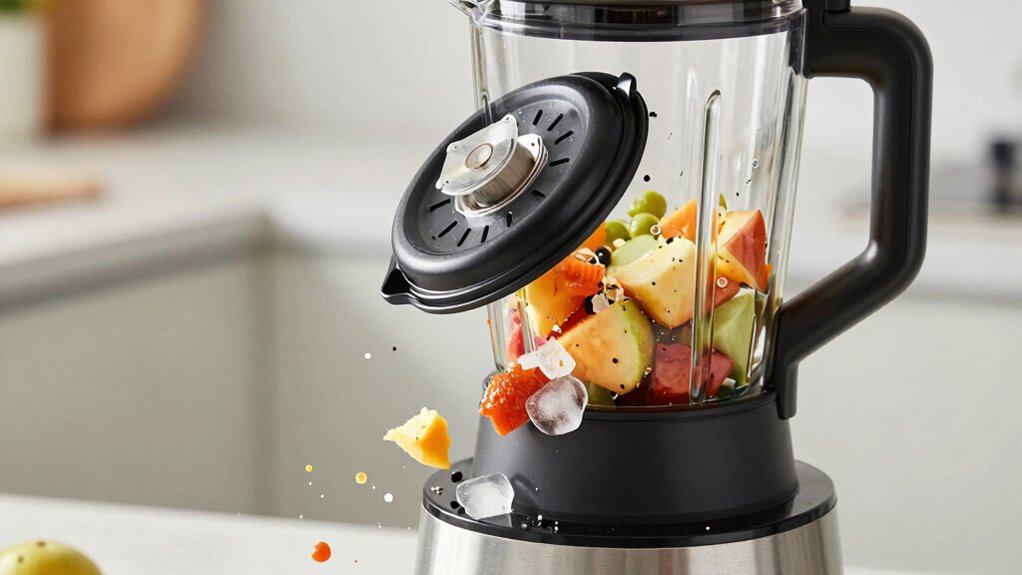
Another mistake is failing to properly secure the lid and ingredients before turning on the blender. When you don’t securely fasten the lid, the blender can produce more noise than usual, and ingredients might splash out, creating a mess and risking damage to the machine. Starting at a lower power setting helps you get a feel for the noise level and how the ingredients respond. Once you see the ingredients are moving smoothly, you can gradually increase the power. This approach minimizes blender noise and prevents overloading the motor, which is especially important with tough ingredients like nuts or ice. Proper ingredient preparation can significantly reduce strain on the motor and noise levels during blending. Additionally, blender maintenance such as cleaning and checking for wear can help keep noise levels down and ensure optimal performance over time. Being aware of motor stress can help you avoid damaging the appliance by overworking it with improperly prepared ingredients or incorrect settings. It’s also helpful to understand how blender noise may indicate the need for maintenance or adjustments to maintain quiet operation.
Many users also overlook the importance of pre-cutting ingredients into smaller pieces. Large chunks can cause the motor to strain, leading to increased noise and potential damage. Smaller, evenly sized pieces allow the blender to process ingredients more efficiently, reducing the need for excessive power and lowering the blender noise during operation. Adjusting the power settings based on the ingredients’ texture is vital. For delicate fruits, a lower setting is sufficient, while tougher items may require higher speeds. Always start on a lower setting and gradually increase to avoid sudden jolts or loud noises that come from abrupt power changes. Additionally, proper ingredient preparation can help maintain the quality of the blend and prevent unnecessary motor stress. Proper setup, including choosing the right power setting for each task, securing the lid, and preparing ingredients properly, guarantees your high-speed blender operates quietly, efficiently, and with minimal wear. By paying attention to these details, you’ll extend the lifespan of your appliance and enjoy consistently smooth, noise-free blends.

Blender Lid Replacement for Ninja 72 OZ Pitcher, Locking Lid Compatible with BL610 BN750 CO610B BN751 DB751A BN801 CT610, Ninja New Model Blender Replacement Parts
Compatibility:The ninja blender lid replacement compatible with Ninja blender new models BL610 BL610BRN BL610C BL710WM BL710WMC BL710WMBF CO610B…
As an affiliate, we earn on qualifying purchases.
As an affiliate, we earn on qualifying purchases.
Frequently Asked Questions
How Do I Properly Clean My High-Speed Blender After Use?
To properly clean your high-speed blender, start by rinsing it immediately after use to prevent residue buildup. Fill it halfway with warm water and a drop of dish soap, then run the blender for a few seconds. For thorough cleaning, disassemble removable parts and wash them with a brush. Incorporate cleaning routines into your ingredient preparation process to keep your blender in top shape and ready for next use.
Can I Use Frozen Ingredients Directly in the Blender?
Did you know that using frozen ingredients directly in your blender can actually save you time? You can toss frozen ingredients straight in, but pay attention to blending techniques—start at low speed, then gradually increase to prevent splattering or straining the motor. Make certain your blender’s blades are sharp and sturdy enough to handle ice or frozen fruits. This way, you get smooth results without overworking your high-speed blender.
What Safety Precautions Should I Follow During Setup?
When setting up your high-speed blender, prioritize blender safety by reading the manual thoroughly and guaranteeing all parts are secure. Follow setup tips like placing the blender on a stable, flat surface and checking that the lid fits tightly before use. Avoid overfilling to prevent spills, and keep hands away from blades during assembly. These precautions help prevent accidents and ensure your blender operates smoothly.
How Do I Troubleshoot if the Blender Isn’t Turning On?
Did you know that around 30% of blender issues stem from simple setup errors? If your blender isn’t turning on, first check for a loud blender noise, which indicates power. Make certain the power cord is securely plugged into a working outlet. If it still won’t start, try resetting the circuit or inspecting the cord for damage. These quick steps often resolve the problem without needing professional help.
Are There Specific Accessories Needed for Optimal Performance?
To guarantee peak performance, you should consider blender accessories like tamper tools, extra blades, and specialized lids. These accessories help you blend more efficiently, especially with tough ingredients or thick mixtures. Using the right accessories prevents strain on your motor and improves blending consistency. Make certain to select accessories compatible with your specific blender model, and regularly clean them to maintain peak performance and extend your blender’s lifespan.

LUVCOSY 1 PCs Sound Reducing Blender Cover Compatible with Ninja Blender BN301 & BN401, Blenders Within 9 * 7 * 15 Inches like Hamilton Beach, Magic Bullet, Effective Noise Reducing Cover for Blender
Effective Noise Reduction — LUVCOSY Sound Reducing Blender Cover cuts blender noise by 12–14 dB (up to 60%),…
As an affiliate, we earn on qualifying purchases.
As an affiliate, we earn on qualifying purchases.
Conclusion
So, next time you curse your high-speed blender for not blending smoothly, remember: it’s probably your fault for skipping the manual or rushing the setup. Don’t worry—your smoothie will still taste better than your last date’s excuses. Just double-check those blades, lock the lid, and maybe—just maybe—read the instructions before turning it on. After all, nobody wants their kitchen to turn into a splash zone of regret. Happy blending!

Spring Chef Dough Blender For Baking, Heavy Duty Dough Cutter Tool, Stainless Steel Pastry Cutter Tool with Sharp & Sturdy Blades, Pastry Blender for Easy Mixing, Dishwasher Safe – XL Size – Black
Better Than Your Grandma's Dough Blender- High Quality pastry tool for cutting cold butter into flour or sugar…
As an affiliate, we earn on qualifying purchases.
As an affiliate, we earn on qualifying purchases.

Maintenance (2 Qts) Synthetic Blend 10W30 Kohler Engine Oil & (1) Kohler 12 050 01-S1 Oil Filter
Complete Oil Change Kit: Includes 2 QT synthetic blend 10W30 Kohler engine oil and one Kohler 12 050…
As an affiliate, we earn on qualifying purchases.
As an affiliate, we earn on qualifying purchases.