
To prevent overheating and mess, place your immersion blender away from heat sources like stoves and ovens, ensuring it’s in a cool, dry spot with good ventilation. Keep it on a stable surface or wall-mounted rack to avoid spills, and check that its cords and accessories are organized and out of the way. Proper storage and placement can extend your blender’s lifespan and keep your small kitchen tidy. Continue to discover more tips for safe, efficient setup.
Key Takeaways
- Store the blender in a cool, dry place away from heat sources like stoves or ovens.
- Keep the blender on a well-ventilated surface to facilitate heat dissipation during use.
- Avoid placing the blender near hot surfaces or in cramped spaces to prevent motor overheating.
- Use dedicated storage solutions such as drawers, shelves, or wall hooks for easy access and organization.
- Ensure the blender is fully cooled and dry before storing to prevent moisture buildup and damage.

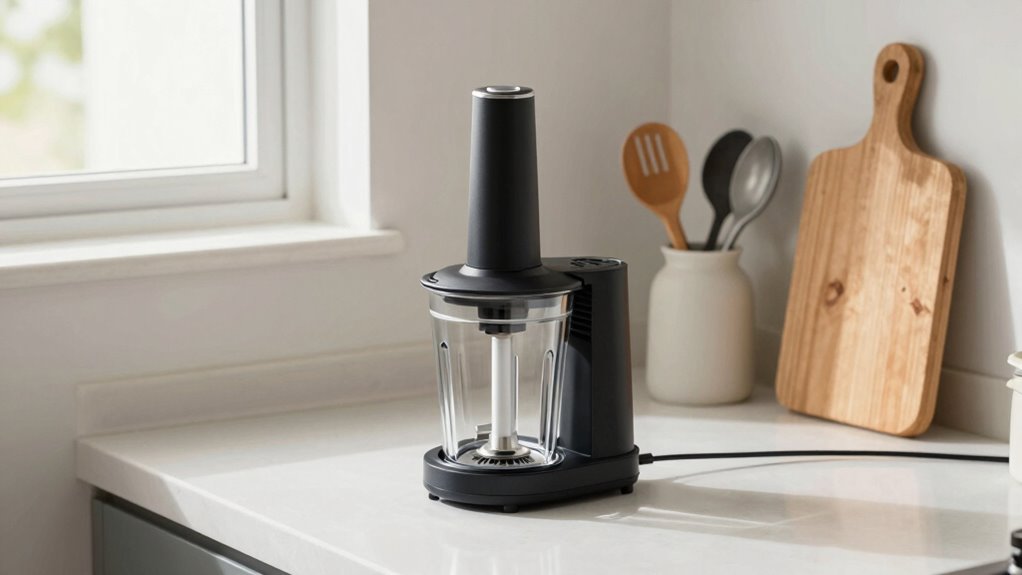
Setting up a small kitchen can feel challenging, but with smart planning, you can create a functional and efficient space. One key to achieving this is selecting the right immersion blender placement and storage solutions. Since counter space is limited, choosing cordless options becomes essential. Cordless immersion blenders offer flexibility and convenience, allowing you to move freely without being tethered to an outlet. This mobility helps keep your workspace clear and reduces clutter, which is *crucial* in a small kitchen. When shopping for a cordless immersion blender, look for models with long-lasting batteries and ergonomic designs. This way, you can blend smoothies, soups, or sauces with ease and minimal fuss.
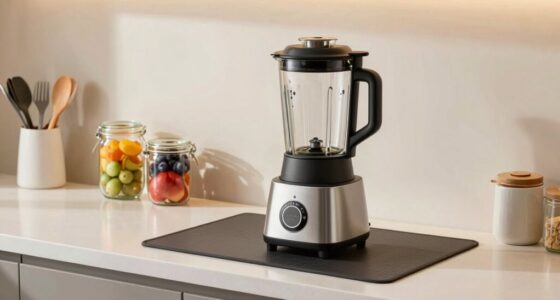
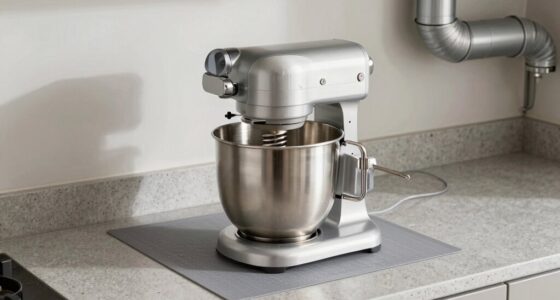
In addition to cordless options, smart storage solutions are *vital* for maintaining an organized small kitchen. To prevent overheating and messes, you should avoid leaving your immersion blender submerged or resting directly on hot surfaces. Instead, designate a specific spot for it—preferably a drawer or a dedicated shelf—where it can stay dry and cool after use. Installing wall-mounted racks or hooks can also keep the blender accessible without taking up valuable counter space. If you opt for storage containers, make sure they are stackable and fit comfortably within your cabinets, maximizing every inch of your storage area. Proper storage not only keeps your kitchen tidy but also extends the lifespan of your appliances by protecting them from dust and accidental damage.
Another effective storage solution involves using multi-purpose organizers that can hold accessories like blending blades, whisks, or charging cords. This keeps all parts in one place, reducing clutter and preventing loss. When placing your immersion blender, avoid cramped or overly hot areas, such as near the stove or oven, which could cause overheating. Instead, choose a cool, dry spot away from direct sunlight and heat sources. Additionally, heat dissipation considerations should be taken into account to help prevent the motor from overheating during extended use. Remember, the goal is to keep your immersion blender readily available but also stored safely when not in use.
Frequently Asked Questions
Can Immersion Blenders Be Safely Stored in a Drawer?
Yes, you can safely store your immersion blender in a drawer if you follow proper safety guidelines. Make sure the blender is completely clean and dry to prevent mold or damage. Use a dedicated compartment or a protective cover to avoid accidental activation or damage. This is an ideal storage solution that keeps your immersion blender safe, organized, and easily accessible while maintaining immersion blender safety standards.
What Materials Are Best for Immersion Blender Attachments?
You should choose immersion blender attachments made from stainless steel or high-quality plastic, as they offer excellent blade durability and resist corrosion. Confirm the attachments are compatible with your specific blender model to prevent fit issues. Durable materials like stainless steel also handle frequent use without cracking or breaking, making them a reliable choice. Always check compatibility and material quality to get the best performance and longevity from your immersion blender attachments.
How Often Should I Clean My Immersion Blender?
Imagine your immersion blender as a busy bee; it needs regular care to stay productive. You should clean it immediately after each use, especially if you’ve blended something sticky or messy. Follow a consistent cleaning schedule, including rinsing and wiping down the motor. For maintenance tips, disassemble and hand wash the attachments weekly. This keeps your appliance in top shape, prevents buildup, and guarantees it’s always ready for your next culinary adventure.
Are There Specific Power Requirements for Different Models?
Yes, immersion blenders have specific power specifications that vary by model, so you should check these before purchasing. Higher wattage models typically offer more power, making them suitable for tougher tasks. Always verify your chosen immersion blender’s power specifications match your needs and are compatible with your kitchen setup. This helps prevent overheating and guarantees peak performance. Stick to recommended models to avoid compatibility issues and maximize efficiency.
Can Immersion Blenders Be Used Underwater?
You can use your immersion blender for underwater blending, but only if the manufacturer explicitly states it’s safe for submerged operation. Most immersion blenders are not designed for underwater use, and operating them while submerged can cause damage or electrical hazards. Always check the user manual before attempting underwater blending. If approved, guarantee the motor and electrical parts remain dry outside of the blending process to prevent overheating and potential failure.
Conclusion
So, next time you’re rushing to blend up a storm, remember those immersion blender placement rules. It’s funny how something as simple as proper placement can save you from overheating or messy mishaps—yet we often ignore the obvious. Think of it as your tiny kitchen’s way of reminding you that even the smallest details matter. After all, a little caution now can save you big cleanup later. Happy blending, and stay smart in your small space!