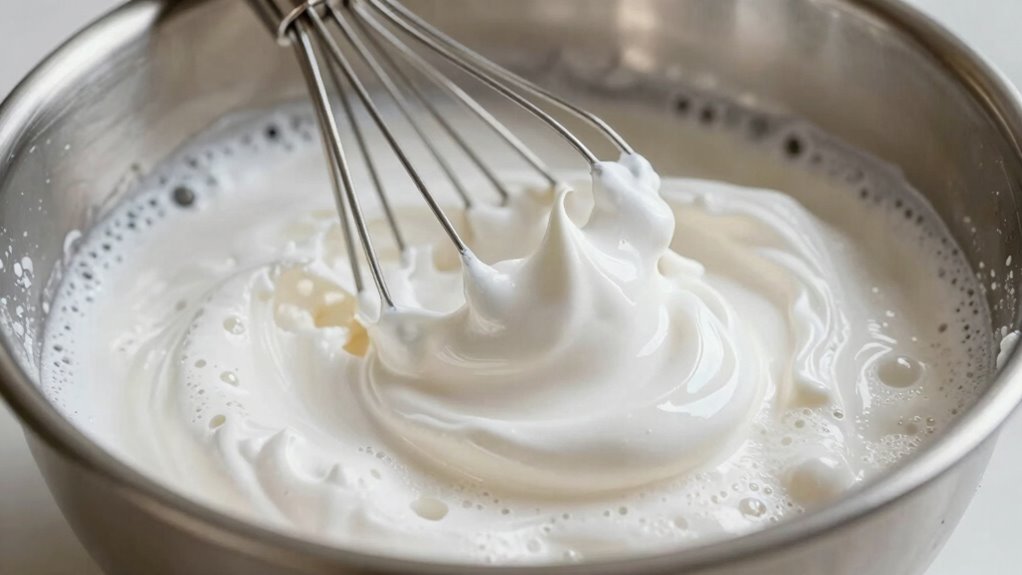

When beating egg whites, it’s easy to confuse soft, stiff, and overbeaten peaks. Soft peaks form when the foam thickens, and the peaks gently curl over when lifted. Stiff peaks are glossy and stand tall, while overbeaten whites become grainy, dry, and lose shine. Using the right bowl and ingredients helps achieve perfect peaks every time. Keep an eye on these stages to avoid common mistakes—if you want to master this, there’s more to discover.
Key Takeaways
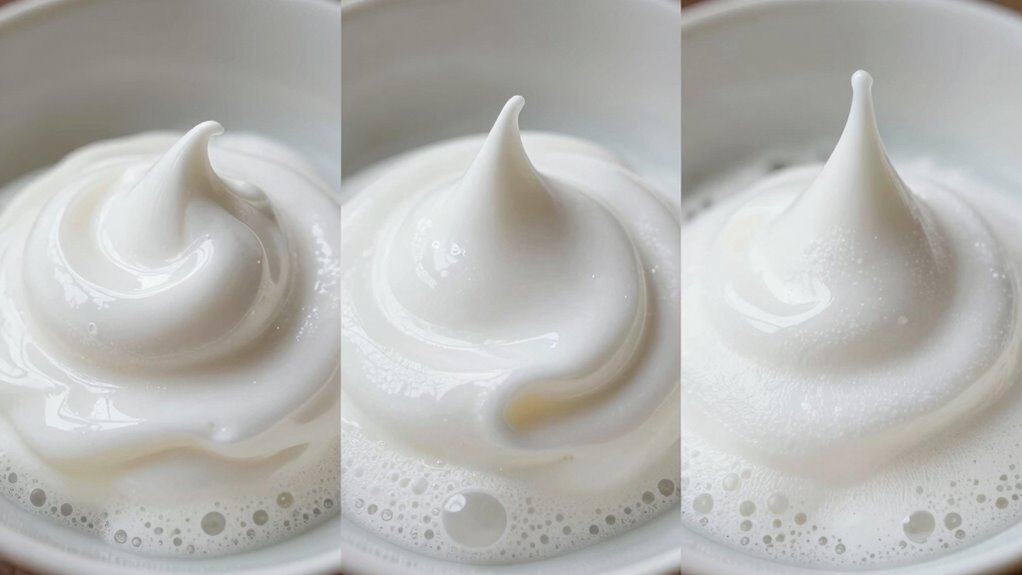
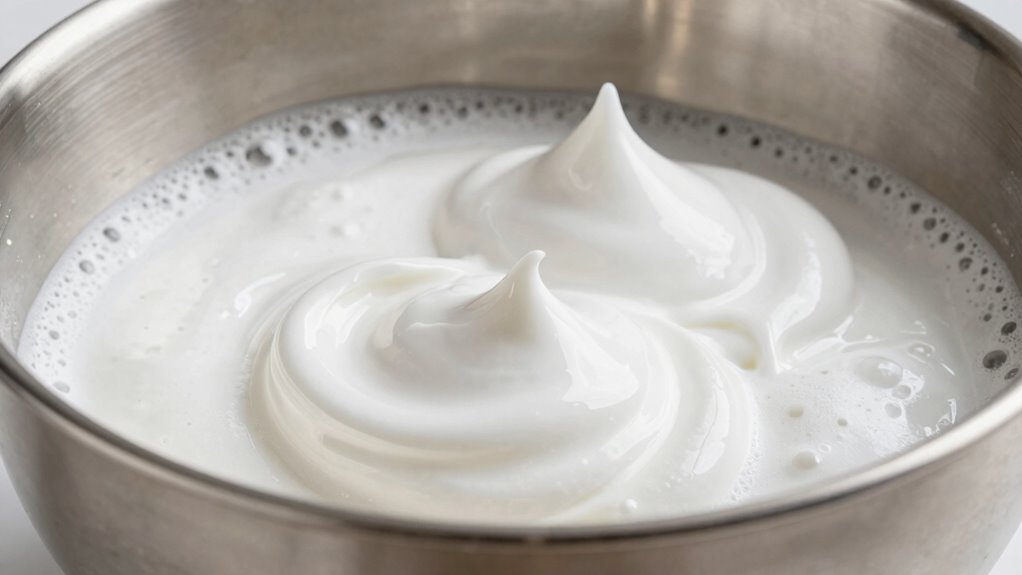
- Recognize soft peaks by their volume increase and gentle drooping when lifted; they are the initial stage before stiff peaks.
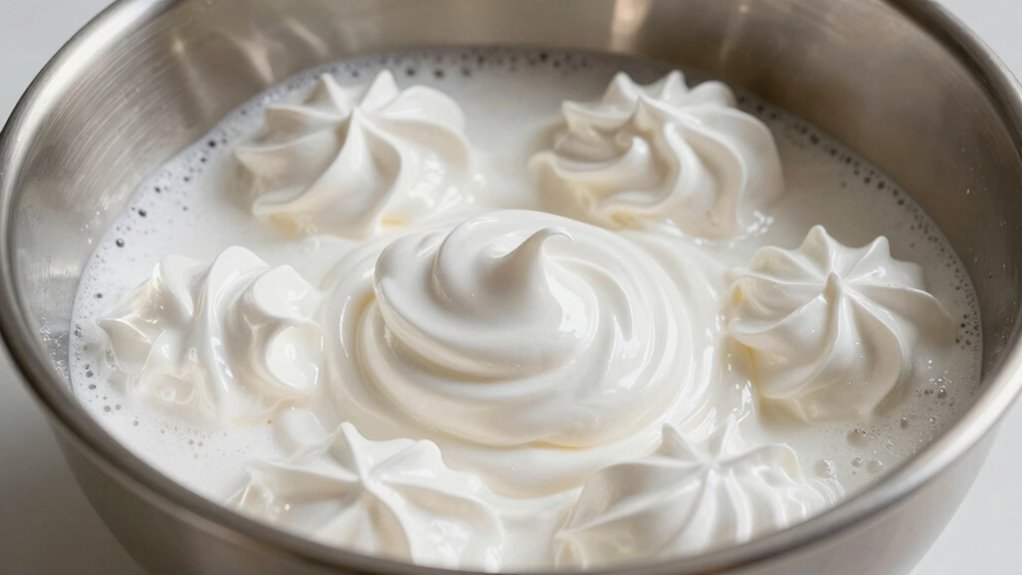
- Stiff, glossy peaks stand straight and hold their shape, indicating proper peak formation at the final stage.
- Stop beating at soft peaks to prevent overwhipping into dry, grainy foam that collapses easily.
- Use clean, room-temperature eggs and equipment to achieve stable, shiny peaks.
- Monitor foam consistency and avoid overbeating to maintain smooth, stable peaks and prevent collapse.
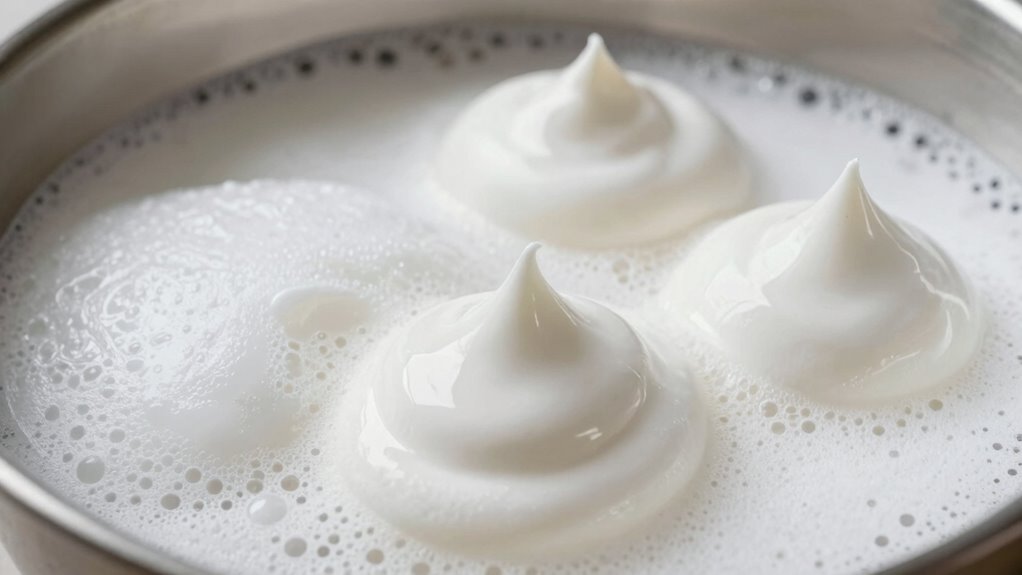
What Are the Key Foam Stages When Beating Egg Whites?
When you beat egg whites, they go through several distinct foam stages, each with its own appearance and texture. In the initial stage, air incorporation begins gently, creating a frothy mixture that’s pale and bubbly. As you continue, the foam thickens, and the bubbles become finer and more stable, signaling the progression toward soft peaks. If you add sugar at this point, it helps with stabilization, making the foam more resilient. As you beat further, the mixture becomes glossy and holds its shape longer, entering the stiff peaks stage. Proper air incorporation and sugar stabilization are essential for achieving the desired foam consistency. Recognizing these stages ensures you beat your egg whites just enough without overdoing it, leading to perfect peaks. Understanding the foam stages can help you avoid overbeating, which can cause the egg whites to become dry and collapse.
How to Recognize Soft Peaks and When to Stop
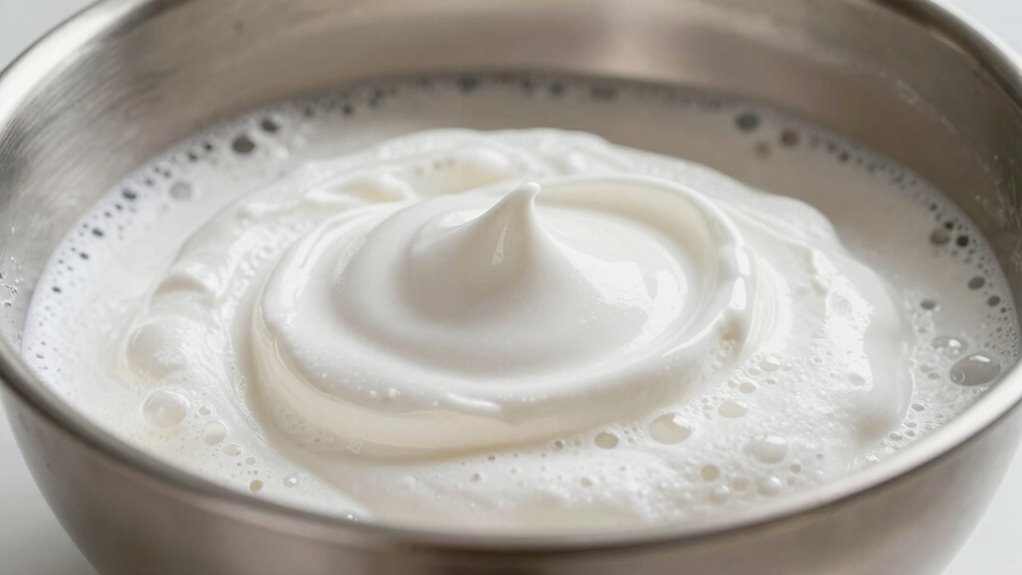
To recognize soft peaks, look for a mixture that has thickened and increased in volume but still gently droops when you lift the beaters. Your whisk technique should produce smooth, glossy foam without overmixing. When beating egg whites, stop as soon as the peaks softly curl over, indicating you’ve reached soft peaks. If you’re using an ingredient substitution, like a splash of lemon juice or cream of tartar, be mindful they can help stabilize the foam but don’t rush past this stage. Knowing when to stop guarantees you don’t accidentally overbeat into stiff peaks. Pay close attention to the texture and avoid the temptation to continue whisking once soft peaks form, as this is the ideal consistency for many recipes. Proper technique and attention to detail are essential for achieving perfect soft peaks every time. Additionally, understanding the different foam stages helps bakers prevent overwhipping and ensures the best possible aeration. Recognizing the contrast ratio of your mixture can also help determine the optimal point for soft peaks, especially when working with different types of eggs or stabilizers.
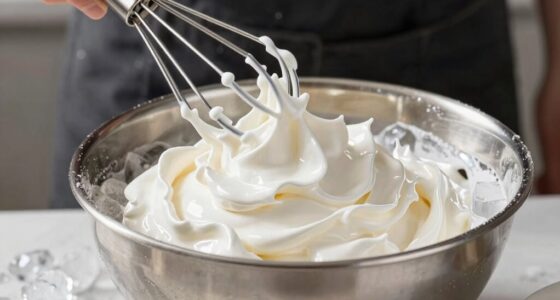
How to Achieve Stiff, Glossy Peaks Perfectly
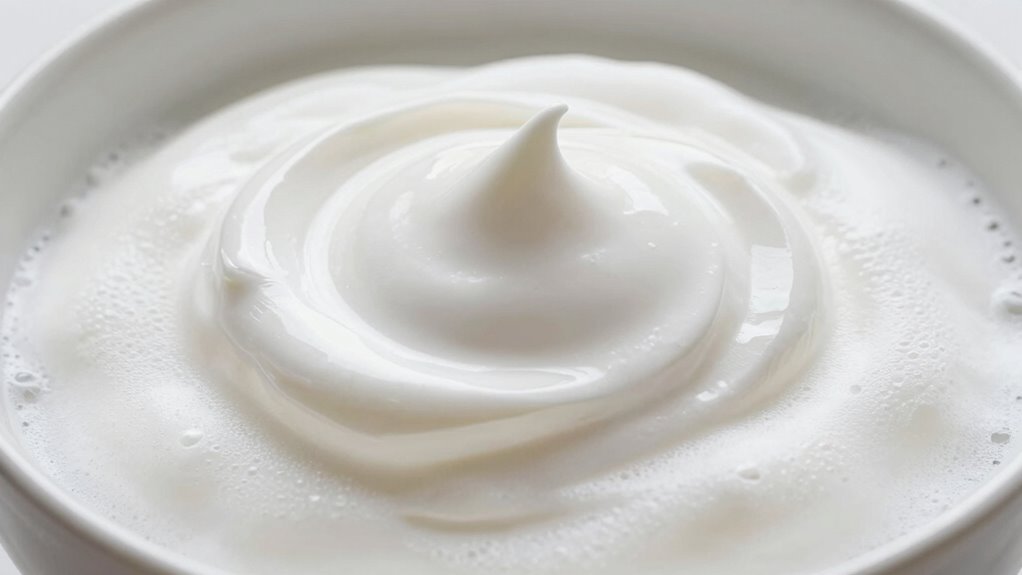
Once you’ve achieved soft peaks, the next step is to beat the egg whites until they form stiff, glossy peaks. To do this, increase your speed slightly and watch the egg structure transform. The foam stability improves as the proteins in the egg whites form a strong network, trapping air and giving the mixture its firm texture. Look for peaks that stand straight up when you lift the beaters, with a shiny, smooth surface. Properly beaten egg whites will have a firm yet delicate structure, holding their shape without collapsing. Be mindful of passive voice detection, as it can help improve clarity and directness in your instructions. Using a sizing and load‑planning tool can help you better understand the ideal consistency for different recipes. Achieving this stage ensures your meringue or soufflé will be light, stable, and beautifully glossy. Keep in mind that foam stabilization techniques are essential for achieving the perfect peaks. Additionally, maintaining a clean, grease-free bowl and beaters is crucial, as any fat can interfere with the protein bonding process necessary for peak formation.
How to Spot Over-Whipped Egg Whites and Fix Them

You’ll know egg whites are over-whipped when they look grainy or start to lose their shine. If you catch this early, you can try gently folding in a bit of fresh, unwhipped whites to restore their texture. To prevent over-whipping in the future, keep a close eye and stop as soon as stiff peaks form. Monitoring foam stages during whipping can help you achieve perfect peaks every time. Additionally, understanding free floating and how it influences the structure of whipped egg whites can improve your technique. Recognizing the foam stability is essential for achieving the desired texture without over-whipping.
Recognizing Over-Whipping Signs
Recognizing over-whipped egg whites is essential to achieving perfect peaks, as it prevents the mixture from becoming dry and grainy. When you use mixer techniques, you’ll notice the whites turn stiff and shiny, with peaks that stand rigid or break easily. Over-whipping often causes the foam to look dry or crumbly, losing its silky texture. If you’ve made ingredient substitutions, such as adding sugar too early or too quickly, it can accelerate over-whipping. Pay close attention to the texture and appearance—if the whites start to look dry or start to deflate, you’ve gone too far. To avoid this, stop mixing as soon as you see firm, glossy peaks. Recognizing these signs early helps you prevent over-whipping and ensures your egg whites are perfectly prepared. For consistent results, consider using a Vetted electric mixer with adjustable speed settings to better control the whipping process.
Restoring Slightly Over-Whipped
When egg whites start to show signs of over-whipping but aren’t completely dry or crumbly, there’s still a way to save them. The key is to gently fold in a small amount of fresh, unwhipped egg whites, which can help restore the mixture’s softness and looseness. Technique variations, such as folding instead of stirring, prevent further damage. Ingredient influences also matter; room-temperature whites whip more easily and recover better. If you notice slight over-whipping, avoid adding sugar or other ingredients immediately, as they can worsen the situation. Instead, gently incorporate the fresh whites until the desired soft peaks are reestablished. This careful approach allows you to salvage your over-whipped whites without starting over, ensuring your recipe remains on track. Proper mixing techniques are essential for maintaining the ideal foam structure and preventing over-whipping in the first place.
Preventing Future Over-Whipping
To prevent over-whipping egg whites, it’s essential to stay attentive as you whip and stop as soon as they reach the desired soft or stiff peaks. Keep an eye on egg white stability and watch for signs of foam aging. Over-whipped whites become dry, lumpy, and lose their smooth texture, making them difficult to incorporate into recipes. To avoid this, monitor the bubbles and texture closely during whipping.
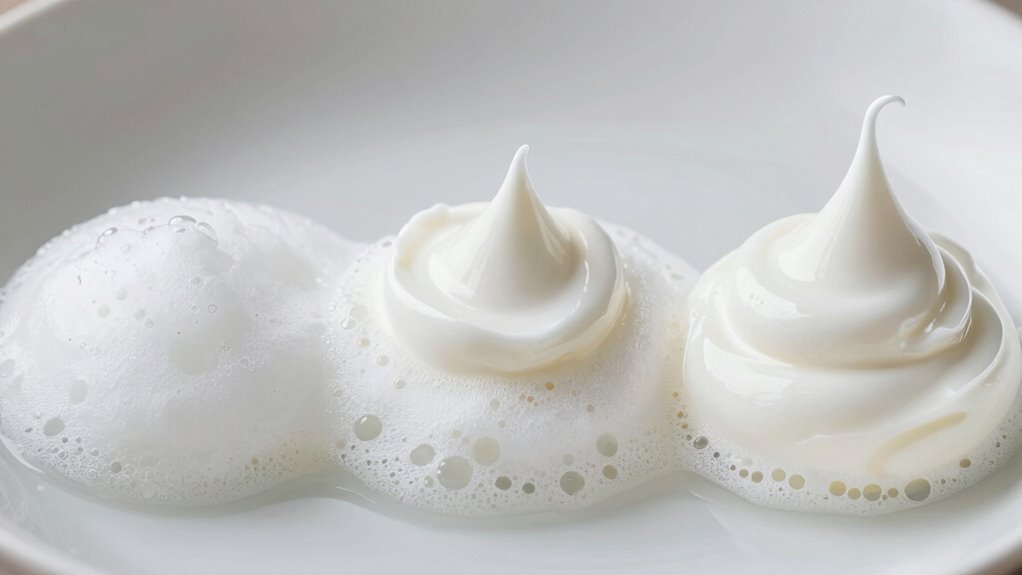
| Stage | Visual Clues |
|---|---|
| Soft Peaks | Bubbles form, tips curl gently |
| Stiff Peaks | Rigid, glossy, stands upright without drooping |
| Over-Whipped | Dry, grainy, foam breaks down, looks curdled |
Why Using the Right Bowl and Utensils Matters for Stable Foam
Choosing the right bowl and utensils is key to creating stable, glossy egg white foam. Non-reactive materials like glass or stainless steel prevent unwanted interactions that weaken the foam. Make sure your tools are clean and compatible to get the best results every time. Using proper tools, such as a clean, dry bowl and a sturdy whisk or mixer, helps incorporate air more efficiently for better volume.
Proper Material Selection
Using the right bowl and utensils is essential for achieving stable egg white peaks because their material directly affects the foam’s formation and stability. Metal bowls, especially stainless steel, are ideal because they help create a smooth, clean surface that encourages perfect foam development. Glass bowls can work if they’re thoroughly cleaned and free of grease or residue, which can deflate the foam. Avoid plastic, as it often retains oils and grease that compromise texture consistency. The quality of your utensils impacts ingredient quality by preventing unwanted fats or residues from interfering with egg white aeration. Well-chosen tools ensure you can whip egg whites to the desired stiffness without hesitation, resulting in a more stable foam and perfect texture in your baked goods. Additionally, using clean, dry equipment minimizes the risk of introducing impurities that can hinder proper foam formation.
Utensil Compatibility Tips
The right utensils make all the difference when whipping egg whites into firm, stable peaks. Using the correct bowl material and paying attention to egg temperature can prevent overbeating or underwhipping. Metal bowls are ideal because they help stabilize foam, while plastic or glass bowls can retain grease or residue, hindering volume. Confirm eggs are at room temperature for easier aeration and better foam formation. Choosing the right utensils ensures your foam reaches perfect peaks every time, especially as AI Ethicist Jobs become increasingly relevant in tech development. Additionally, selecting appropriate tools can streamline the process and improve consistency in your results. Proper utensil selection aligns with cloud computing principles, emphasizing the importance of the right environment and tools for optimal performance. Using the proper kitchen equipment can also help ensure safety and efficiency during preparation.
Tips for Consistently Getting the Right Foam Stage Every Time
Getting egg whites to reach the perfect foam stage can be tricky, but with the right techniques, you can consistently achieve fluffy, glossy peaks. First, verify your bowl and beaters are totally clean and free of grease, as any residue can weaken meringue stability. Start beating on low speed until bubbles form, then gradually increase to high. Use fresh eggs at room temperature for better foam texture and stability. Avoid overbeating, which can cause the foam to become dry and grainy. Keep an eye on the peaks—stiff peaks hold firm without collapsing. For consistent results, add a pinch of cream of tartar or a few drops of lemon juice early on; these acids help strengthen the foam. Understanding the foam stages can help you identify when your egg whites are perfectly whipped. Recognizing the signs of overbeating can prevent your foam from collapsing and ensure optimal texture. Additionally, being aware of the impact of proper equipment like stainless steel or glass bowls can make a significant difference. With practice, you’ll master the stages and get perfect meringue every time.
Common Mistakes When Beating Egg Whites and How to Avoid Them
One common mistake is starting to beat the egg whites before they are at room temperature, which can prevent them from reaching their full volume and stability. Cold eggs are harder to whip, and their egg temperature affects foam formation. Additionally, using eggs that aren’t fresh enough can hinder the development of a stable foam. To avoid these issues, guarantee your eggs are at room temperature and fresh.
Starting with room temperature, fresh eggs ensures stable, lofty egg whites every time.
- Use eggs that are at room temperature for better volume
- Check egg freshness before whipping
- Avoid overbeating, which causes dryness and collapse
- Use a clean, grease-free bowl and whisk
- Incorporate sugar gradually to stabilize the foam
Pay attention to egg temperature and freshness for perfect peaks every time.
How Temperature and Egg Freshness Affect Foam Formation
Egg temperature and freshness directly influence how well your whites form stable, voluminous peaks. Fresh eggs have firmer whites with higher protein content, making it easier to achieve stiff peaks. Older eggs tend to be more watery, which weakens the foam structure. Temperature control also plays an essential role; room temperature eggs whip up faster and create more stable foam than cold eggs straight from the fridge. Cold eggs are harder to beat because their proteins aren’t as flexible, leading to less volume and stability. To get the best results, let your eggs sit at room temperature for about 20 minutes before beating. This balance of egg freshness and proper temperature ensures your egg whites reach those perfect, lofty peaks every time.
Troubleshooting Egg White Foam That Won’t Reach the Right Peaks
If your egg whites refuse to reach stiff peaks, several common issues might be to blame. Low egg stability can prevent proper foam formation, or the foam consistency may be too runny. Here are some troubleshooting tips:
- Ensure your bowl and beaters are completely clean and free of grease or residue
- Use fresh eggs; older eggs can reduce foam stability
- Avoid over-beating, which can break down the foam and cause collapse
- Add a pinch of cream of tartar to help stabilize the foam
- Make sure you’re beating at high speed once soft peaks form, until stiff peaks develop
Addressing these factors improves egg stability and foam consistency, helping you achieve perfect peaks every time.
Frequently Asked Questions
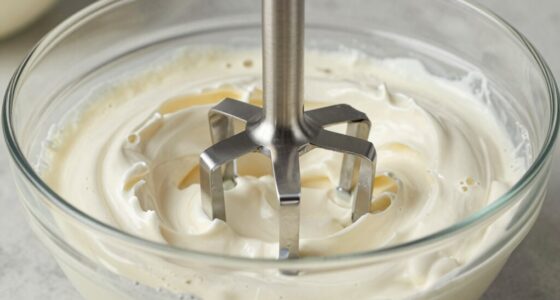
Can I Beat Egg Whites Using a Hand Whisk Instead of an Electric Mixer?
Yes, you can beat egg whites using a hand whisk instead of an electric mixer. Manual whisking is a great equipment alternative, especially if you don’t have an electric device. It requires more effort and patience, but with consistent motion, you’ll achieve stiff peaks. Just guarantee your bowl is clean and free of grease, and start slow before increasing speed to get the best foam.
How Does Adding Sugar Influence the Foam Stage and Stability?
Ever wondered how sugar affects your egg white foam? When you add sugar gradually, it promotes better foam stabilization by delaying sugar crystallization, allowing the proteins to form a stronger network. This results in a glossy, firm peak that holds longer. Without sugar or with rapid addition, the foam may become unstable and collapse easily. So, slow, steady mixing with sugar is key to achieving perfect, stable egg white peaks.
What Role Does Acid (Like Cream of Tartar) Play in Egg White Foaming?
Adding acid like cream of tartar helps with acid stabilization and pH balance, making it easier for you to whip egg whites to stiff peaks. It lowers the pH, denaturing the proteins and strengthening the foam structure. This results in a more stable, glossy foam that holds its shape longer. So, when you add acid early in beating, you guarantee your egg whites become more resilient and achieve perfect volume.
Is It Necessary to Use Room Temperature Eggs for Better Foam?
Ever wondered if room temperature eggs make a difference? You bet they do! Using eggs at room temperature improves foam because the whites whip up more easily and reach stiffer peaks faster. Temperature considerations are vital, especially if your eggs are cold or not fresh. Cold eggs contain less air, resulting in weaker foam. So, for best results, let your eggs sit out for about 30 minutes before beating.
How Can I Prevent Egg Whites From Deflating After Reaching the Desired Peak?
To prevent egg whites from deflating after reaching the desired peak, you should stabilize the foam by gently folding in a small amount of acid like lemon juice or cream of tartar. Avoid over beating, which can cause collapse. Once your peaks form, stop mixing immediately. Additionally, lightly incorporating a stabilizer helps maintain the structure longer, preventing deflation and ensuring your egg whites stay fluffy and firm for your recipe.
Conclusion
Mastering egg white peaks is like nurturing a delicate bloom—you need patience, the right tools, and gentle care. Each stage, from soft to stiff peaks, is a petal unfolding, revealing your progress. When you recognize these signs, you nurture confidence and precision. With practice, your foam will stand tall like a resilient flower, symbolizing your skill. Remember, every perfect peak begins with the right gentle touch and a little understanding.