Finding a warm spot for proofing dough in winter doesn’t mean you need your oven. Instead, place your dough near heat sources like radiators, vents, or warm walls, but avoid direct contact. Use insulation, damp cloths, or a makeshift proofing box to keep the environment steady. Sunny windows or heated areas work great, too. Want more ideas on creating the perfect winter proofing spot? Keep going for helpful tips.
Key Takeaways
- Place dough near radiators, space heaters, or warm appliances without direct contact for consistent heat.
- Use insulated proofing boxes or wrap containers with blankets, towels, or foam to retain warmth.
- Position dough in sunny spots like south-facing windows or heated walls to naturally boost temperature.
- Cover dough with damp cloths or plastic wrap to maintain humidity and warmth during proofing.
- Monitor environment with a thermometer, aiming for 75-80°F, and adjust placement as needed.
GSM Brands Pizza Dough Proofing Box – Stackable Commercial Quality Trays with Covers (17.25 x 13 Inches) – 2 Trays and 2 Covers
COMMERCIAL QUALITY: Our dough proofing boxes are generously sized at 17.25 x 13 x 3.54" with covers and…
As an affiliate, we earn on qualifying purchases.
As an affiliate, we earn on qualifying purchases.
Why Is Proofing Dough in Winter So Challenging?
Proofing dough in winter is challenging because cold temperatures slow down the yeast’s activity, making it harder for the dough to rise properly. Cold weather reduces the warmth yeast needs to ferment and produce carbon dioxide, which causes the dough to expand. When yeast activity slows, proofing takes longer, and the dough may not develop the right texture or volume. If you don’t provide a warm enough environment, your dough could stagnate or become dense. Understanding how cold weather impacts yeast helps you plan better. You might notice that dough takes more time to double in size or feels less elastic. Using smart appliances or connected kitchen technology can help monitor and maintain optimal proofing temperatures automatically. Additionally, recognizing the importance of temperature control in proofing helps ensure your dough rises consistently during the winter months. Creating a stable proofing space can help maintain the ideal conditions needed for proper rising. Employing climate-controlled environments can further optimize proofing conditions in colder weather.

Bread Proofing Basket with Cloth Insulation Cover, 9 Inch x 5.5 Inch Diameter Ellipse Style Cloth Weaving Banneton for Kitchen (Ellipse)
Size: 10.2 inch x 5.5 inch x 3.7 inch
As an affiliate, we earn on qualifying purchases.
As an affiliate, we earn on qualifying purchases.
How to Find the Warmest Spots in Your Home for Proofing
Start by placing your dough near heat sources like radiators or stoves, where the warmth is steady. Check the warmest corners of your room, as they tend to hold more heat. You can also use insulating covers to keep the temperature consistent and prevent heat from escaping. For optimal results, consider the temperature stability of your chosen spot to ensure consistent proofing conditions. Additionally, monitoring the home energy environment can help maintain a steady temperature without overloading your heating system. Understanding thermal insulation can further improve your proofing setup by minimizing heat loss and maintaining ideal conditions. Being aware of air circulation can also help you prevent drafts that might disrupt the proofing process. Recognizing proper cultural symbols related to warmth and resilience can inspire you to create a cozy environment for your dough.
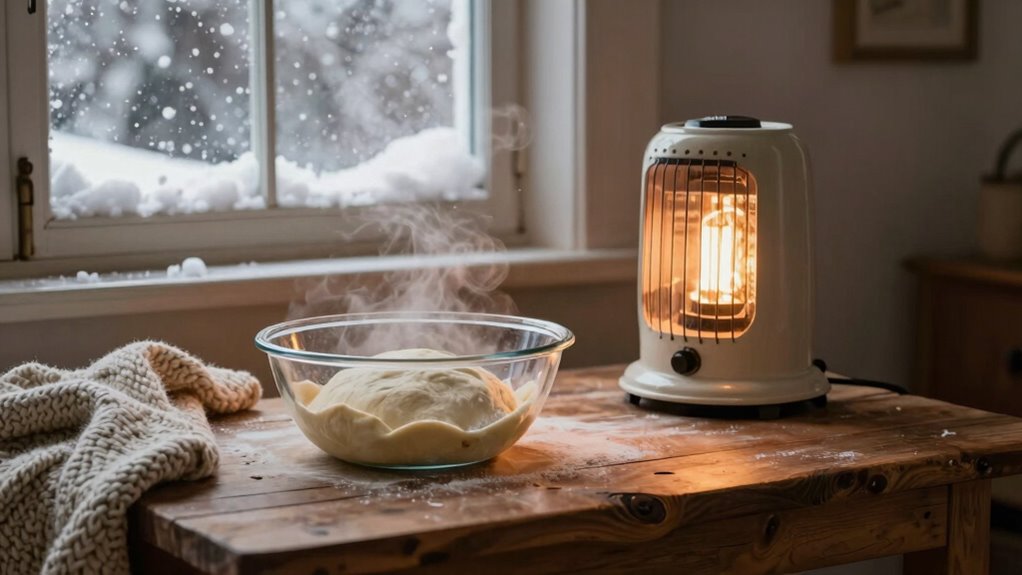
Near Heat Sources
Finding the warmest spots in your home is key to successful dough proofing during winter. Near heat sources like radiators, space heaters, or even a warm appliance can provide consistent warmth. Gold IRA markets often highlight the importance of a stable environment for growth, and similarly, maintaining steady temperature is crucial for proofing. Avoid drafty areas where cold air constantly circulates, as this can hinder proofing. Instead, look for spots close to a radiator or heating vent that aren’t directly exposed to drafts. Placing your dough near these sources allows it to stay warm without the risk of rapid temperature fluctuations. Keep in mind that areas with cold temperatures or frequent drafts won’t maintain the steady warmth needed for proper fermentation. Additionally, temperature stability is vital to prevent overproofing or underproofing your dough. Creating a consistent environment by positioning your dough near reliable heat sources will help ensure optimal fermentation conditions even in chilly winter conditions. Using a thermometer to monitor the temperature helps ensure your dough stays within the optimal range for fermentation.
Warmest Room Corners
Warmest corners in your home often offer the most consistent heat for proofing dough during winter. These spots tend to be less affected by cold spots and drafty corners that can cause uneven rising. Look for areas away from windows, exterior walls, or air vents, which can create drafts and temperature fluctuations. Typically, inside corners of rooms or tucked-away areas near interior walls stay warmer and more stable. Avoid drafty corners where cold air seeps in, as they can hinder yeast activity. You might find these warmest spots by feeling for gentle warmth or monitoring room temperature with a thermometer. Choosing these locations helps create a cozy, steady environment, ensuring your dough proofs evenly without the need for extra heat sources.
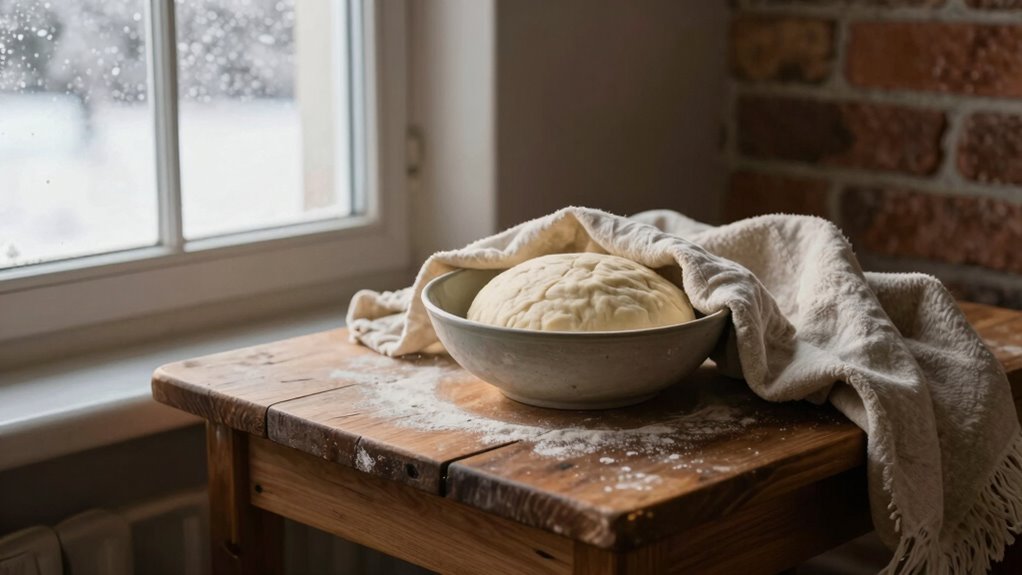
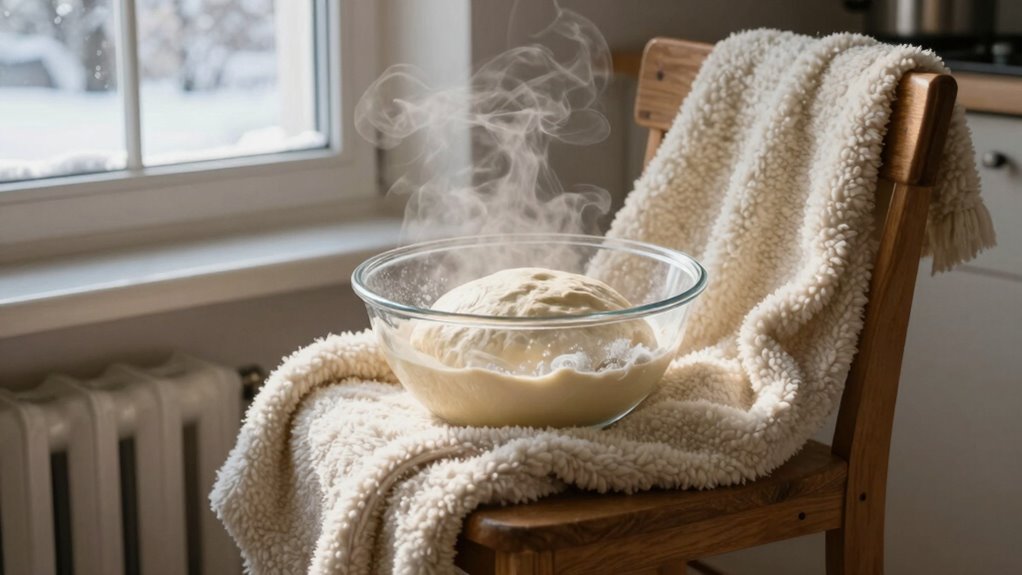
Use Insulating Covers
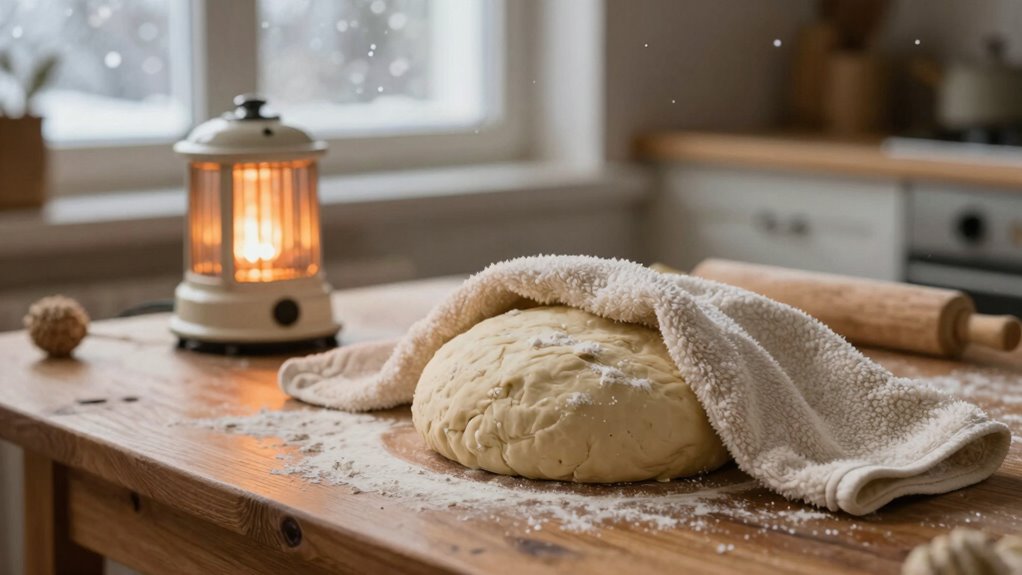
Using insulating covers can make a significant difference in maintaining a warm environment for proofing dough, especially in colder months. Thermal blankets and insulating covers trap heat around your dough, preventing heat loss and keeping the environment consistently warm. You can drape thermal blankets over bowls or proofing containers, creating a barrier that retains heat. These covers are affordable, reusable, and easy to use, making them a practical solution for home bakers. Make certain the covers fit snugly without pressing down on the dough, allowing for proper air circulation. Additionally, choosing covers made from insulating materials can enhance heat retention and improve proofing results. Proper shop organization and storage can also help keep your proofing area warm and consistent. Creating a dedicated, warm proofing space can further optimize fermentation conditions. By using insulating covers, you’ll create a stable, warm microclimate that encourages proper fermentation, even when your house is chilly. Incorporating effective insulation techniques can help you maximize proofing warmth and achieve consistent results. Implementing these simple steps is a cost-effective way to maximize proofing warmth and achieve better baking outcomes during winter. This simple step can dramatically improve your winter proofing results without needing your oven or other heat sources.

2PCS Proofing Cloth for Bread Baking 14×18 Inches Linen Cloth Reusable Bread Proofing Cloth Thick Baking Bread Cloth for Dough, Baguettes, Loaves, Pastry, Homemade Bread
Quality Linen Cloth: Crafted from linen cloth, our bread cloth offers durability while providing a soft and luxurious…
As an affiliate, we earn on qualifying purchases.
As an affiliate, we earn on qualifying purchases.
Use Your Radiator or Heating Vents to Speed Up Proofing
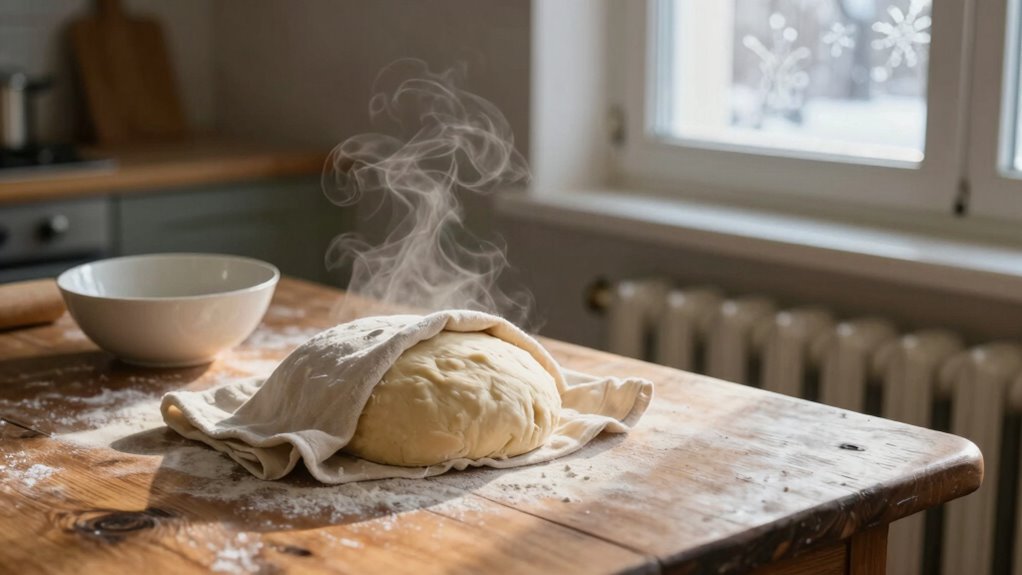
If your kitchen feels too cold for the dough to proof properly, leveraging your radiator or heating vents can help speed up the process. Proper radiator placement is key—position your dough near the radiator or under heating vents without direct contact to prevent overheating. Keep the dough covered with a damp cloth or plastic wrap to maintain humidity. This creates a warm, draft-free environment that accelerates fermentation. Avoid placing dough directly on the radiator, as excessive heat can kill yeast. Instead, set a small table or stand nearby, ensuring good airflow. Using your radiators and heating vents smartly can markedly cut down proofing time, especially during chilly winter days, helping you achieve perfect dough quicker without turning on the oven. Additionally, maintaining air quality in your kitchen can contribute to a healthier environment during winter baking. Incorporating proper ventilation can prevent excess moisture buildup, which might otherwise hinder proofing. Moreover, understanding how heat distribution works in your space can optimize the proofing environment further.
TempPro TP02S Digital Food Thermometer for Cooking Bread Baking Sourdough Liquids, Meat Thermometer Digital with Super Long Probe for Kitchen BBQ Yogurt Candy Making Accessory (Previously ThermoPro)
Fast and Accurate Reading: Kitchen thermometer for cooking features a 1 second readout speed and high accuracy of…
As an affiliate, we earn on qualifying purchases.
As an affiliate, we earn on qualifying purchases.
Proof Inside a Turn-Off Oven With the Light on
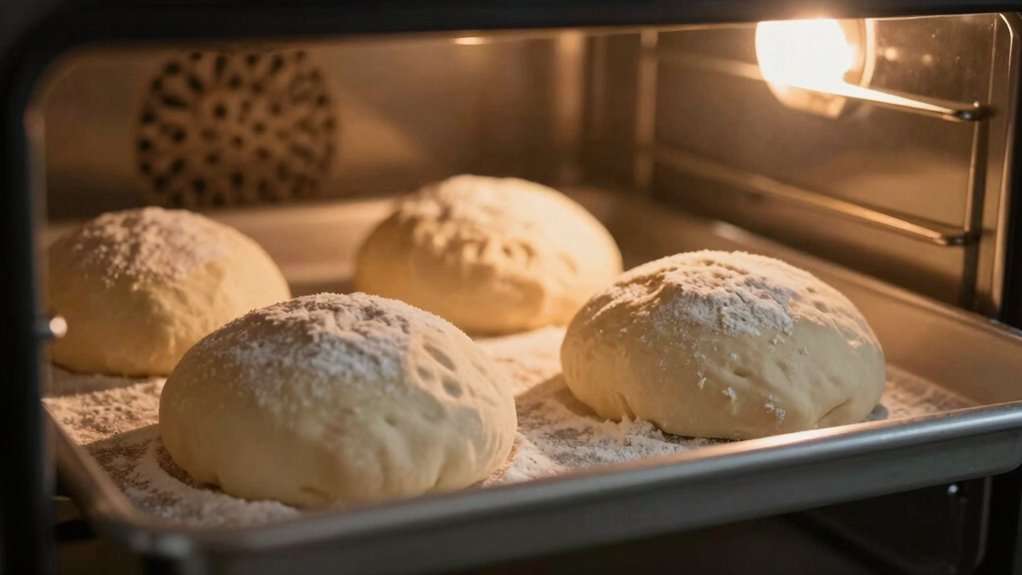
During winter, your oven can become a cozy spot for proofing dough without turning it on fully. Simply turn off the oven and leave the light on; the small heat from the bulb creates a warm environment. This setup acts as a makeshift fermentation chamber, maintaining an ideal proofing temperature—around 75°F to 80°F—without overheating the dough. The gentle heat encourages yeast activity, helping your dough rise steadily. Keep the oven door closed to trap the warmth, but check occasionally to ensure the temperature stays consistent. This method is especially useful when your home is cold, providing a controlled environment that promotes suitable proofing. It’s a simple, effective way to harness the heat from your oven light without risking too much warmth.
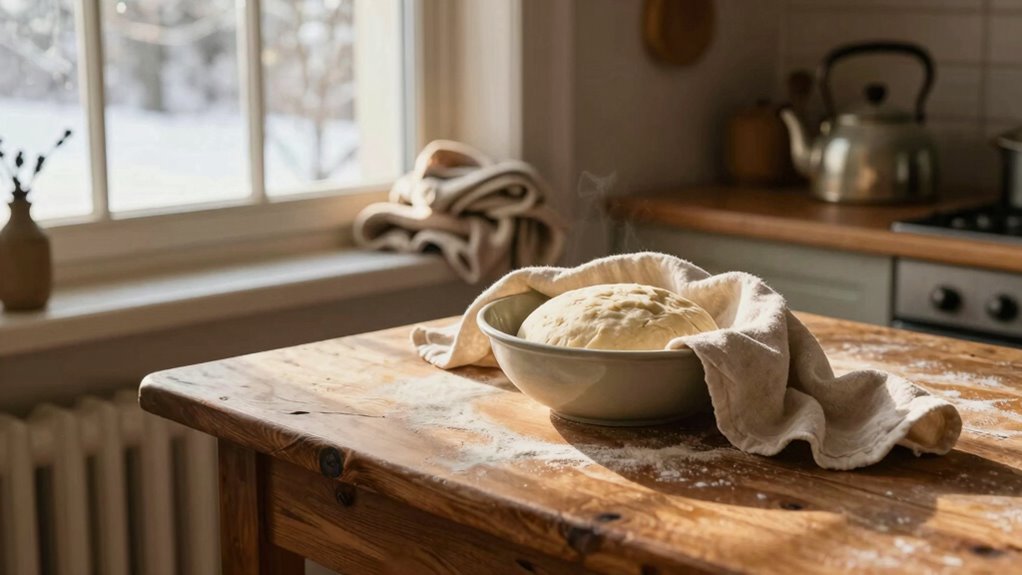
Cozy Corners Near Warm Walls or Windows for Dough Rising
Have you ever noticed how a warm spot near a sunny window or against a heated wall can create the perfect environment for dough to rise? These cozy corners harness natural heat, making them ideal for proofing in winter. A warm wall radiates steady heat, while a sunny window provides gentle warmth and light, encouraging yeast activity. Position your dough close to these spots, but avoid direct sunlight that may dry out or overheat it. If your kitchen has a south-facing window, use that area as your proofing station. This method is simple, effective, and requires no additional equipment. Just keep an eye on the dough’s progress, adjusting placement if needed, to ensure a warm but not overheated environment.
How to Create a Simple Proofing Box at Home
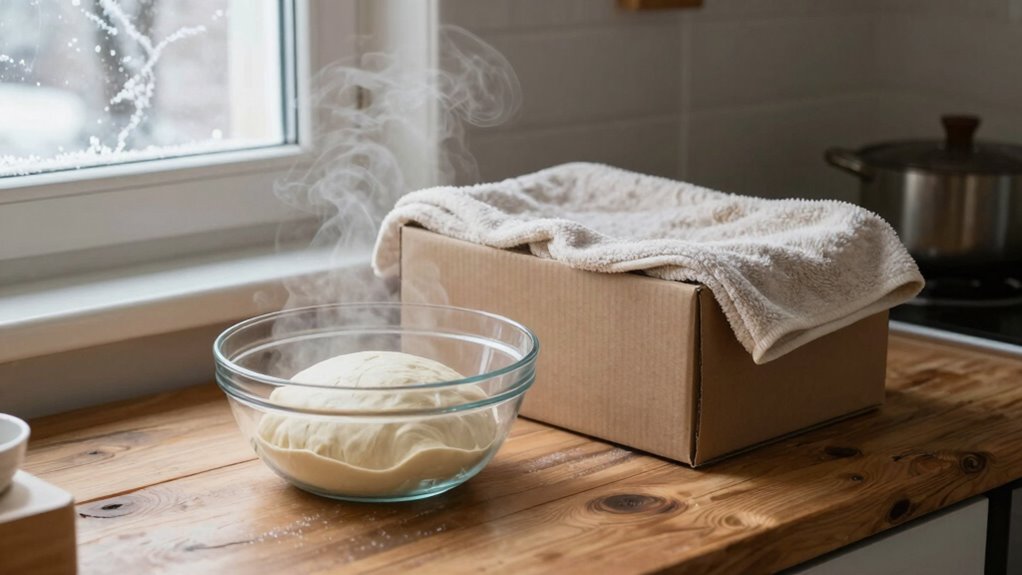
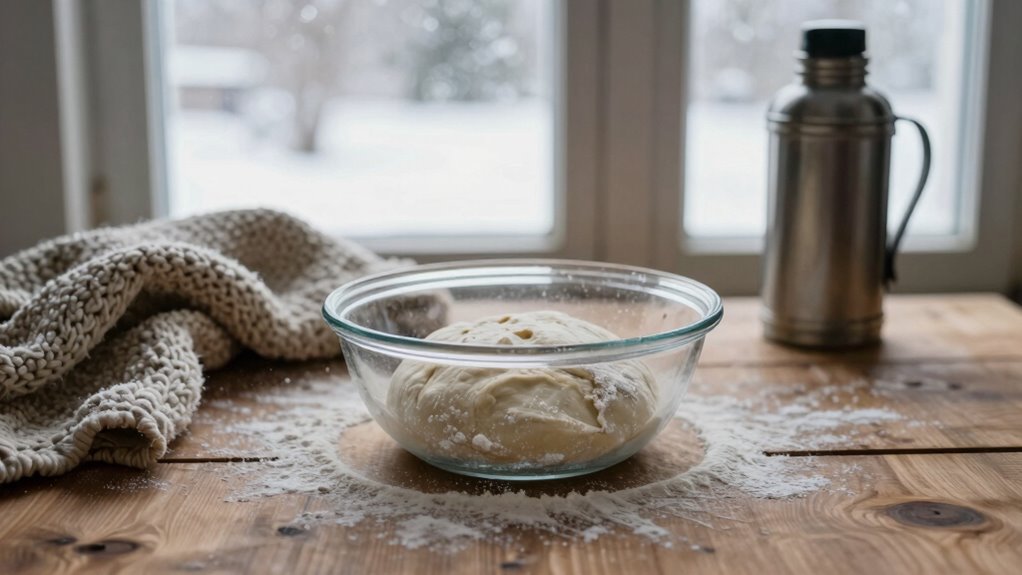
Creating a simple proofing box at home is easy and effective. You’ll want to insulate the container to keep the temperature steady and use a thermometer to monitor it. Maintaining the right heat guarantees your dough rises perfectly every time.
Insulate the Container
To effectively insulate your proofing container, start by wrapping it with a thick blanket or towel. This simple step helps trap heat and maintains consistent warmth. Next, consider using insulation techniques such as foam boards or bubble wrap around the container. The right container materials, like ceramic or thick plastic, also aid in heat retention. Here’s a quick comparison:
| Material | Insulation Effectiveness | Best Use |
|---|---|---|
| Foam Board | High | Surrounding the container |
| Bubble Wrap | Moderate | Wrapping the container |
| Ceramic/Plastic | Varies, depends on thickness | As the container itself |
Choose materials that suit your space and budget to create an efficient proofing environment.
Maintain Ideal Temperature
Maintaining the right temperature inside your proofing box is essential for ideal dough rise. Consistent proofing temperature ensures your dough stays warm enough to activate yeast activity without overheating, which can kill the yeast. To achieve *best* dough warmth, place your container in a spot that naturally stays warm, like near a radiator or inside an oven with the light on. You can also create a simple proofing environment by wrapping the container with a thick towel or using a heating pad set to low. The goal is to keep the proofing temperature steady, around 75-80°F (24-27°C). This gentle warmth encourages fermentation without risking overheating. Regularly check your setup to maintain consistent dough warmth, leading to a better rise and improved bread texture.
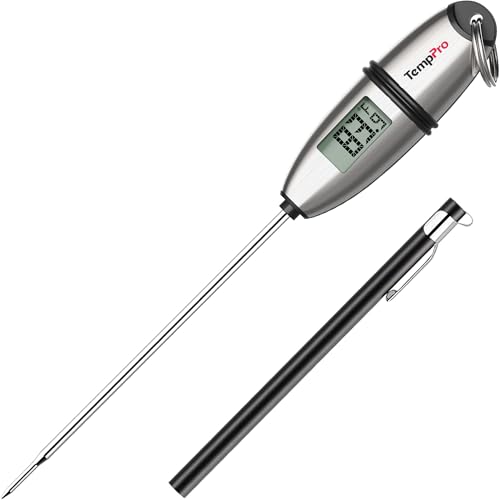
Use a Thermometer
Using a thermometer is essential for accurately monitoring the temperature inside your proofing environment. Proper temperature monitoring guarantees your dough rises consistently and avoids overproofing or underproofing. Place the thermometer where it can best gauge the overall environment—ideally at dough level or near the center of your proofing box. Avoid placing it directly on the dough or close to heat sources, as this can give misleading readings. Regularly check the thermometer to track temperature stability and make adjustments as needed. A reliable thermometer helps you maintain a steady, ideal temperature, especially in winter when ambient conditions fluctuate. Proper thermometer placement and consistent monitoring are key to creating a controlled proofing space that yields perfect results every time.
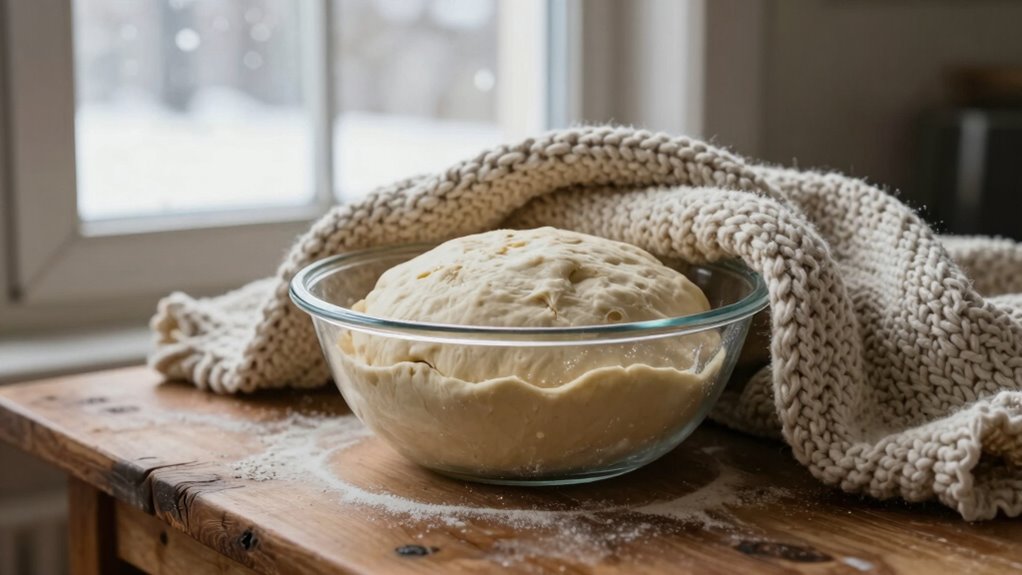
Keep Your Dough Warm and Humid: Tips for Consistent Proofing
Keeping your dough warm and humid is key to achieving consistent proofing results, especially during colder months. Maintaining proper warmth encourages yeast activity and enhances dough elasticity, leading to better rise and texture. To do this, create a cozy environment by placing your dough in a sealed container with a damp cloth or using a proofing box with controlled humidity. The table below offers ideas for maintaining ideal conditions:
| Method | Benefits |
|---|---|
| Proofing in a warm corner | Boosts yeast activity, improves elasticity |
| Use a proofing basket | Retains moisture, promotes even proofing |
| Cover with damp cloth | Maintains humidity, prevents drying |
| Use a proofing box | Consistent temperature and humidity |
| Place near a heat source | Speeds up proofing, enhances elasticity |
These tips help ensure reliable proofing, even in winter’s chill.
Common Winter Proofing Problems and How to Fix Them
Winter proofing can be tricky because cold temperatures often slow down yeast activity, leading to underproofed dough or inconsistent rises. One common problem is setting the proofing temperature too low, which stalls fermentation and results in dense, flat bread. Conversely, if the temperature is too high, dough may overproof quickly, losing its structure. Maintaining proper dough consistency is also essential; if the dough is too stiff, it won’t rise properly, while overly sticky dough can be difficult to handle and may underproof. To fix these issues, guarantee your proofing environment stays within an ideal temperature range—around 75°F to 78°F—and monitor dough consistency regularly. Using warm spots or proofing containers with insulation can help stabilize proofing conditions during winter months.
Quick Tips for Perfect Proofing in Cold Weather
When the temperatures drop, you can still achieve perfect proofing by implementing a few simple strategies. First, maintain ideal proofing humidity by covering your dough with a damp cloth or plastic wrap to prevent it from drying out. This helps preserve dough elasticity, ensuring your bread rises evenly and develops the right texture. Consider creating a warm, humid environment using a proofing box or placing your dough in a heated, oven-safe container with a tray of warm water. Avoid drafts and sudden temperature changes, which can hinder proofing. Keep an eye on your dough’s progress and resist the temptation to overproof, as cold weather can slow fermentation. With these tips, you’ll ensure your dough proof in cold weather remains just as perfect as in warmer months.
Frequently Asked Questions
Can I Proof Dough Outdoors During Winter?
Yes, you can proof dough outdoors during winter, but you need the right conditions. Aim for outdoor temperatures around 75°F, so wait for a sunny winter day with adequate sunlight. Place your dough in a covered, draft-free spot, and consider using a portable heat source or insulating it with a blanket if needed. Be mindful of the temperature and sunlight to make certain your dough proofs properly without over- or under-proofing.
How Long Should Proofing Take in Cold Temperatures?
In cold temperatures, proofing your dough can take 2 to 4 times longer, depending on the environment. To maintain proper temperature control, consider placing your dough in a warm spot, like a turned-off oven with the light on, or near a radiator. This helps keep dough elasticity consistent, guaranteeing it proofs evenly. Keep an eye on it, and don’t rush—patience ensures a perfect rise.
What’s the Ideal Humidity Level for Winter Proofing?
Don’t worry, you don’t need perfect humidity control to proof dough in winter. Aim for about 75% humidity to prevent the dough from drying out while it rises. In winter climate, using a damp cloth or a humidifier can help maintain this level. Proper humidity keeps your dough soft and elastic, ensuring a good proof, even when the air outside is dry and cold.
How Do I Prevent Dough From Drying Out in Winter?
To prevent dough from drying out in winter, make certain proper dough hydration by adding a bit more water if needed. Use a proofing vessel with a tight-fitting lid or cover the dough tightly with plastic wrap or a damp towel. Place the dough in a warm, humid spot, like inside an oven with the light on (not the heat), to maintain moisture and keep your dough soft and well-proofed.
Are There Any Safety Concerns With Using Household Heating for Proofing?
Using household heating for proofing can be safe if you follow safety precautions. You might worry about fire hazards or uneven temperatures, but keep the heat source away from flammable materials and use a thermometer to monitor the temperature. Place your dough in a well-ventilated area, avoid direct heat contact, and never leave it unattended. These steps help guarantee safe, consistent proofing without risks.
Conclusion
Winter proofing can be tricky, but with a little creativity, you can find the warm spots, create cozy spaces, and keep your dough rising perfectly. Embrace the challenge, experiment with your environment, and stay patient. Remember, warmth fosters growth, patience nurtures perfection, and persistence pays off. Keep your dough warm, your spirits high, and your baking delicious—because with the right approach, winter proofing becomes simple and satisfying. Happy baking!