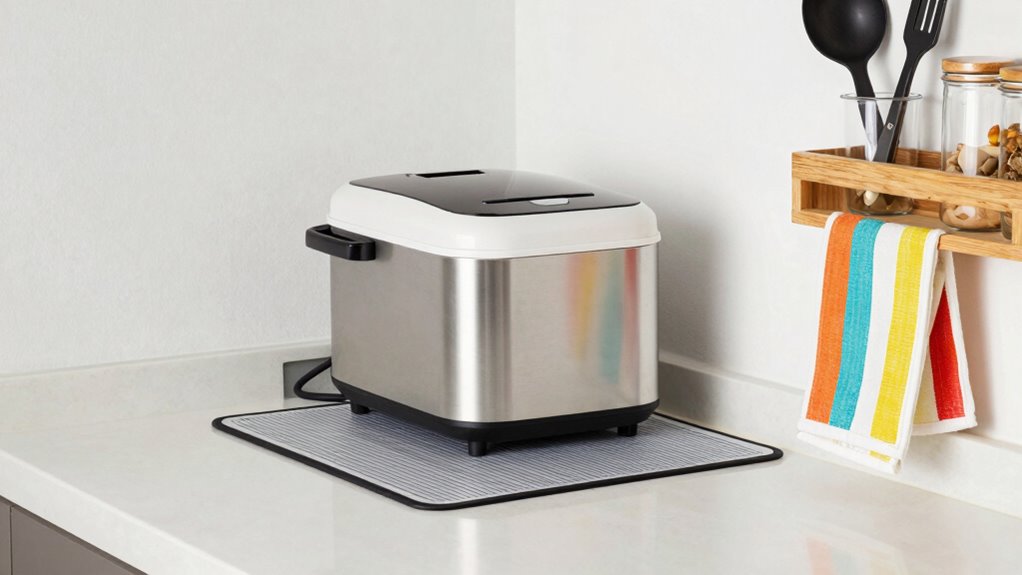
To prevent overheating and mess in your small kitchen, place your bread maker on a stable, flat surface away from heat sources like ovens or stoves. Make certain good airflow by keeping it at least a few inches from walls or other appliances. Avoid overcrowding your countertop, and consider vertical storage options or rolling carts to maximize space. Proper placement not only keeps your bread maker safe but also maintains a tidy, efficient workspace—more tips await to help you optimize your setup.
Key Takeaways
- Place the bread maker on a stable, flat surface away from heat sources like stoves or ovens.
- Ensure proper ventilation by leaving space around the appliance for airflow.
- Avoid overcrowding countertops to prevent overheating and facilitate cleaning.
- Use vertical storage or stacking options to maximize space without blocking vents.
- Keep the bread maker away from water sources and clutter to maintain safety and organization.
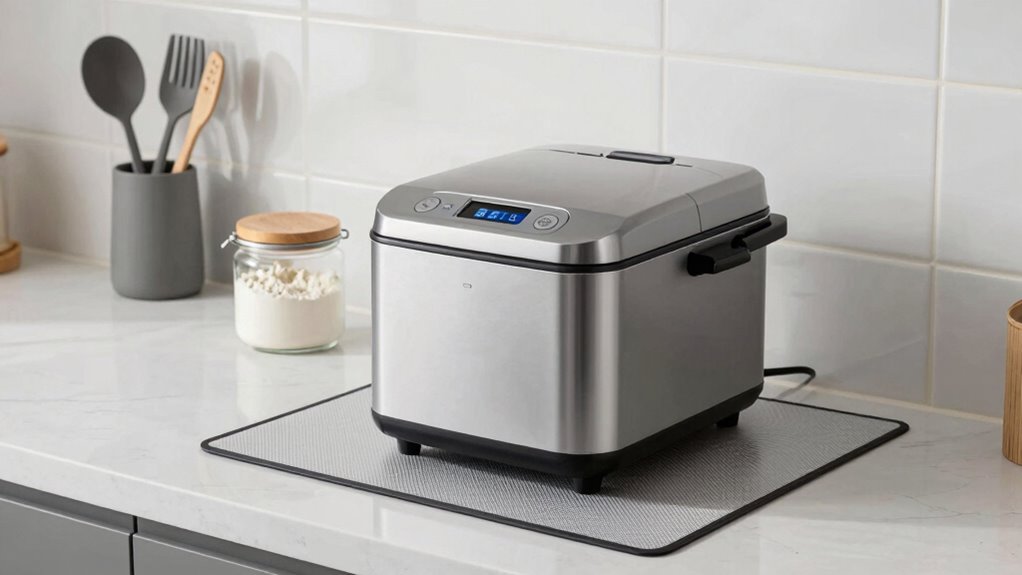
Setting up a small kitchen requires careful planning to maximize space and functionality. One of the most important aspects is guaranteeing your appliances and tools are organized efficiently so that everything is accessible without cluttering your countertops. When it comes to placing your bread maker, proper countertop organization is essential. You want to keep it within reach but also guarantee it doesn’t take up unnecessary space or cause congestion. To do this, consider grouping similar appliances together and designating specific zones for different tasks. For example, keep your bread maker near your toaster and kettle if you often prepare bread and breakfast items. This way, you minimize movement and keep your countertop tidy.
Another key factor to think about is appliance stacking. Instead of spreading out appliances across all available surface area, stacking can save a significant amount of space. For instance, if your bread maker has a flat top, you might place a small, lightweight appliance like a spice rack or a storage container on top of it when not in use. Conversely, if your bread maker is bulky, look for vertical storage options that allow you to stack or nest smaller items underneath or above it. Just make sure that stacking doesn’t compromise accessibility or airflow around your appliances. It’s essential to keep the bread maker in a well-ventilated spot to prevent overheating, especially if you frequently use it. Proper ventilation**** is crucial to prevent appliance overheating and ensure longevity.
Stack appliances vertically to save space and ensure proper airflow around your bread maker.
Placement rules for your bread maker are straightforward but indispensable. Never position it directly next to heat sources, such as your stove or oven, as these can cause overheating and shorten the appliance’s lifespan. Keep it on a stable, flat surface away from water sources to prevent electrical hazards. When stacking or arranging appliances, leave enough space for ventilation—overcrowding can lead to overheating or malfunction. If countertop space is tight, consider installing wall-mounted shelves or using a rolling cart to keep your bread maker accessible yet out of the way. Remember, the goal is to maintain a clean, organized space that makes cooking and baking easier without risking damage to your appliances.
In a small kitchen, every inch counts. Proper countertop organization and strategic appliance stacking are your best tools for creating a tidy, functional setup. Keep your bread maker in a safe spot with enough airflow, group appliances by use, and utilize vertical storage options. By following these simple rules, you’ll prevent overheating, mess, and unnecessary clutter, making your small kitchen a more enjoyable and efficient space to work in.

JIABEIUS 2 Pcs Toast Rack, 6 Slice Bread Holder, Stainless Steel Toast Holder Stand with Ball Feet and Carry Handle (Silver)
【Elegant Design】This 6 slice slot bread holder features a Victorian design that blends perfectly into a variety of…
As an affiliate, we earn on qualifying purchases.
As an affiliate, we earn on qualifying purchases.
Frequently Asked Questions
Can I Use My Bread Maker Outdoors?
You can use your bread maker outdoors, but only if you take into account weather conditions. Place it in a shaded, protected area to prevent exposure to rain, direct sunlight, or extreme temperatures. Avoid outdoor placement during rain or high humidity, as this can damage the machine and cause safety hazards. Always bring it inside after use to prevent weather-related damage and ensure it operates safely and efficiently.
What Safety Features Should I Look For?
Think of your bread maker like a diligent guardian; it needs safety features to prevent mishaps. Look for automatic shut-off for overheating prevention, non-slip feet for stability, and an insulated exterior to avoid burns. A safety lock lid also keeps fingers safe during operation. These features guarantee bread machine safety, helping you bake confidently without worry about overheating or accidents. Always choose models with these essential safety elements for secure baking.
How Often Should I Clean the Bread Maker?
You should clean your bread maker after every use to prevent dough buildup and guarantee ideal performance. Follow a regular cleaning schedule, including wiping the bread pan and kneading blade with a damp cloth and removing crumbs from the interior. Maintenance tips also involve checking for residue and avoiding harsh abrasives. By staying consistent, you extend your bread maker’s lifespan and keep your kitchen safer and cleaner.
Is It Safe to Leave the Bread Maker Unattended?
It’s not safe to leave your bread maker unattended during operation. For bread maker safety, always stay nearby and monitor the process to prevent potential overheating or fire hazards. Unattended operation can lead to accidents or damage, so set a timer or use a bread maker with safety features that automatically shut off. Your attention guarantees safe bread making and prevents messes or appliance issues.
What Power Source Is Recommended for Optimal Performance?
Ironically, your bread maker prefers a power source that’s perfectly compatible. You should use an outlet with the correct voltage and amperage to guarantee ideal performance and avoid electrical safety hazards. Always check the manufacturer’s specifications for power compatibility, and avoid overloading circuits. This simple step keeps your bread maker running smoothly and prevents potential overheating or electrical issues, making your baking experience safe and hassle-free.

Cuisinart Bread Maker Machine, Stainless Steel Automatic Bread Machine with 12 Menu Options, 3 Loaf Sizes up to 2 Lb., 3 Crust Colors, Removable Nonstick Baking Pan & Kneading Paddle, CBK-110NAS
12 MENU FEATURES: The compact, automatic Cuisinart Bread Maker Machine offers a wide range of options with its…
As an affiliate, we earn on qualifying purchases.
As an affiliate, we earn on qualifying purchases.
Conclusion
To keep your small kitchen running smoothly, follow these bread maker placement rules like a well-choreographed dance. Think of your space as a tiny stage—each appliance has its perfect spot to prevent overheating and mess. By giving your bread maker room to breathe and avoiding clutter, you guarantee it performs at its best, just like a well-rehearsed performer. With these simple tips, your kitchen stays organized and your bread turns out perfectly every time.

Tiawudi 2 Pack Bread Box, Plastic Bread Container, Bread Storage for Kitchen Counter, Bread Keeper with Airtight Lid, Tall Bread Saver, Sandwich Bread Holder, 5.6 Qt / 5.3L Each
Food Grade Material & BPA Free – We are serious about your health. Our bread box is made…
As an affiliate, we earn on qualifying purchases.
As an affiliate, we earn on qualifying purchases.
KITCHENARM 29-in-1 SMART Bread Machine with Gluten Free Setting 2LB 1.5LB 1LB Bread Maker Machine with Homemade Cycle – Stainless Steel Breadmaker with Recipes Whole Wheat Bread Making Machine
29-in-1 SMART BREAD MACHINE FOR NEWBIES & PROS – Your healthy homemade bread is just clicks away: pick…
As an affiliate, we earn on qualifying purchases.
As an affiliate, we earn on qualifying purchases.