
To keep your chamber vacuum sealer performing well, regularly inspect accessories like gaskets and seals for wear, replacing damaged parts promptly. Clean the sealing chamber, interior surfaces, and accessories with a damp cloth and mild soap, making sure everything is dry afterward. Check and maintain the sealing strip and filters, and conduct periodic test seals to spot issues early. Following proper maintenance routines will extend your machine’s life, and if you continue, you’ll discover even more tips to maximize performance.
Key Takeaways
- Regularly clean the sealing chamber, including the sealing strip and surrounding areas, with a damp cloth and mild soap.
- Inspect and replace worn gaskets, seals, and accessories promptly to prevent vacuum leaks.
- Keep the vacuum pump and filters clean and replace filters per manufacturer guidelines.
- Conduct periodic test seals to monitor sealing performance and identify issues early.
- Follow manufacturer maintenance routines, including proper cleaning, part replacement, and using compatible sealing bags.

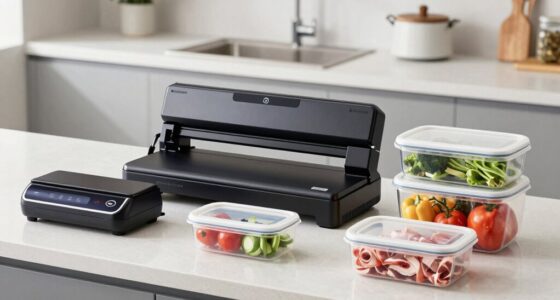
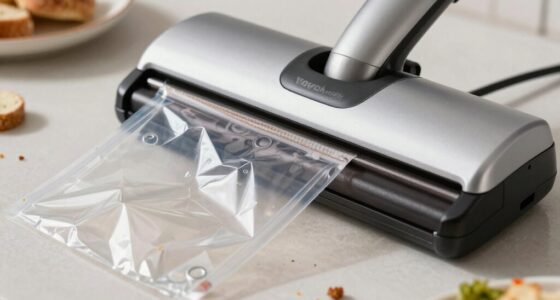
Keeping your chamber vacuum sealer in top condition is crucial for guaranteeing its longevity and peak performance. Regular maintenance prevents issues like sealing failures, vacuum leaks, and uneven seals, saving you time and money in the long run. Start by inspecting your vacuum sealer accessories, such as sealing bars, gaskets, and filters. These parts are critical for maintaining proper vacuum pressure and sealing quality. Clean them regularly with a soft cloth and mild soap, making sure to remove any food residues or debris that could hinder their function. If gaskets or seals appear worn or cracked, replace them promptly to avoid vacuum leaks. Properly functioning accessories are essential for sealing bag types effectively, whether you’re using heavy-duty, standard, or specialty bags.
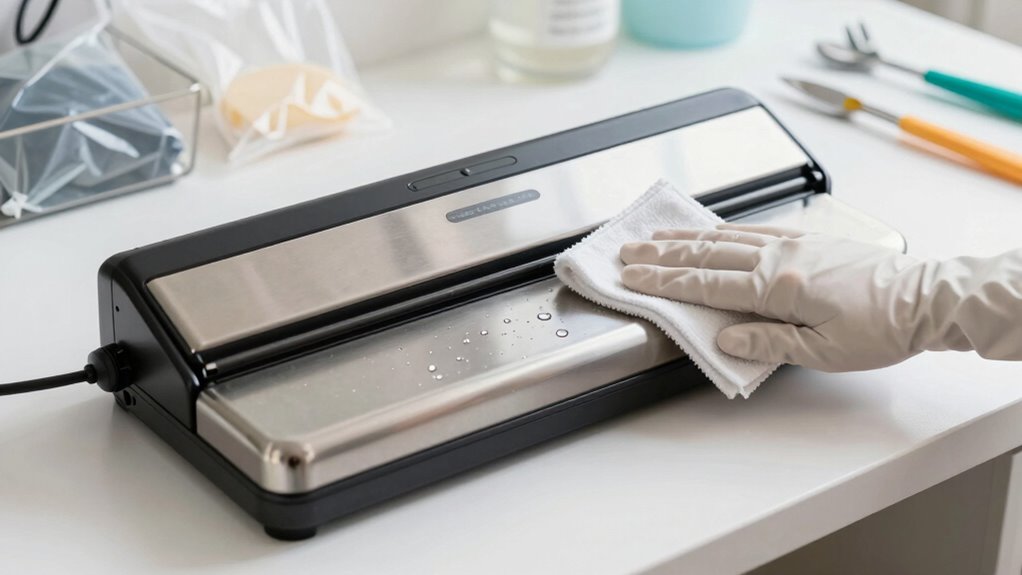
Cleaning your sealing chamber is equally important. Turn off and unplug the machine before starting. Use a damp cloth to wipe down the interior, paying special attention to the sealing strip and surrounding areas. Avoid harsh chemicals that could damage the components. For stubborn residues, a mixture of mild soap and water works well. After cleaning, dry the chamber thoroughly to prevent rust or corrosion. Regularly check the vacuum pump and motor for dust or buildup, and clean or replace filters as recommended by the manufacturer. This routine helps guarantee your sealer maintains a strong vacuum and consistent seals. Additionally, understanding the importance of proper maintenance can significantly extend the lifespan of your machine. Performing routine inspections and maintenance tasks regularly ensures your sealer continues to operate efficiently and reduces the risk of costly repairs. Incorporating manufacturer guidelines into your maintenance routine can further optimize performance and longevity. Regularly inspecting the vacuum pump and other critical components also helps identify potential issues early on.
Maintaining the overall health of your chamber vacuum sealer also involves paying attention to the sealing strip. Over time, the strip can become dirty or lose its elasticity, compromising seal quality. Clean it with a damp cloth and a small amount of rubbing alcohol if needed. If it shows signs of damage, replacing it will restore proper sealing performance. Additionally, consider the type of sealing bags you use. Using the right sealing bag types for your machine, and avoiding overly thick or incompatible materials, reduces strain on the sealer and prolongs its lifespan. Using quality vacuum sealer accessories compatible with your model also ensures a better seal and minimizes the risk of malfunctions.
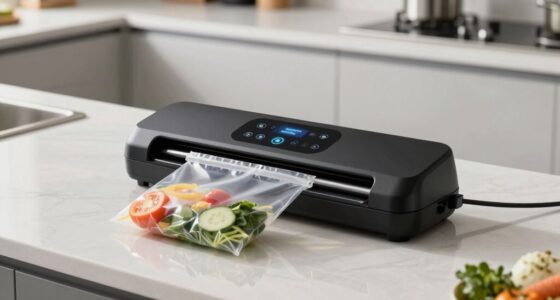
Finally, running periodic test seals helps monitor your sealer’s performance. If you notice inconsistent seals or vacuum loss, revisit your cleaning routines and inspect parts for damage. Remember that regular inspections can help catch potential issues early. Properly maintaining your chamber vacuum sealer isn’t complicated; it just requires consistency and attention to detail. By keeping accessories clean, replacing worn parts, and using the appropriate sealing bag types, you guarantee your machine operates at its best for years to come.

BVV Universal Vacuum Chamber Gasket
Versatile fit: The silicone gasket is designed to accommodate lids that are 10.75 inches in diameter and up…
As an affiliate, we earn on qualifying purchases.
As an affiliate, we earn on qualifying purchases.
Frequently Asked Questions
How Often Should I Schedule Professional Maintenance for My Chamber Sealer?
You should schedule professional maintenance for your chamber sealer at least once a year. Regular cleaning schedules and maintenance tips help guarantee peak performance and longevity. Pay attention to signs of wear, like decreased vacuum strength or unusual noises, and call in a professional promptly. Annual check-ups keep your sealer running smoothly, prevent costly repairs, and maintain consistent sealing quality. Following these tips ensures your equipment stays in top condition.
Can I Use Household Cleaning Products on Chamber Vacuum Sealers?
Imagine you’re in a 1920s speakeasy—using the wrong cleaning chemicals could be a disaster. You shouldn’t use household cleaning products or disinfectants on your chamber vacuum sealer. These cleaning chemicals can damage the seals and internal components. Instead, go for manufacturer-recommended cleaning solutions and soft cloths. Regularly cleaning with proper products ensures your machine stays in top shape without risking costly damage or performance drops.
What Are Common Signs That My Sealer Needs Repairs?
You’ll notice your sealer needs repairs if you see sealant degradation, where seals become brittle or cracked, compromising vacuum quality. Increased motor noise can also signal issues, indicating the motor’s struggling or parts are worn out. If your machine takes longer to seal, or if it stops sealing altogether, these signs suggest maintenance is overdue. Addressing these problems promptly helps prevent further damage and keeps your sealer running efficiently.
Are There Specific Storage Tips to Prolong Sealer Lifespan?
To prolong your sealer’s lifespan, follow storage best practices like keeping it in a clean, dry area away from extreme temperatures. Cover it when not in use to prevent dust buildup. Proper storage helps maintain sealant longevity by preventing corrosion and damage to components. Regularly inspect and clean your sealer before storing it, ensuring it’s in ideal condition. This routine care minimizes wear and keeps your vacuum sealer performing at its best.
How Do I Troubleshoot Sealing Issues Quickly?
To troubleshoot sealing issues quickly, first check the sealing effectiveness—ensure the seal bar isn’t dirty or damaged. Next, verify your machine calibration; incorrect calibration can compromise the seal. Adjust the heat seal time or pressure if needed. Regularly inspect gaskets and seals for wear. Cleaning the sealing area and recalibrating your sealer often resolve most sealing problems, keeping your machine running smoothly and efficiently.

LOVE MOMENT Electric Mason Jar Vacuum Sealer Kit
【Suitable for two types of Mason jars】The electric Mason jar vacuum sealer contains two sizes of mouth seals…
As an affiliate, we earn on qualifying purchases.
As an affiliate, we earn on qualifying purchases.
Conclusion
Keep your chamber vacuum sealer spotless and well-maintained, and it’ll serve you reliably for years. But beware—neglecting those small details could spell the beginning of performance issues you won’t see coming. Will you catch the signs early enough to prevent costly repairs? Staying vigilant now guarantees your sealer remains a trusted partner in your kitchen. Don’t wait until it’s too late—your next perfect seal depends on it.

OutOfAir – 3 Teflon Heat Tape Strips for Vacuum Sealers Compatible with FoodSaver, Weston, Seal-A-Meal, Cabelas, and Others
FIX THE SEALING: If your FoodSaver is having a difficult time sealing bags, the heating element tape is…
As an affiliate, we earn on qualifying purchases.
As an affiliate, we earn on qualifying purchases.
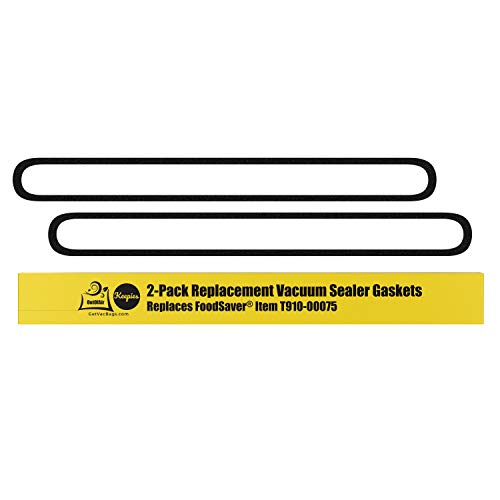
Upper and Lower Gasket Replacements for FoodSaver (2 Foam Gaskets) – Fits V2200, V2400, V2800, V3000, V3200 Series Vacuum Sealers (Replaces Food Saver T910-00075) by OutOfAir
NOTICE: Before purchasing, please confirm that your model is listed below, or in the product images to save…
As an affiliate, we earn on qualifying purchases.
As an affiliate, we earn on qualifying purchases.