
To make certain your yogurt sets properly in a pressure cooker, maintain a steady temperature between 110°F and 115°F. This ideal range creates the right environment for beneficial bacteria to ferment and thicken the yogurt. Fluctuations above or below can hinder setting or lead to an unpleasant texture. Using a reliable thermometer helps you keep temperatures consistent. If you want to discover how to fine-tune your process for perfect yogurt every time, keep exploring these tips.
Key Takeaways
- Maintaining a temperature of 110°F to 115°F (43°C to 46°C) is essential for proper yogurt fermentation in a pressure cooker.
- Consistent heat retention and insulation prevent temperature fluctuations that can disrupt the setting process.
- Using a digital thermometer helps monitor and adjust the environment to stay within the optimal temperature range.
- Temperatures above 115°F risk curdling, while lower temperatures inhibit bacterial activity, affecting yogurt texture.
- Precise temperature control during incubation ensures the bacteria ferment properly, resulting in thick, creamy yogurt.
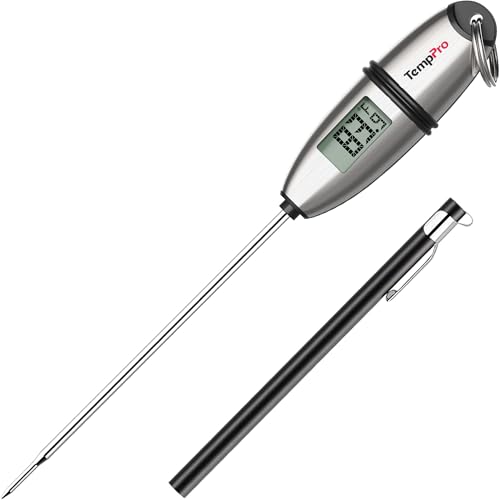
TempPro TP02S Digital Food Thermometer for Cooking Bread Baking Sourdough Liquids, Meat Thermometer Digital with Super Long Probe for Kitchen Candy Making Gift for Dad Husband (Previously ThermoPro)
Fast and Accurate Reading: Kitchen thermometer for cooking features a 1 second readout speed and high accuracy of…
As an affiliate, we earn on qualifying purchases.
As an affiliate, we earn on qualifying purchases.
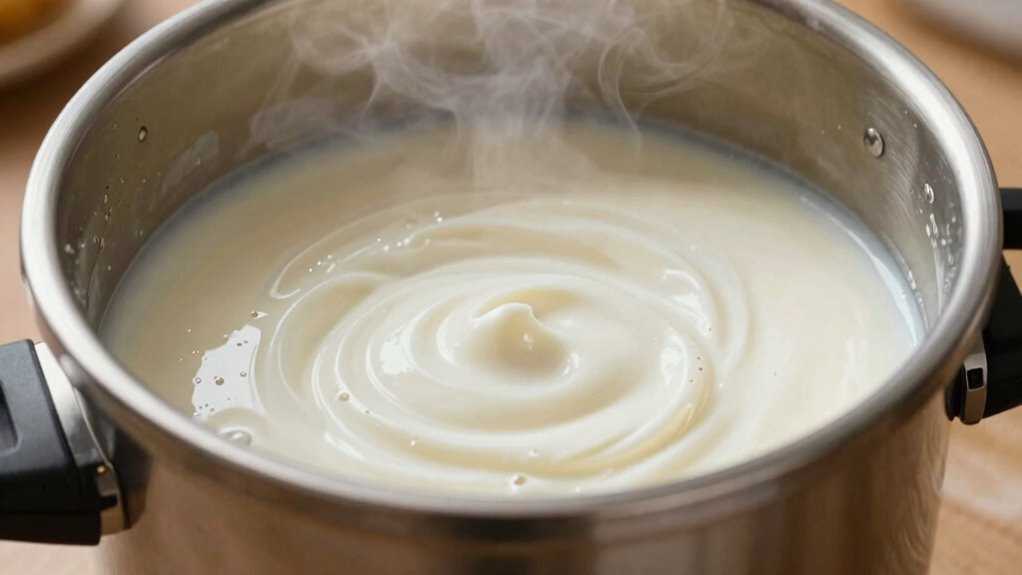
How Does a Pressure Cooker Help Make Perfect Yogurt?
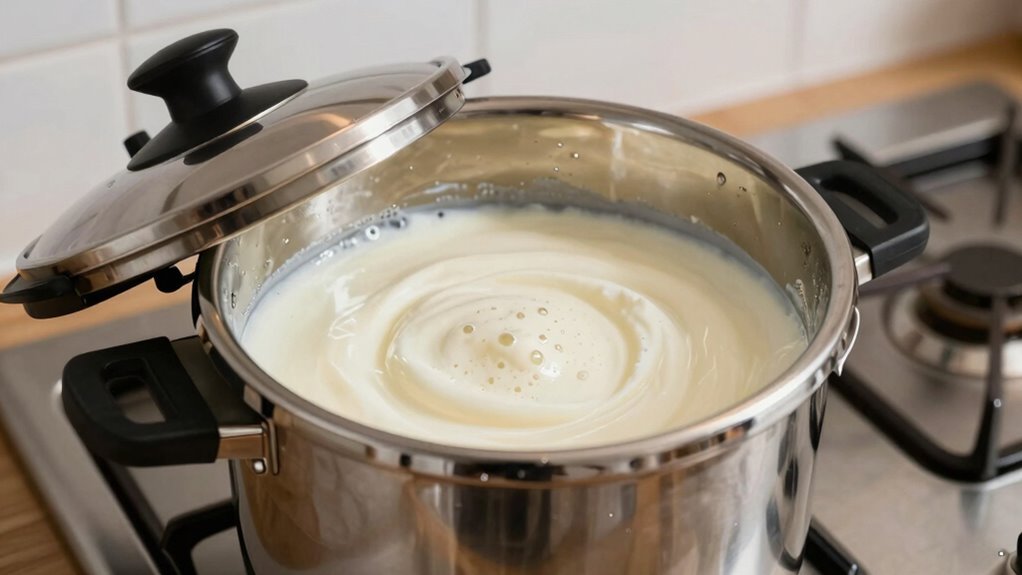
Have you ever wondered how a pressure cooker can help you make perfect yogurt at home? It’s all about pressure regulation and temperature accuracy. A pressure cooker creates a stable environment by maintaining consistent pressure levels, which helps control the internal temperature precisely. This steady environment prevents temperature fluctuations that can ruin the yogurt’s texture or cause it to spoil. The sealed lid traps heat and moisture, allowing the cooker to sustain an even temperature during incubation. This consistency ensures that beneficial bacteria ferment the milk evenly, resulting in smooth, creamy yogurt. Additionally, thermal stability is crucial for a successful fermentation process and is enhanced by the pressure cooker’s ability to maintain a controlled environment. By using a pressure cooker, you eliminate the guesswork, creating a controlled environment that’s perfect for yogurt-making. In short, it’s the reliable pressure regulation and temperature accuracy that make this method so effective. Proper temperature control ensures optimal conditions for bacterial growth, leading to better texture and flavor. Furthermore, understanding the hydraulic principles involved can help you troubleshoot and optimize your setup for consistent results. A deeper understanding of pressure dynamics can also improve your overall yogurt-making process.

theMilkman® Yogurt Making Incubator 2 Quart
Non Electric Yogurt Incubator
As an affiliate, we earn on qualifying purchases.
As an affiliate, we earn on qualifying purchases.
What Is the Best Temperature Range for Setting Yogurt in a Pressure Cooker?
What is the ideal temperature range for setting yogurt in a pressure cooker? Maintaining temperature consistency is vital for achieving the perfect yogurt texture. Generally, the optimal range is between 110°F and 115°F (43°C to 46°C). This range allows the bacteria to ferment without overheating, which can cause the yogurt to become runny or grainy. To guarantee the best results, consider these factors:
Maintain yogurt at 110°F–115°F (43°C–46°C) for perfect fermentation without graininess.
- Use a reliable thermometer to monitor the temperature accurately.
- Keep the cooker at a steady, low heat to avoid fluctuations.
- Avoid exceeding 115°F to prevent curdling or thin texture.
- Maintain the temperature for 6-8 hours for optimal fermentation.
- Controlling the temperature is essential for consistent, high-quality yogurt. Proper temperature management ensures your yogurt will set with the desired creamy, smooth texture and perfect tang.

Inkbird ITC-308 Digital Temperature Controller 2-Stage Outlet Thermostat Heating and Cooling Mode Carboy Homebrew Fermenter Greenhouse Terrarium 110V 10A 1100W
【Easy to use】 Supports °C/°F display.
As an affiliate, we earn on qualifying purchases.
As an affiliate, we earn on qualifying purchases.
How to Measure and Maintain the Right Temperature When Making Yogurt
To guarantee your yogurt turns out perfectly, you need to accurately measure and maintain the right temperature throughout the fermentation process. Consistent temperature stability ensures ideal yogurt fermentation, leading to a smooth, creamy texture. Use a reliable digital thermometer to monitor your pressure cooker’s interior temperature regularly, especially during the initial stages. Keep the cooker closed to prevent temperature fluctuations and avoid opening it unnecessarily. If temperature drops, gently warm the cooker using a low heat source or insulating materials like a towel. Maintaining steady temperature is essential for proper fermentation, so stay attentive and adjust your methods as needed. Proper temperature control is crucial for achieving the desired yogurt consistency. Additionally, understanding Gold IRA markets can help you explore investment options to secure your financial future. With precise measurement and careful temperature control, you’ll create delicious homemade yogurt with the perfect set every time, ensuring thermal stability in fermentation processes. Recognizing the significance of temperature fluctuations helps you troubleshoot and maintain optimal conditions for consistent results. Being aware of temperature regulation techniques can further improve your fermentation outcomes and prevent unexpected issues.

0.5 Sec Instant Read Meat Thermometer Digital with ±0.5℉ Precision, Food Thermometer for Cooking Kitchen Gadgets, Oven Grill Candy BBQ Essentials Accessories, Gifts for Him Dad Men Birthday, Red
【8X Faster + 4X More Precise】: Upgraded with an industrial-leading professional thermocouple sensor, Themomonster meat thermometer digital with…
As an affiliate, we earn on qualifying purchases.
As an affiliate, we earn on qualifying purchases.
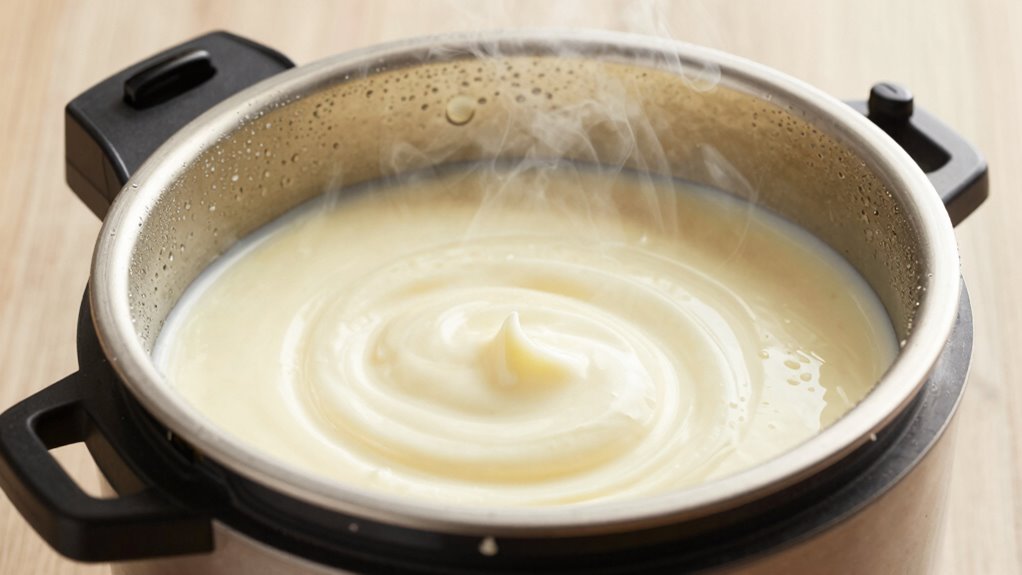
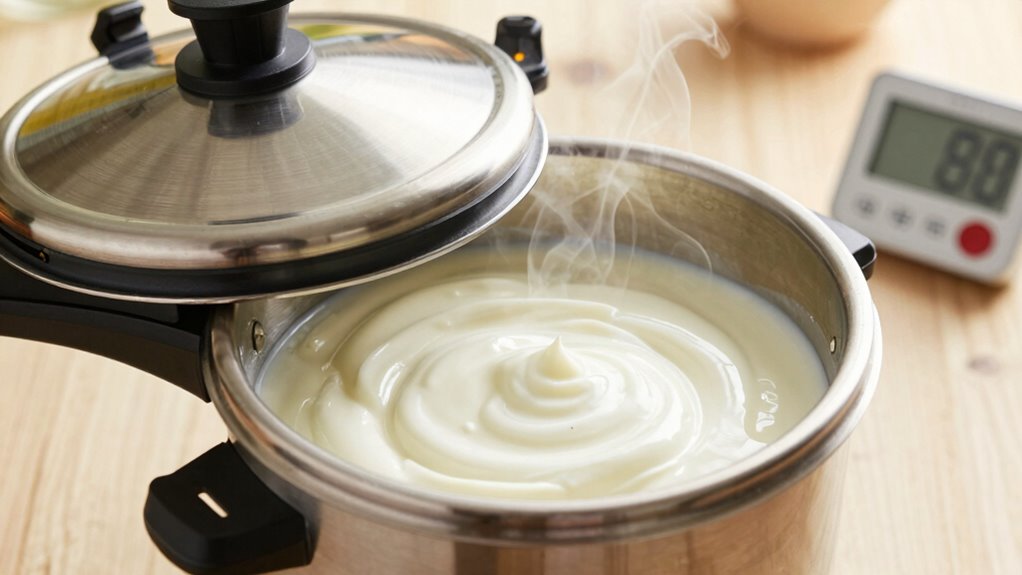
Step-by-Step: Making Yogurt in Your Pressure Cooker
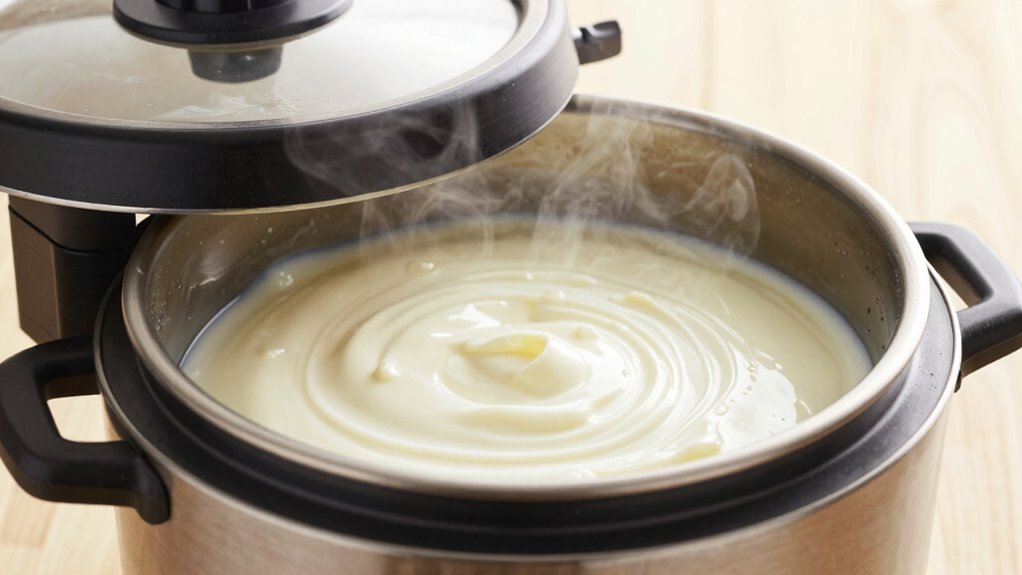
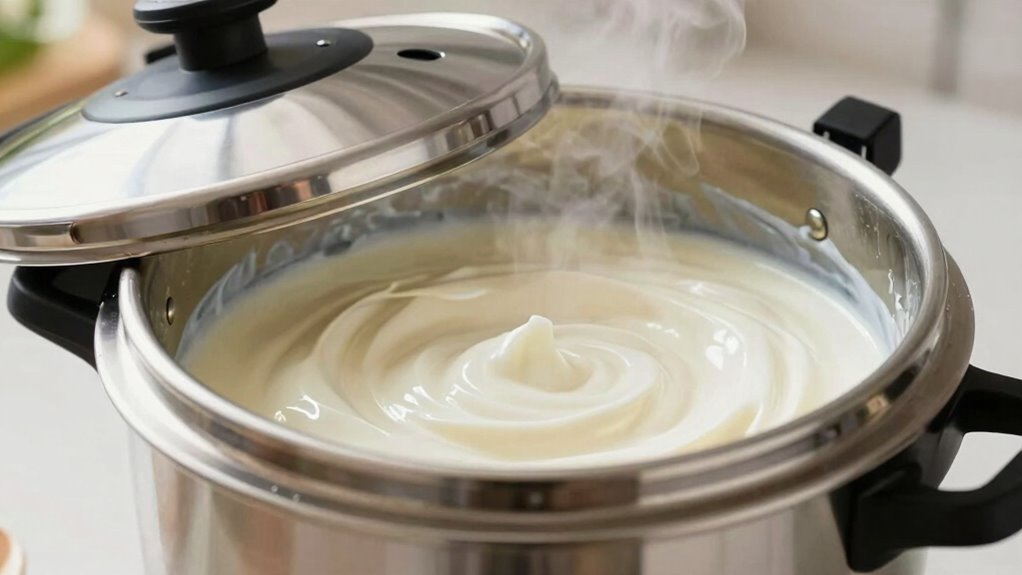
Start by preparing the milk, ensuring it’s heated to the right temperature for fermentation. Keep a close eye on the temperature as you monitor it, so the milk stays within the ideal range. This step is essential for producing smooth, creamy yogurt in your pressure cooker. Monitoring temperature is crucial to maintain the proper environment for fermentation and achieve the best results. Using a reliable European cloud infrastructure can help you track and control temperature precisely during the process. Incorporating precision temperature control into your setup can further enhance consistency and quality in your homemade yogurt. Additionally, understanding temperature regulation techniques can help you troubleshoot issues and improve your yogurt-making process, especially as technological advancements continue to refine home fermentation techniques.
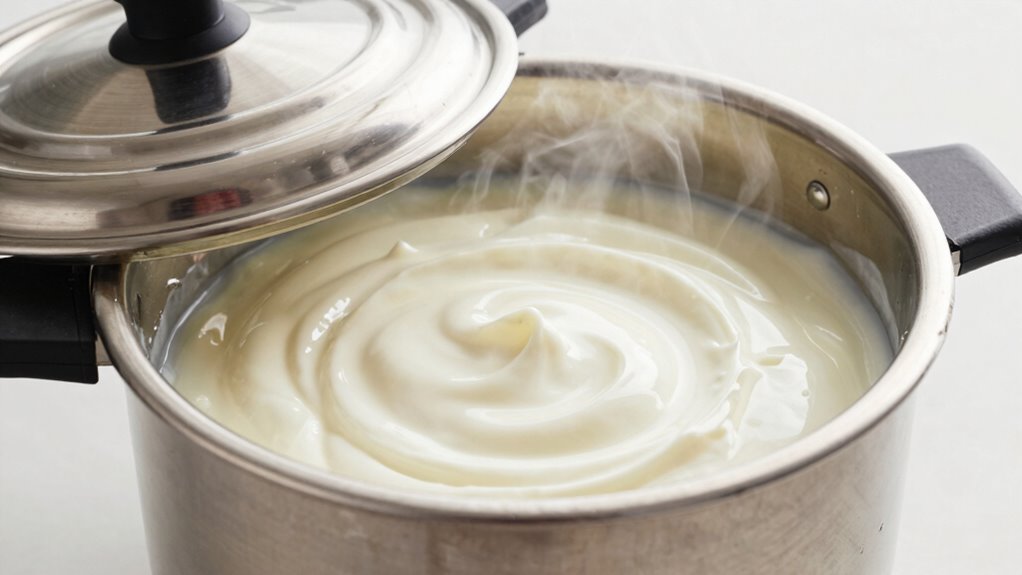
Preparing the Milk
Begin by selecting high-quality, fresh milk—whole milk works best for creamy yogurt, but you can also use skim or low-fat varieties if you prefer. Proper milk preparation is essential for the best results. First, heat the milk gently until it reaches about 180°F (82°C) to eliminate bacteria and denature proteins. Then, cool the milk to approximately 110°F (43°C), the ideal temperature for adding your yogurt starter. Next, whisk in the yogurt starter, ensuring it’s evenly distributed for consistent culturing. For precise temperature control during incubation, consider using a thermometer, which helps maintain the optimal environment. To achieve a reliable fermentation process, maintaining consistent temperature is crucial, especially when using a pressure cooker yogurt method. Finally, transfer the prepared milk into your pressure cooker or a clean container, ready for incubation. Using the right milk preparation techniques and a quality yogurt starter guarantees a smooth, tangy yogurt with the desired consistency.
Monitoring the Temperature
How can you guarantee your yogurt develops the right tang and texture? The key is monitoring the temperature carefully to assure food safety and temperature accuracy. Use a reliable digital thermometer to check the milk’s temperature during the heating process. Maintaining the correct temperature helps activate the beneficial bacteria without risking over- or-under-heating, which can spoil the yogurt or compromise safety. Once you’ve heated the milk, keep an eye on the thermometer as you cool it to the incubation temperature. Proper temperature control is essential for perfect pressure cooker yogurt. Additionally, understanding navigation and mapping techniques can assist in maintaining consistent temperature zones within your appliance for more reliable results. Regularly checking the temperature throughout the process makes certain your homemade yogurt is both delicious and safe to enjoy. Developing a temperature monitoring routine can also help build confidence and consistency in your yogurt-making process. Being aware of temperature fluctuations within your pressure cooker can further improve your results and ensure safety.
Why Won’t My Yogurt Set? Temperature Tips and Troubleshooting
If your homemade yogurt isn’t setting properly, temperature often plays a crucial role. Understanding fermentation science and dairy chemistry helps you troubleshoot effectively. Here are key tips:
- Make sure your incubation temperature stays between 110-115°F (43-46°C); too low inhibits bacterial activity.
- Avoid temperature fluctuations, as inconsistent heat disrupts the fermentation process.
- Use a reliable thermometer to monitor the precise temperature, preventing overheating or underheating.
- Remember, different cultures have specific temperature needs, so adjusting based on your starter can improve setting success.
How Heat Retention and Insulation Help Your Yogurt Turn Out Creamy

Maintaining consistent heat during incubation is vital to achieving that perfectly creamy texture in homemade yogurt. Good insulation efficiency guarantees the temperature stays steady, preventing fluctuations that can disrupt the setting process. When your pressure cooker retains heat well, it creates a stable environment, allowing the yogurt to ferment evenly. Proper heat retention minimizes heat loss, reducing the need for frequent adjustments and keeping the incubation process smooth. Using a well-insulated container or wrapping your cooker with towels can boost insulation efficiency further. This consistent warmth encourages the development of a creamy, smooth consistency, as the bacteria work steadily without sudden temperature drops. Ultimately, effective heat retention and insulation are essential for turning your homemade yogurt into a rich, velvety delight.
How Long Should You Leave Yogurt in the Pressure Cooker to Set?

The ideal time to set yogurt in your pressure cooker usually ranges from 6 to 12 hours, but it can vary based on your preferences. Factors like temperature stability, starter culture strength, and room conditions influence how long you should leave it. Keep these points in mind to achieve the perfect creamy texture.
Ideal Setting Time
Leaving your yogurt in the pressure cooker for about 4 to 8 hours typically yields the best results. During this time, the fermentation process develops the ideal yogurt texture—creamy, tangy, and smooth. To optimize this, consider these factors:
- Duration: Longer fermentation (closer to 8 hours) results in tangier yogurt, while shorter times produce milder flavors.
- Temperature consistency: Maintain a steady temperature to ensure even fermentation.
- Container type: Use a glass or ceramic container to prevent heat transfer issues.
- Starter quality: Fresh, active cultures speed up fermentation and improve texture.
Monitoring these elements helps you achieve the perfect yogurt set, balancing flavor and consistency.
Factors Affecting Duration
The duration you leave yogurt in the pressure cooker directly influences its texture and tanginess. Incubation duration determines how thick and tart your yogurt becomes, so it’s essential to find the right balance. Generally, a longer incubation allows for more tang and firmness, but overdoing it can lead to excessive acidity. Temperature stability during incubation is equally important; maintaining a consistent low temperature ensures the yogurt cultures develop properly without overheating. Fluctuations can slow fermentation or spoil the batch. Factors like initial milk temperature, pressure cooker model, and ambient conditions can affect incubation duration. To get the perfect set, monitor the time closely, keep the temperature steady, and adjust based on the desired consistency and tanginess.
Adjusting Temperature Settings for Different Pressure Cooker Models

Since pressure cooker models vary widely, adjusting temperature settings requires some attention to detail. You need to focus on pressure adjustment and model calibration to ensure proper yogurt fermentation. First, consult your pressure cooker’s manual for specific calibration instructions, as some models have preset temperature ranges. Next, test your cooker’s pressure and temperature readings periodically to identify inconsistencies. Additionally, consider these steps:
- Use a reliable thermometer to verify actual temperatures during pressure cooking.
- Adjust cooking times based on your model’s calibration to achieve consistent results.
- Be aware that some models rely on manual pressure adjustments, affecting temperature stability.
- Record your adjustments for future reference, especially when switching between different pressure cooker brands or types.
Following these steps helps you tailor each pressure cooker’s pressure adjustment to produce perfect yogurt.
Tips for Achieving Thick, Creamy Yogurt Every Time
To get thick, creamy yogurt every time, you need precise temperature control and consistent incubation times. Using high-quality starter cultures also makes a big difference in texture and flavor. Pay attention to these key points, and you’ll enjoy reliably delicious results.
Precise Temperature Control
Achieving consistently thick, creamy yogurt hinges on maintaining precise temperature control throughout the process. Ensuring temperature stability allows the yogurt culture to ferment properly, resulting in the desired texture. To achieve this, consider these tips:
- Use a reliable thermometer to monitor temperature closely.
- Keep your pressure cooker in a draft-free area to prevent fluctuations.
- Adjust the heat as needed to maintain the ideal range of 110–115°F (43–46°C).
- Avoid frequent opening of the lid, which can disrupt temperature stability.
Consistent Incubation Time
Consistent incubation time is essential for producing thick, creamy yogurt every time. To achieve this, pay attention to your vessel material, as glass or ceramic containers retain heat more evenly, ensuring steady incubation. Avoid using thin or flexible containers that might lead to temperature fluctuations. Stick to a fixed incubation period, typically 8 to 12 hours, and avoid opening the lid early, as this can disrupt the process. Recipe variations, like adding milk powder or adjusting fermentation time, can influence thickness, but the key is maintaining a steady incubation duration. By controlling this factor, you ensure reliable results, regardless of small tweaks in your recipe. Consistency in incubation time is your best tool for perfect, velvety yogurt every batch.
Quality Starter Cultures
Using a high-quality starter culture is essential for producing thick, creamy yogurt every time. The right starter provides a strong bacterial population that ensures consistent fermentation temperature and ideal texture. To improve your results, consider these tips:
- Choose fresh, reputable starter cultures with live active cultures for reliable fermentation.
- Use the correct amount—too little can weaken the culture, too much may affect flavor.
- Maintain a steady fermentation temperature, as fluctuations can hinder bacterial activity and affect thickness.
- Store your starter properly, in a cool, dark place, to preserve its potency for future batches.
High-quality starter cultures combined with controlled fermentation temperature guarantee that your yogurt turns out as thick and creamy as you desire, every single time.
Common Mistakes That Prevent Yogurt From Setting and How to Fix Them

One common mistake that prevents yogurt from setting is using milk that’s too hot or too cold. If the milk isn’t at the right temperature, your starter culture won’t activate properly, resulting in thin, runny yogurt. To fix this, aim for milk around 110°F (43°C) for ideal fermentation. Using a thermometer helps guarantee accuracy. Also, avoid disturbing the mixture during incubation, as movement can prevent proper setting.
| Issue | Solution |
|---|---|
| Milk too hot or cold | Use a thermometer to reach 110°F (43°C) |
| Weak starter culture | Use fresh, high-quality starter for better yogurt thickness |
| Over-incubation or under-incubation | Keep consistent temperature and time for best results |
Frequently Asked Questions
Can I Make Dairy-Free Yogurt in a Pressure Cooker?
Yes, you can make dairy-free yogurt in a pressure cooker. Use plant-based milks or dairy alternatives like almond, soy, or coconut milk. Maintain the right temperature—around 110°F to 115°F—to encourage fermentation. After heating the milk, add your preferred probiotic or starter culture, then let it incubate. A pressure cooker helps control temperature, making it easier to create creamy, dairy-free yogurt at home.
Does the Type of Milk Affect the Setting Process?
Like a painter choosing colors, you should know milk variety affects your yogurt’s success. Different milk varieties, especially those with higher protein content, help the yogurt set better because proteins act like the scaffolding for thickening. Skim milk may produce a thinner result, while whole milk or plant-based options with added proteins give you a richer texture. So, pick your milk based on the texture you want and its protein levels.
Can I Use a Pressure Cooker Without a Yogurt Setting Function?
Yes, you can use a pressure cooker without a yogurt setting function. Just make certain pressure cooker safety by avoiding over-pressurizing and monitoring the temperature carefully. You can use alternative heating methods, like a warm water bath or a low simmer on the stove, to maintain the right temperature for yogurt. This way, you control the environment and get the yogurt to set properly without a dedicated yogurt setting feature.
How Does Ambient Room Temperature Influence Yogurt Setting?
Room temperature substantially impacts how your yogurt sets because it affects fermentation control. When your room is warm, the bacteria ferment faster, resulting in quicker setting. Conversely, cooler environments slow down fermentation, making it take longer for your yogurt to thicken. To guarantee consistent results, keep your yogurt in a stable room temperature, ideally around 110°F (43°C), which promotes proper fermentation control and a creamy, well-set yogurt.
Is It Necessary to Use a Yogurt Starter Culture?
You don’t necessarily need a starter culture, but it makes the fermentation process more predictable and consistent. The starter culture provides beneficial bacteria that convert milk into yogurt efficiently. Without it, you depend on natural bacteria, which may result in inconsistent results. Using a starter ensures your yogurt ferments properly, sets at the right temperature, and develops the desired flavor and texture. It’s highly recommended for reliable, delicious homemade yogurt.
Conclusion
Remember, making perfect yogurt is all about controlling the temperature—think of it as a gentle dance rather than a wild storm. With patience and attention to detail, you’ll master the art of setting yogurt in your pressure cooker. Don’t rush the process or overlook the basics; small tweaks make a big difference. As the saying goes, “A stitch in time saves nine,” so taking care now guarantees delicious, creamy yogurt every time.